After months of planning, reading and designing in sketch-up, it was time to install the benchcrafted leg vice. It took a long time to get comfortable with the order of operations, I think I scoured just about every build on the internet to glean as much as I could about the process. It’s not that the benchcrafted instructions are bad… it’s just a visual guide would go a long way to making things click (fortunately there a few really great youtube videos floating around out there). Also, depending on the tools you have on hand you may want to switch up the process a little. So, if you’re planning your own build, keep reading and feel free to ask any questions below.
Using blue tape to mark out knife lines makes me feel less like a wood butcher and more like a wood surgeon.

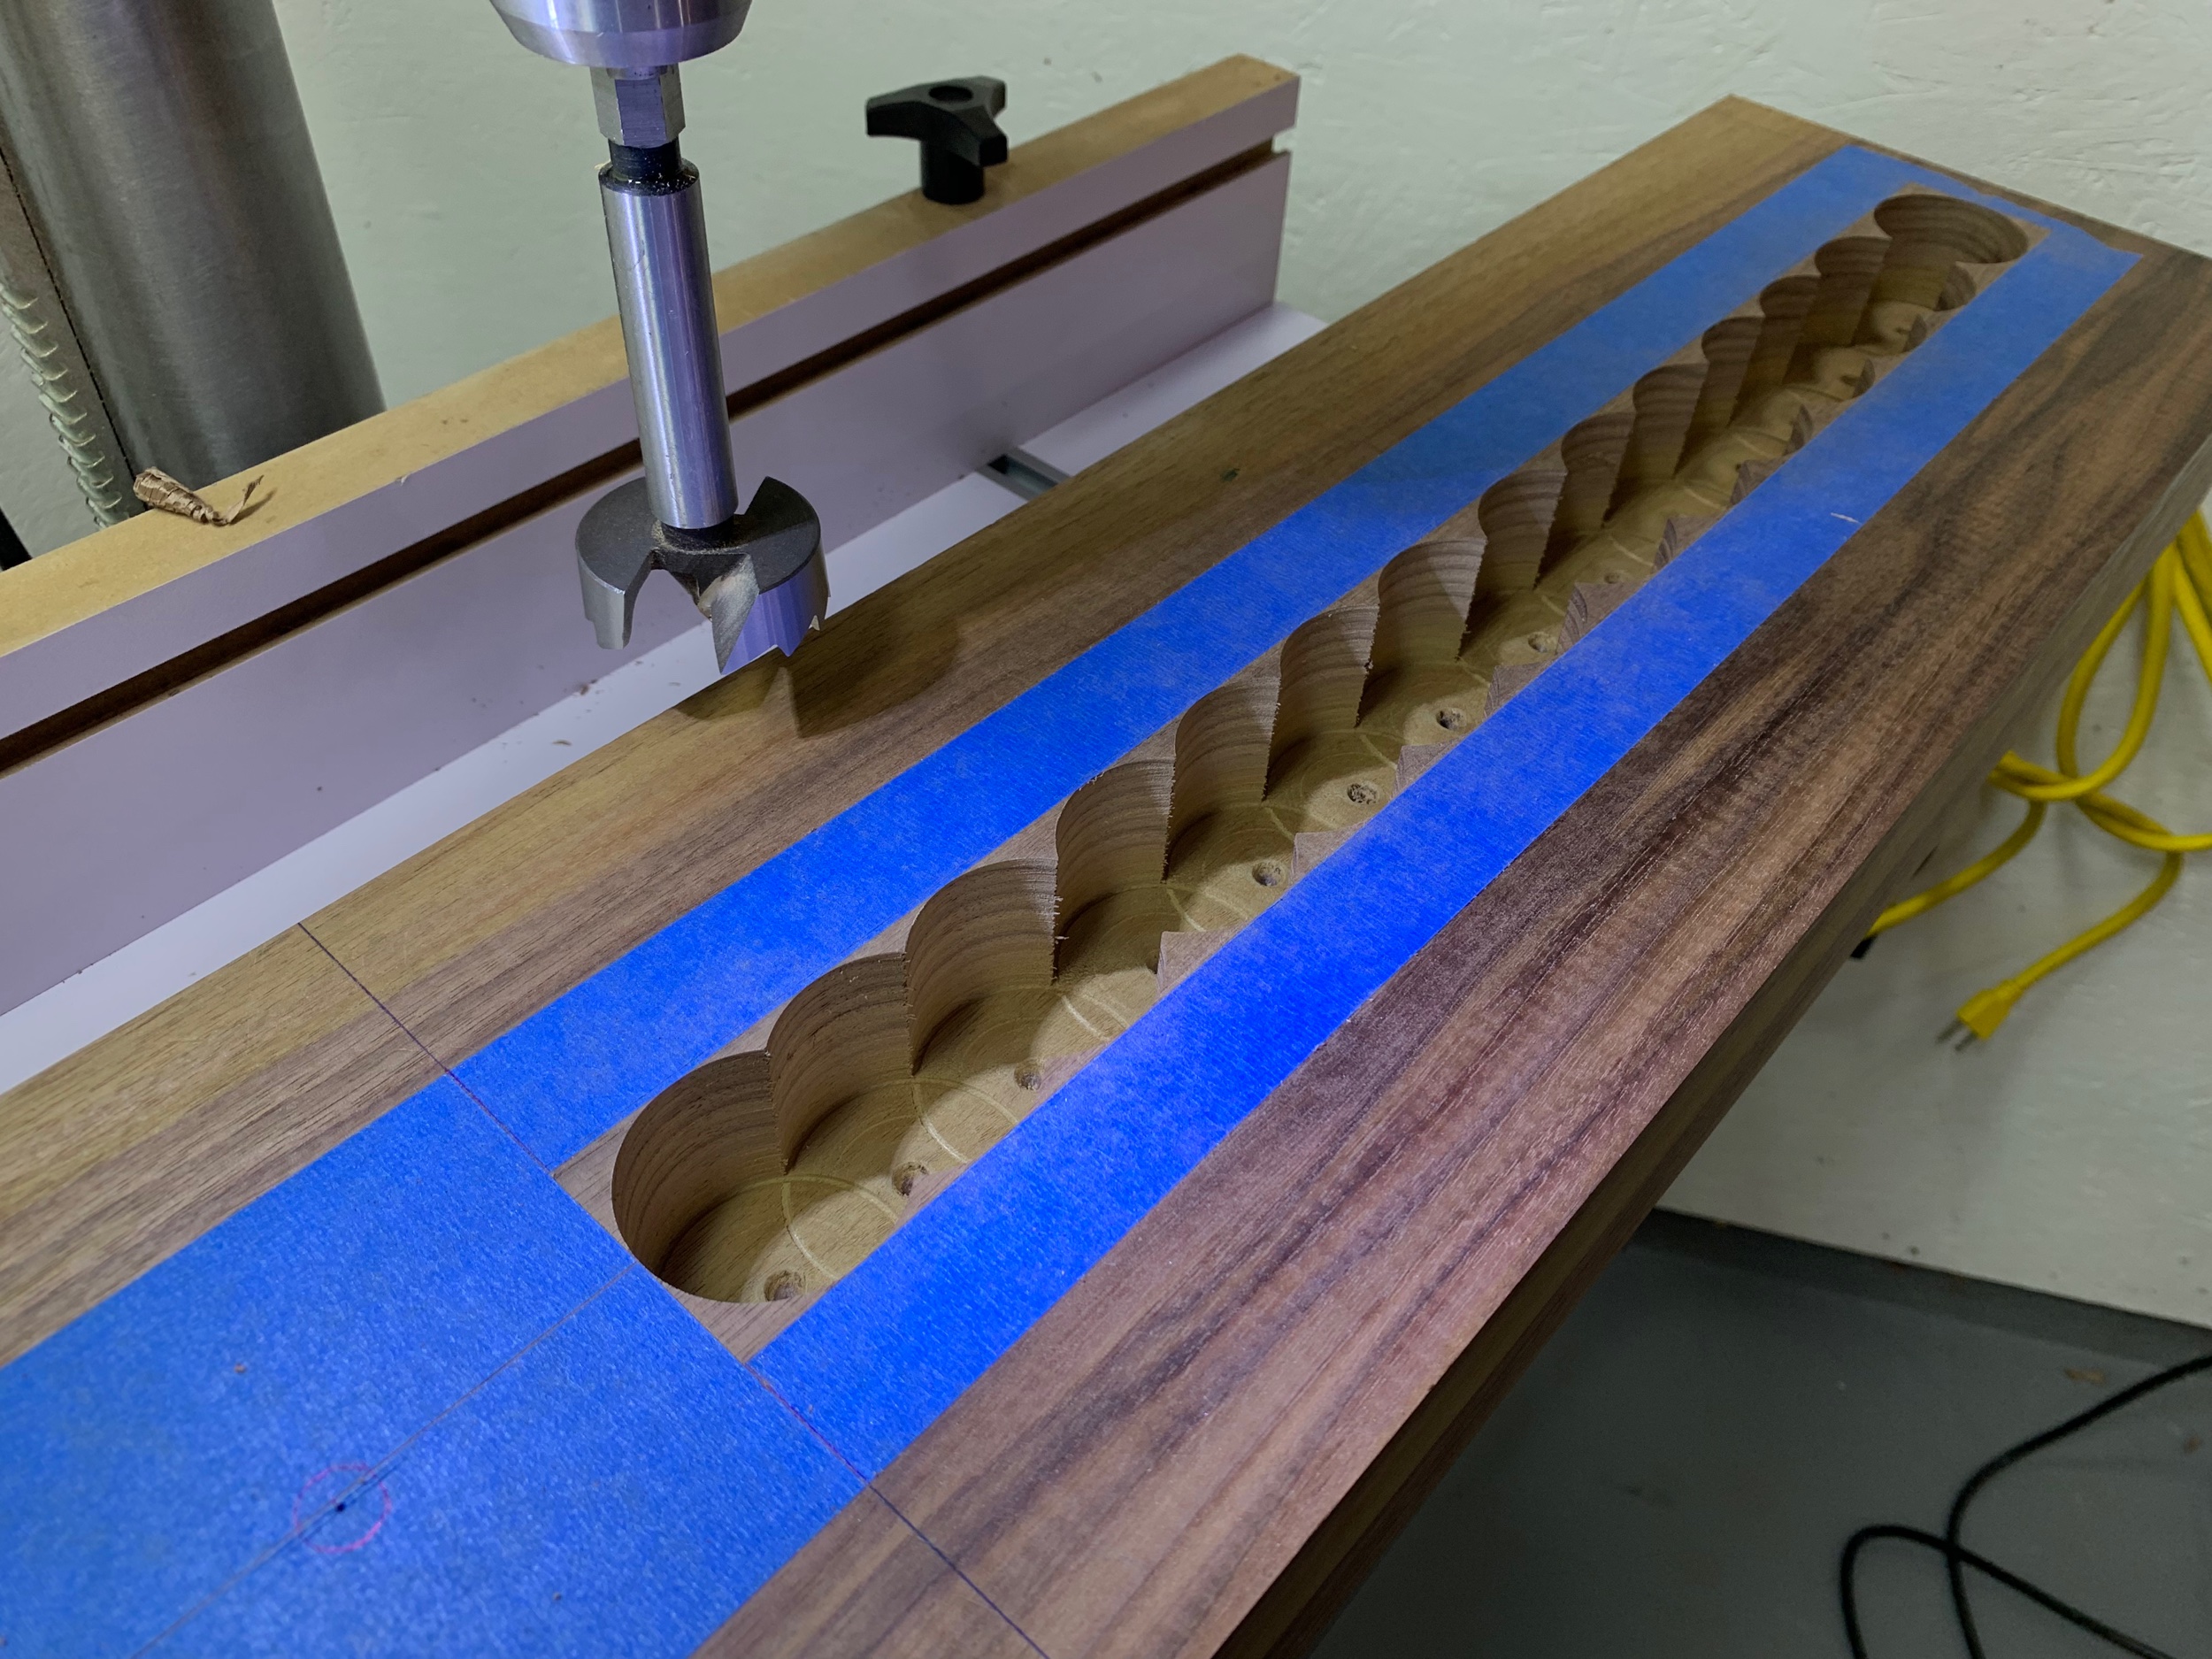
Most of the waste was hogged out with a forstner bit. Make sure your drill press table is square before you get started…

I cut the pocket for the acetal bushing with a large forstner and then used a smaller forstner to drill the hole for the vise screw. This was a multistage process. My drill press quill didn’t have enough travel to make it all the way through, so I had to start the hole stop and then raise the table and start again. All in all it worked great.

Used a similar start stop process when making the holes for the steel rods. This extra long fisch 3/8” brad point bit will probably be a one use purchase but it was worth it.

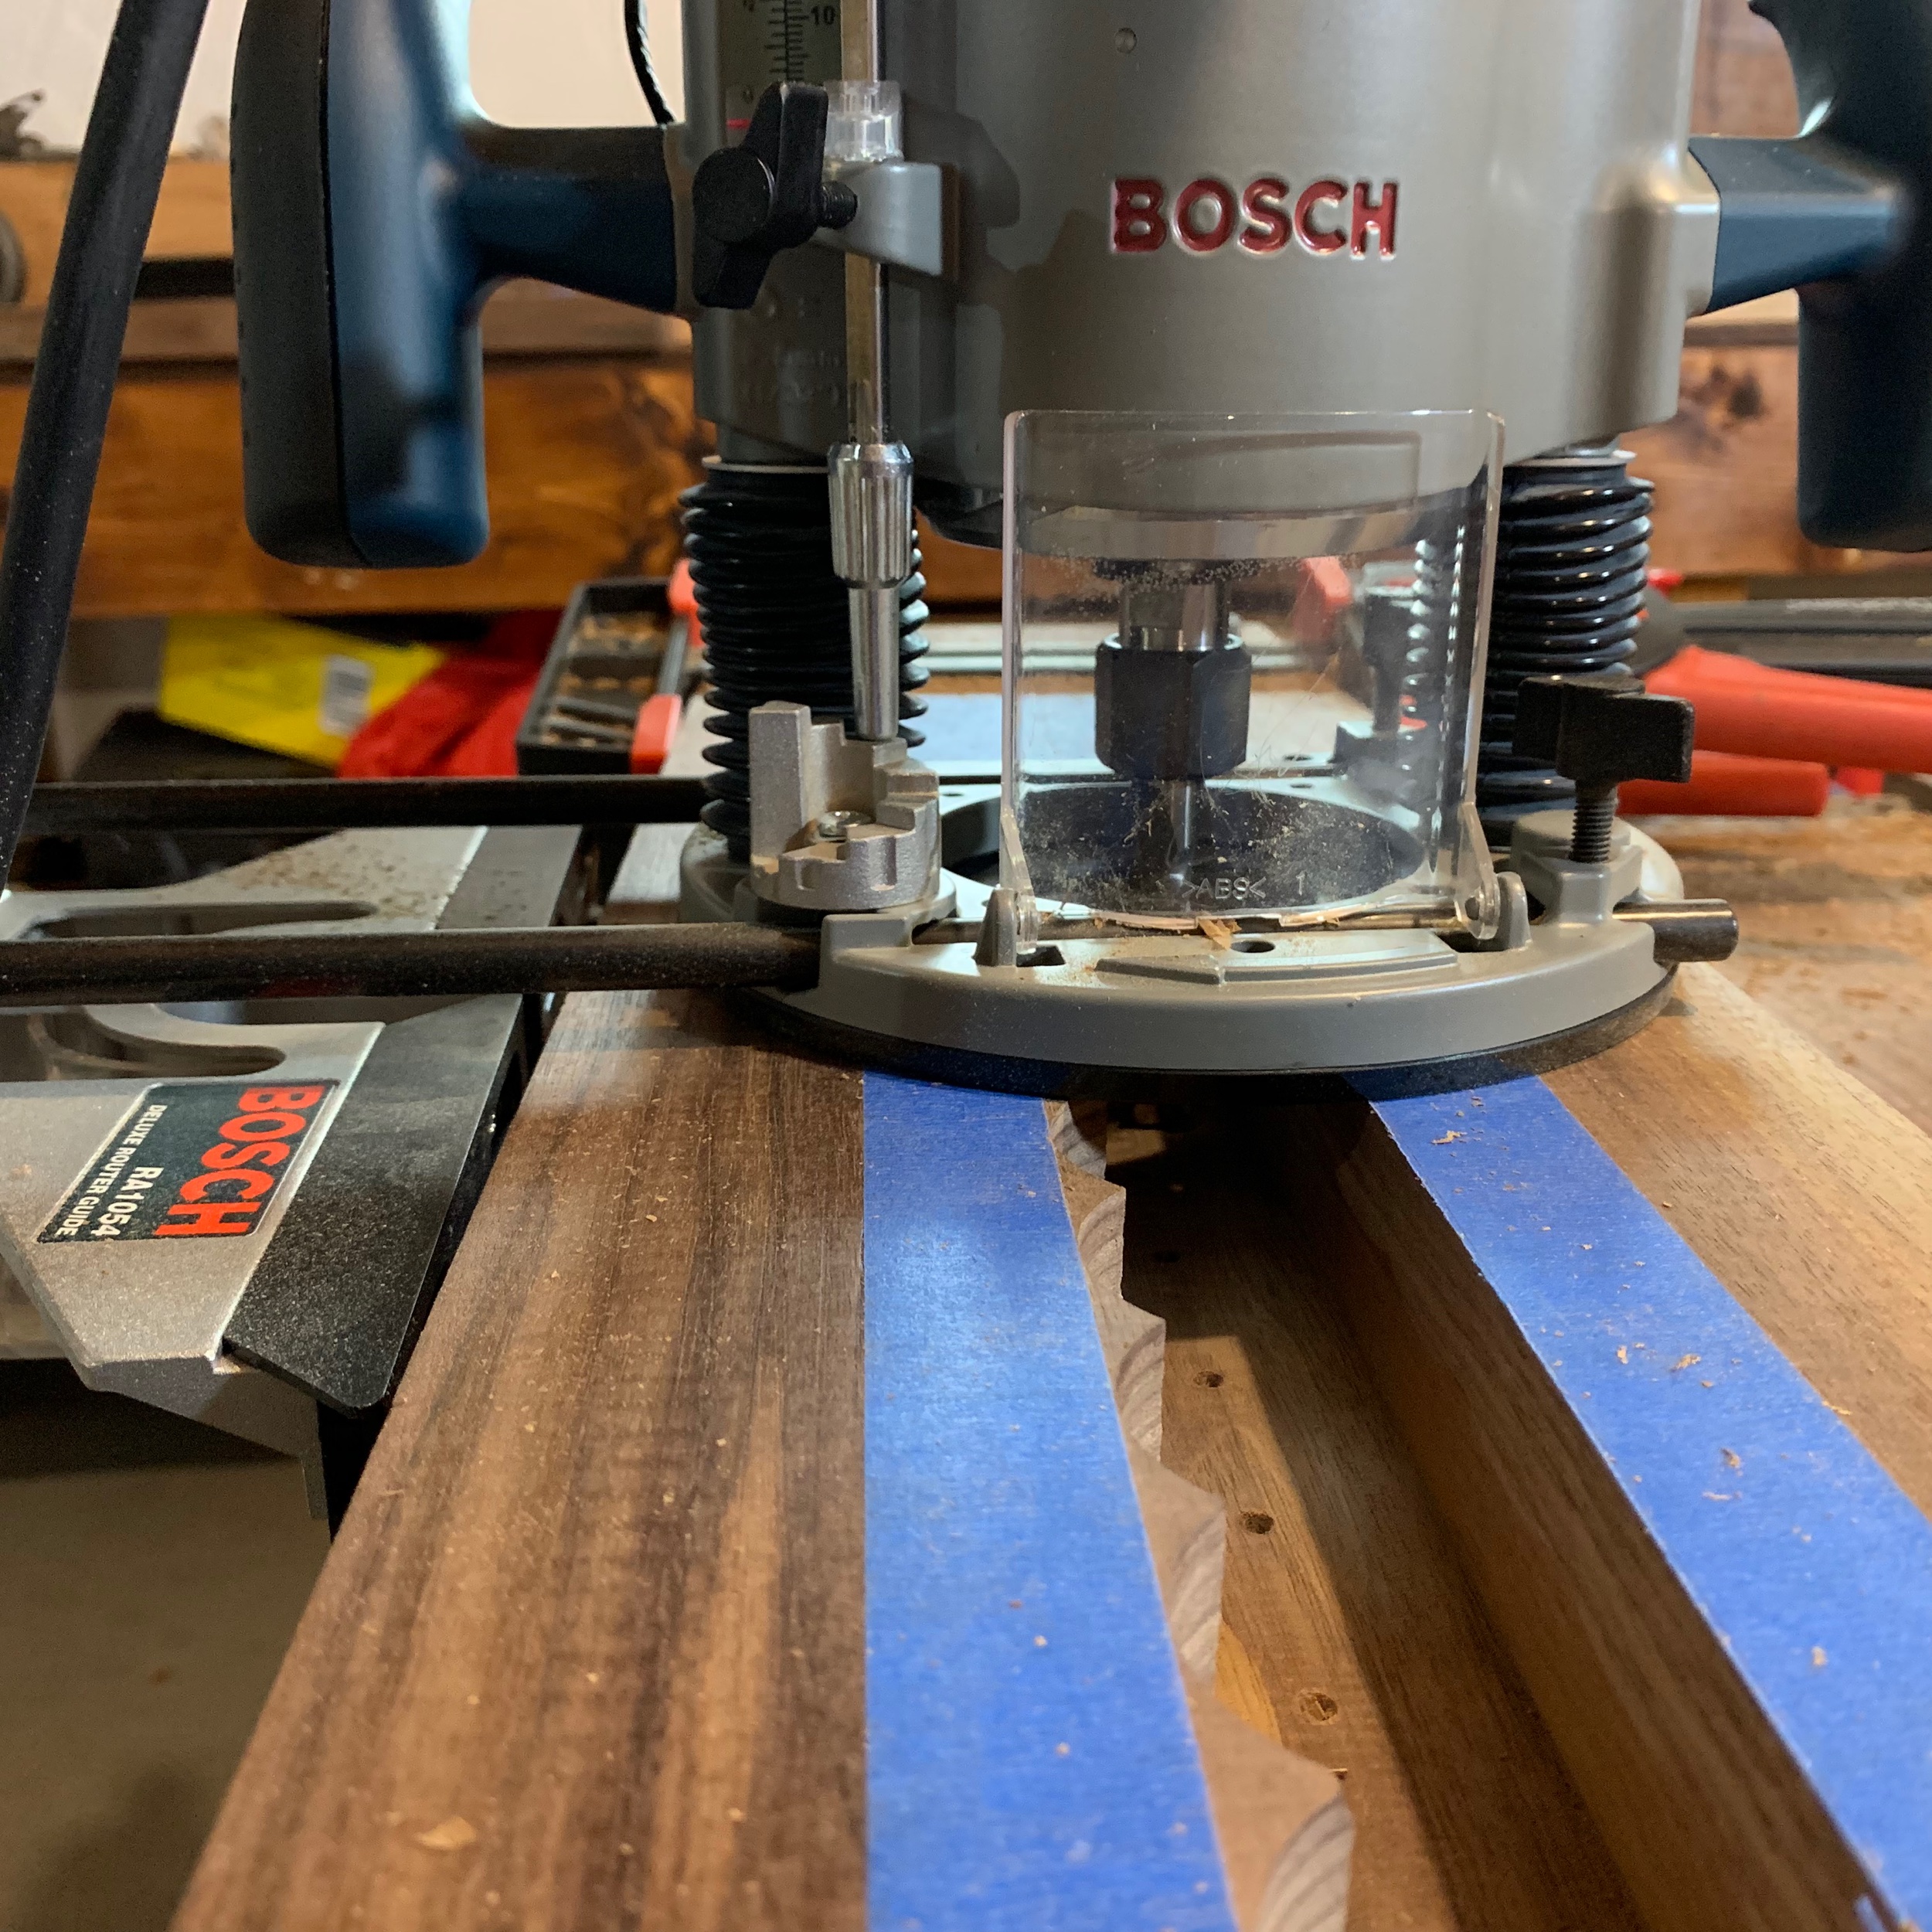
I don’t like routers, probably because I don’t really know how to use them. I watched a few youtube videos and bungled my way through cleaning up the mortises. In retrospect my cut direction was wrong… Goddam 10 minute youtube videos saving the important stuff for last, my attention span isn’t long enough for that shit.

X marks the spot.

And here she is, just a little fettling to go but all the major work is done.