
It’s been a while since I’ve written here and much has changed. We now have two little ones in our life and have made the great trek back to Ontario after our experiment in B.C. We have a few acres of land here and a house with ample space for our growing family; something which was an impossibility for us in Vancouver. It’ll be a long winter but building a new workshop should keep me plenty busy.
aesthetics & ergonomics
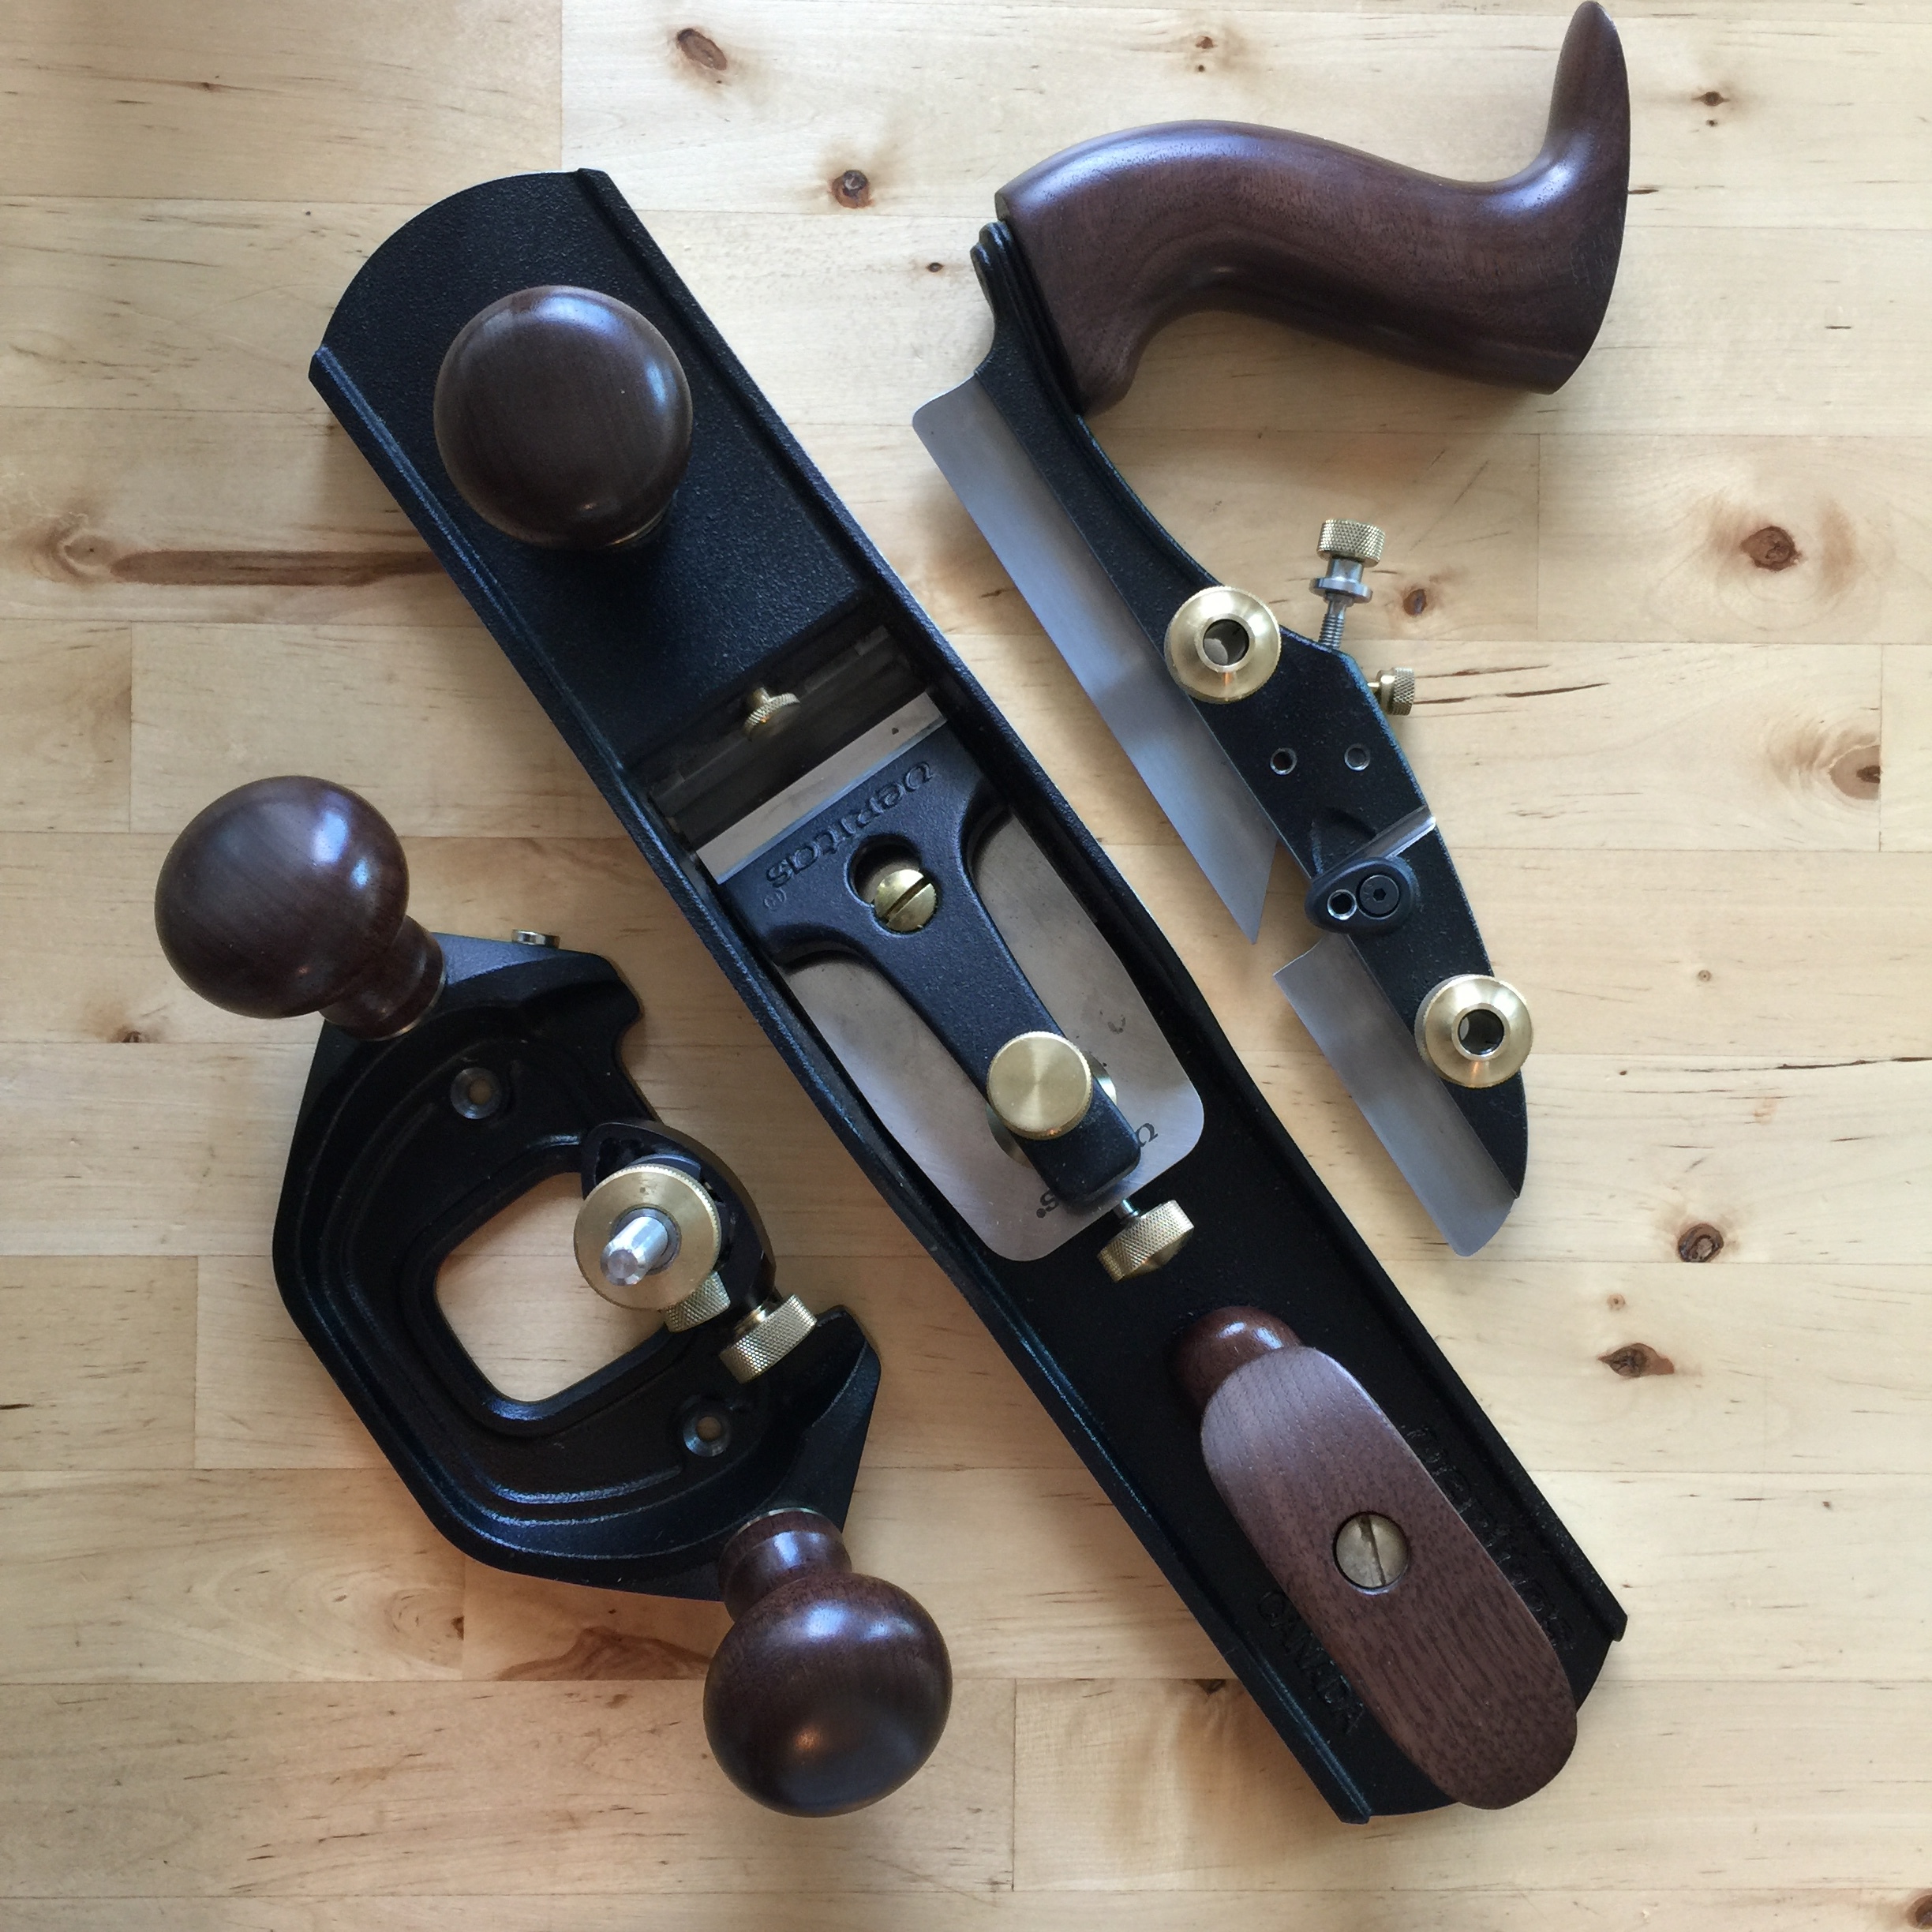
These walnut handles were made, or should I say sculpted, by Bill Rittner from Hardware City Tools.

Bill's work is faultless, his totes have a gentle, more traditional profile. The better the fit the greater feeling of flow while hand-planing.
Finally, this bevel up jack looks proper.

The small plow received the same treatment.

Bill's tool handles can be found at www.hardwarecitytools.com, If you like what you see you should consider dropping him a line.
Japanese Gennou


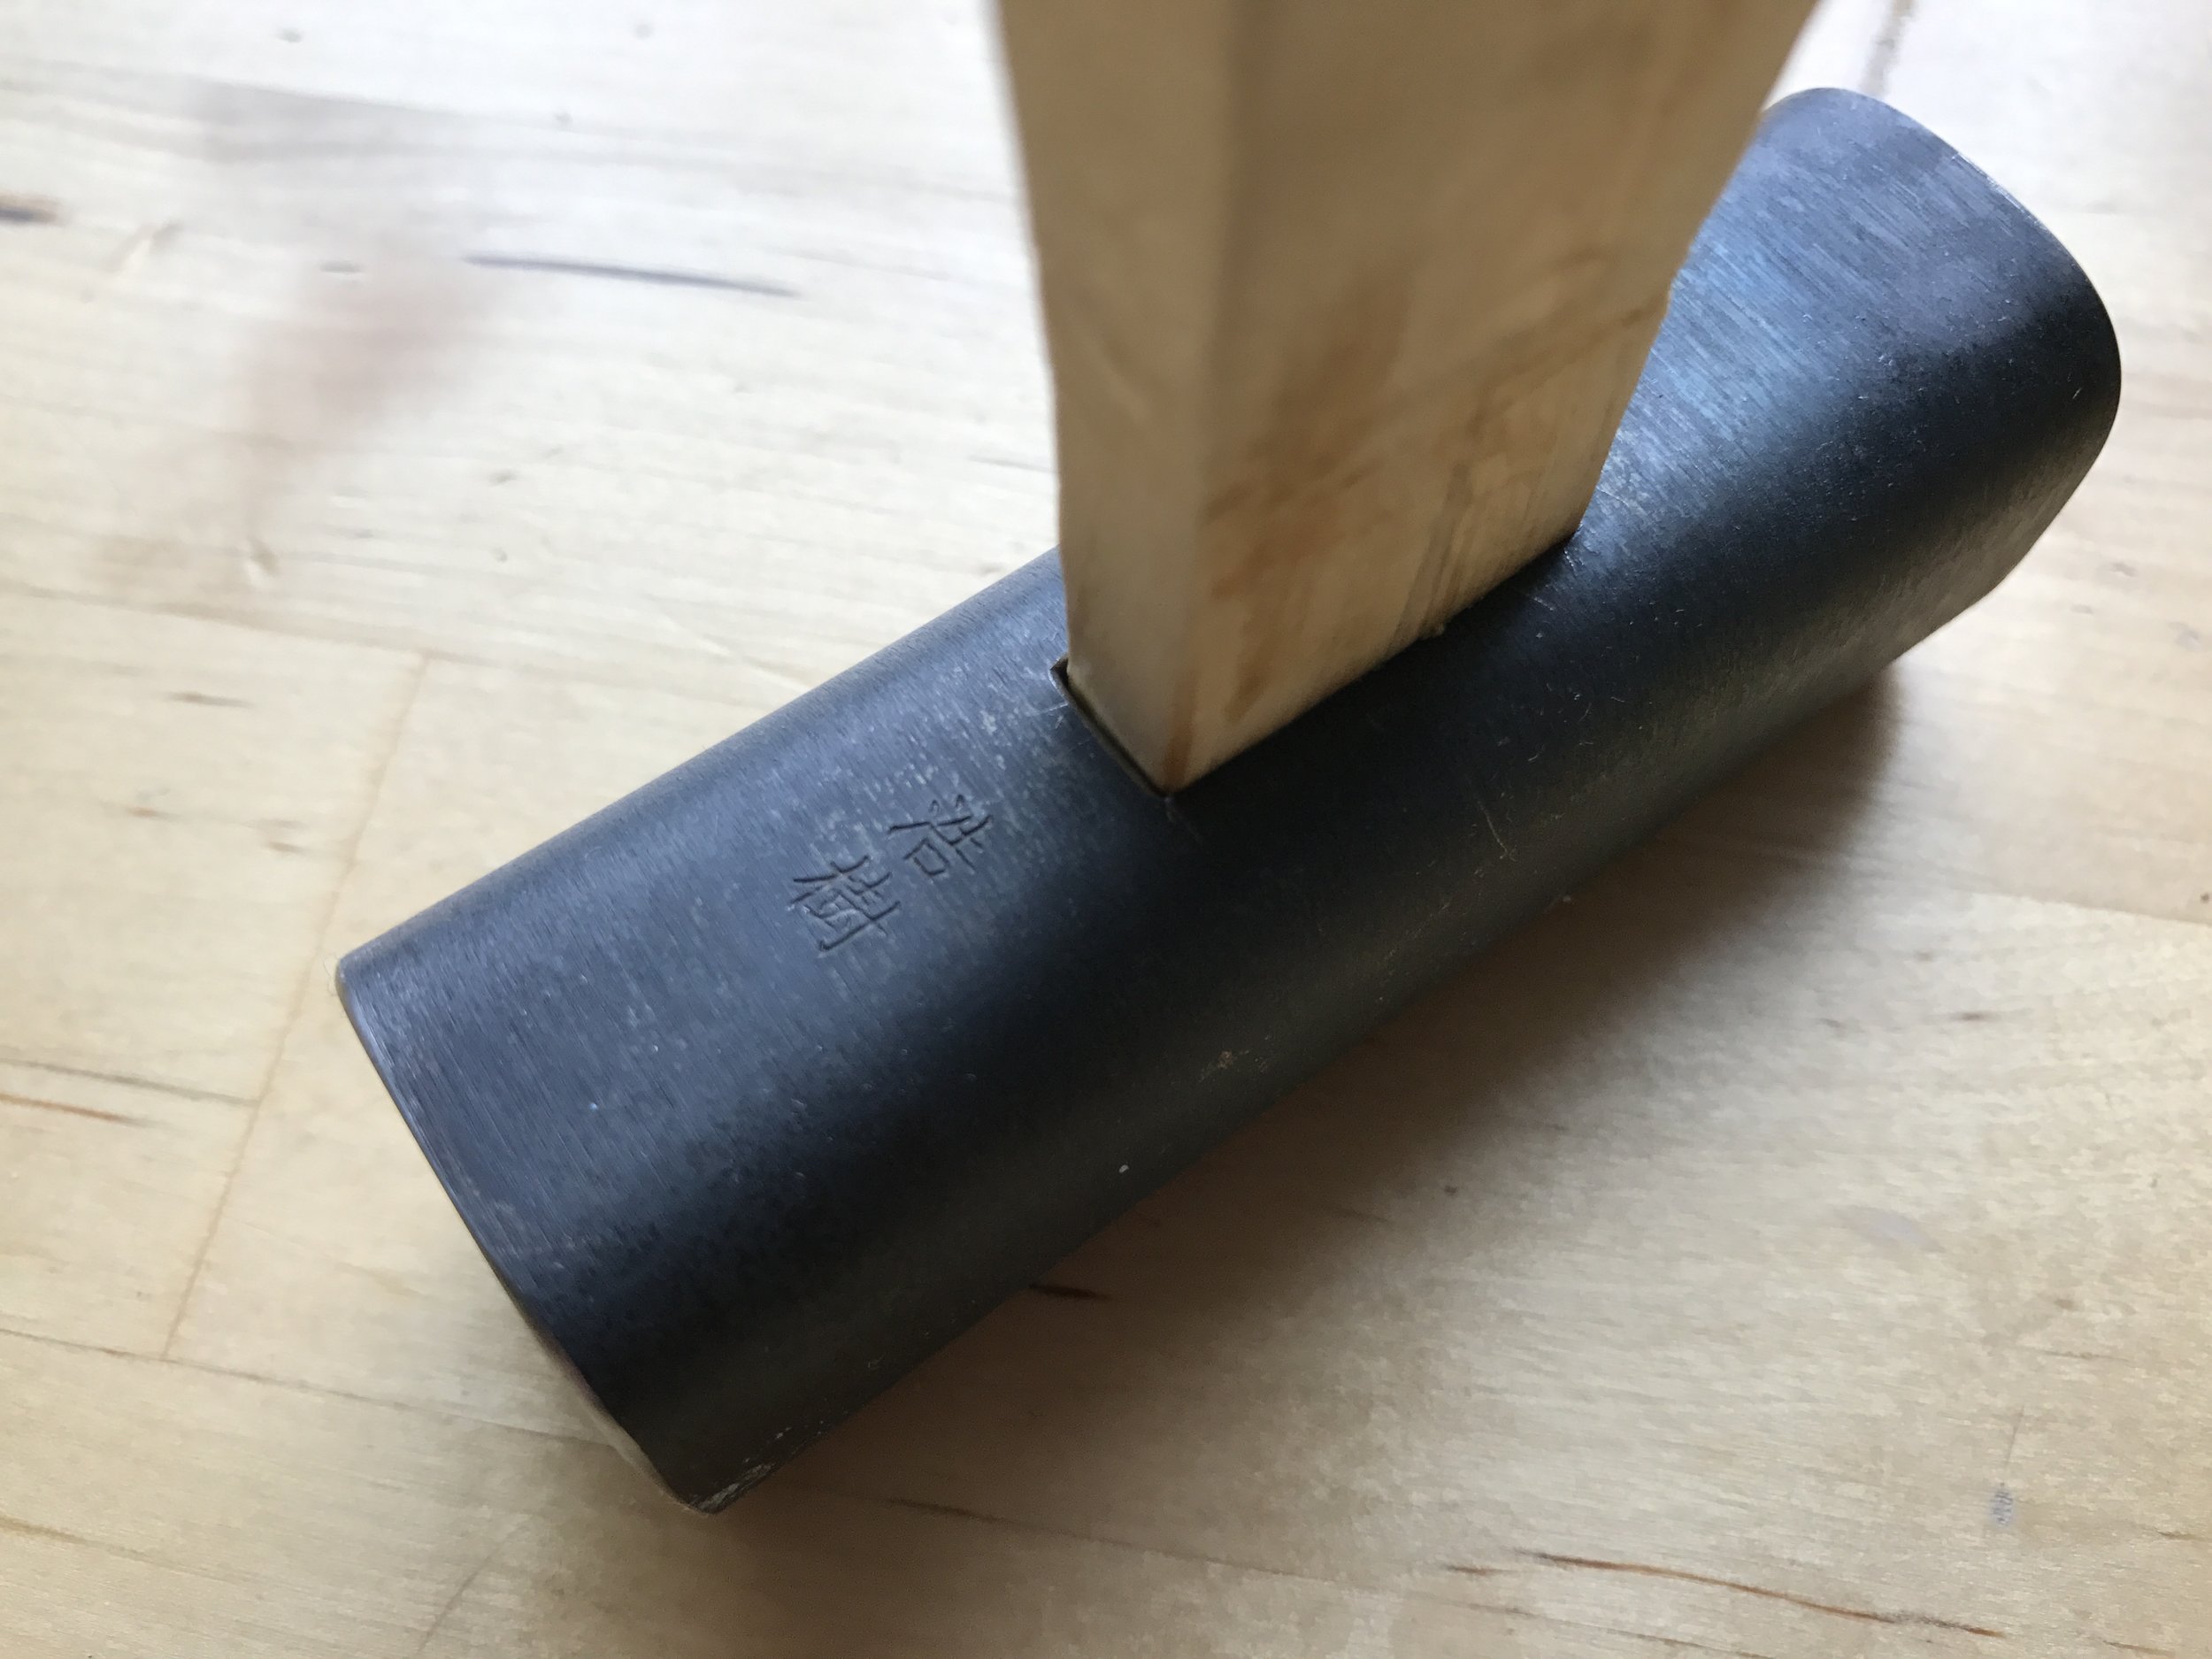

After drying out the gumi for a few weeks it was finally time to fit the head. Filed a chamfer on the underside of the gennou head and did my best to trim the tenon so that it was tight but not too tight. Difficult work to do with just a block plane and a chisel. It Took about 30 or so good thwacks or so to get it on, I had hoped to get it on a little deeper but I can live with it as is. If it loosens up in the future I'll have room to drive it down further. Once set, I applied a little tung oil to the end to swell things up, I was surprised how much the gumi took in. Should have the final shaping done this week, then it's on to setting up my Ouchi yama-ari oire-nomi.
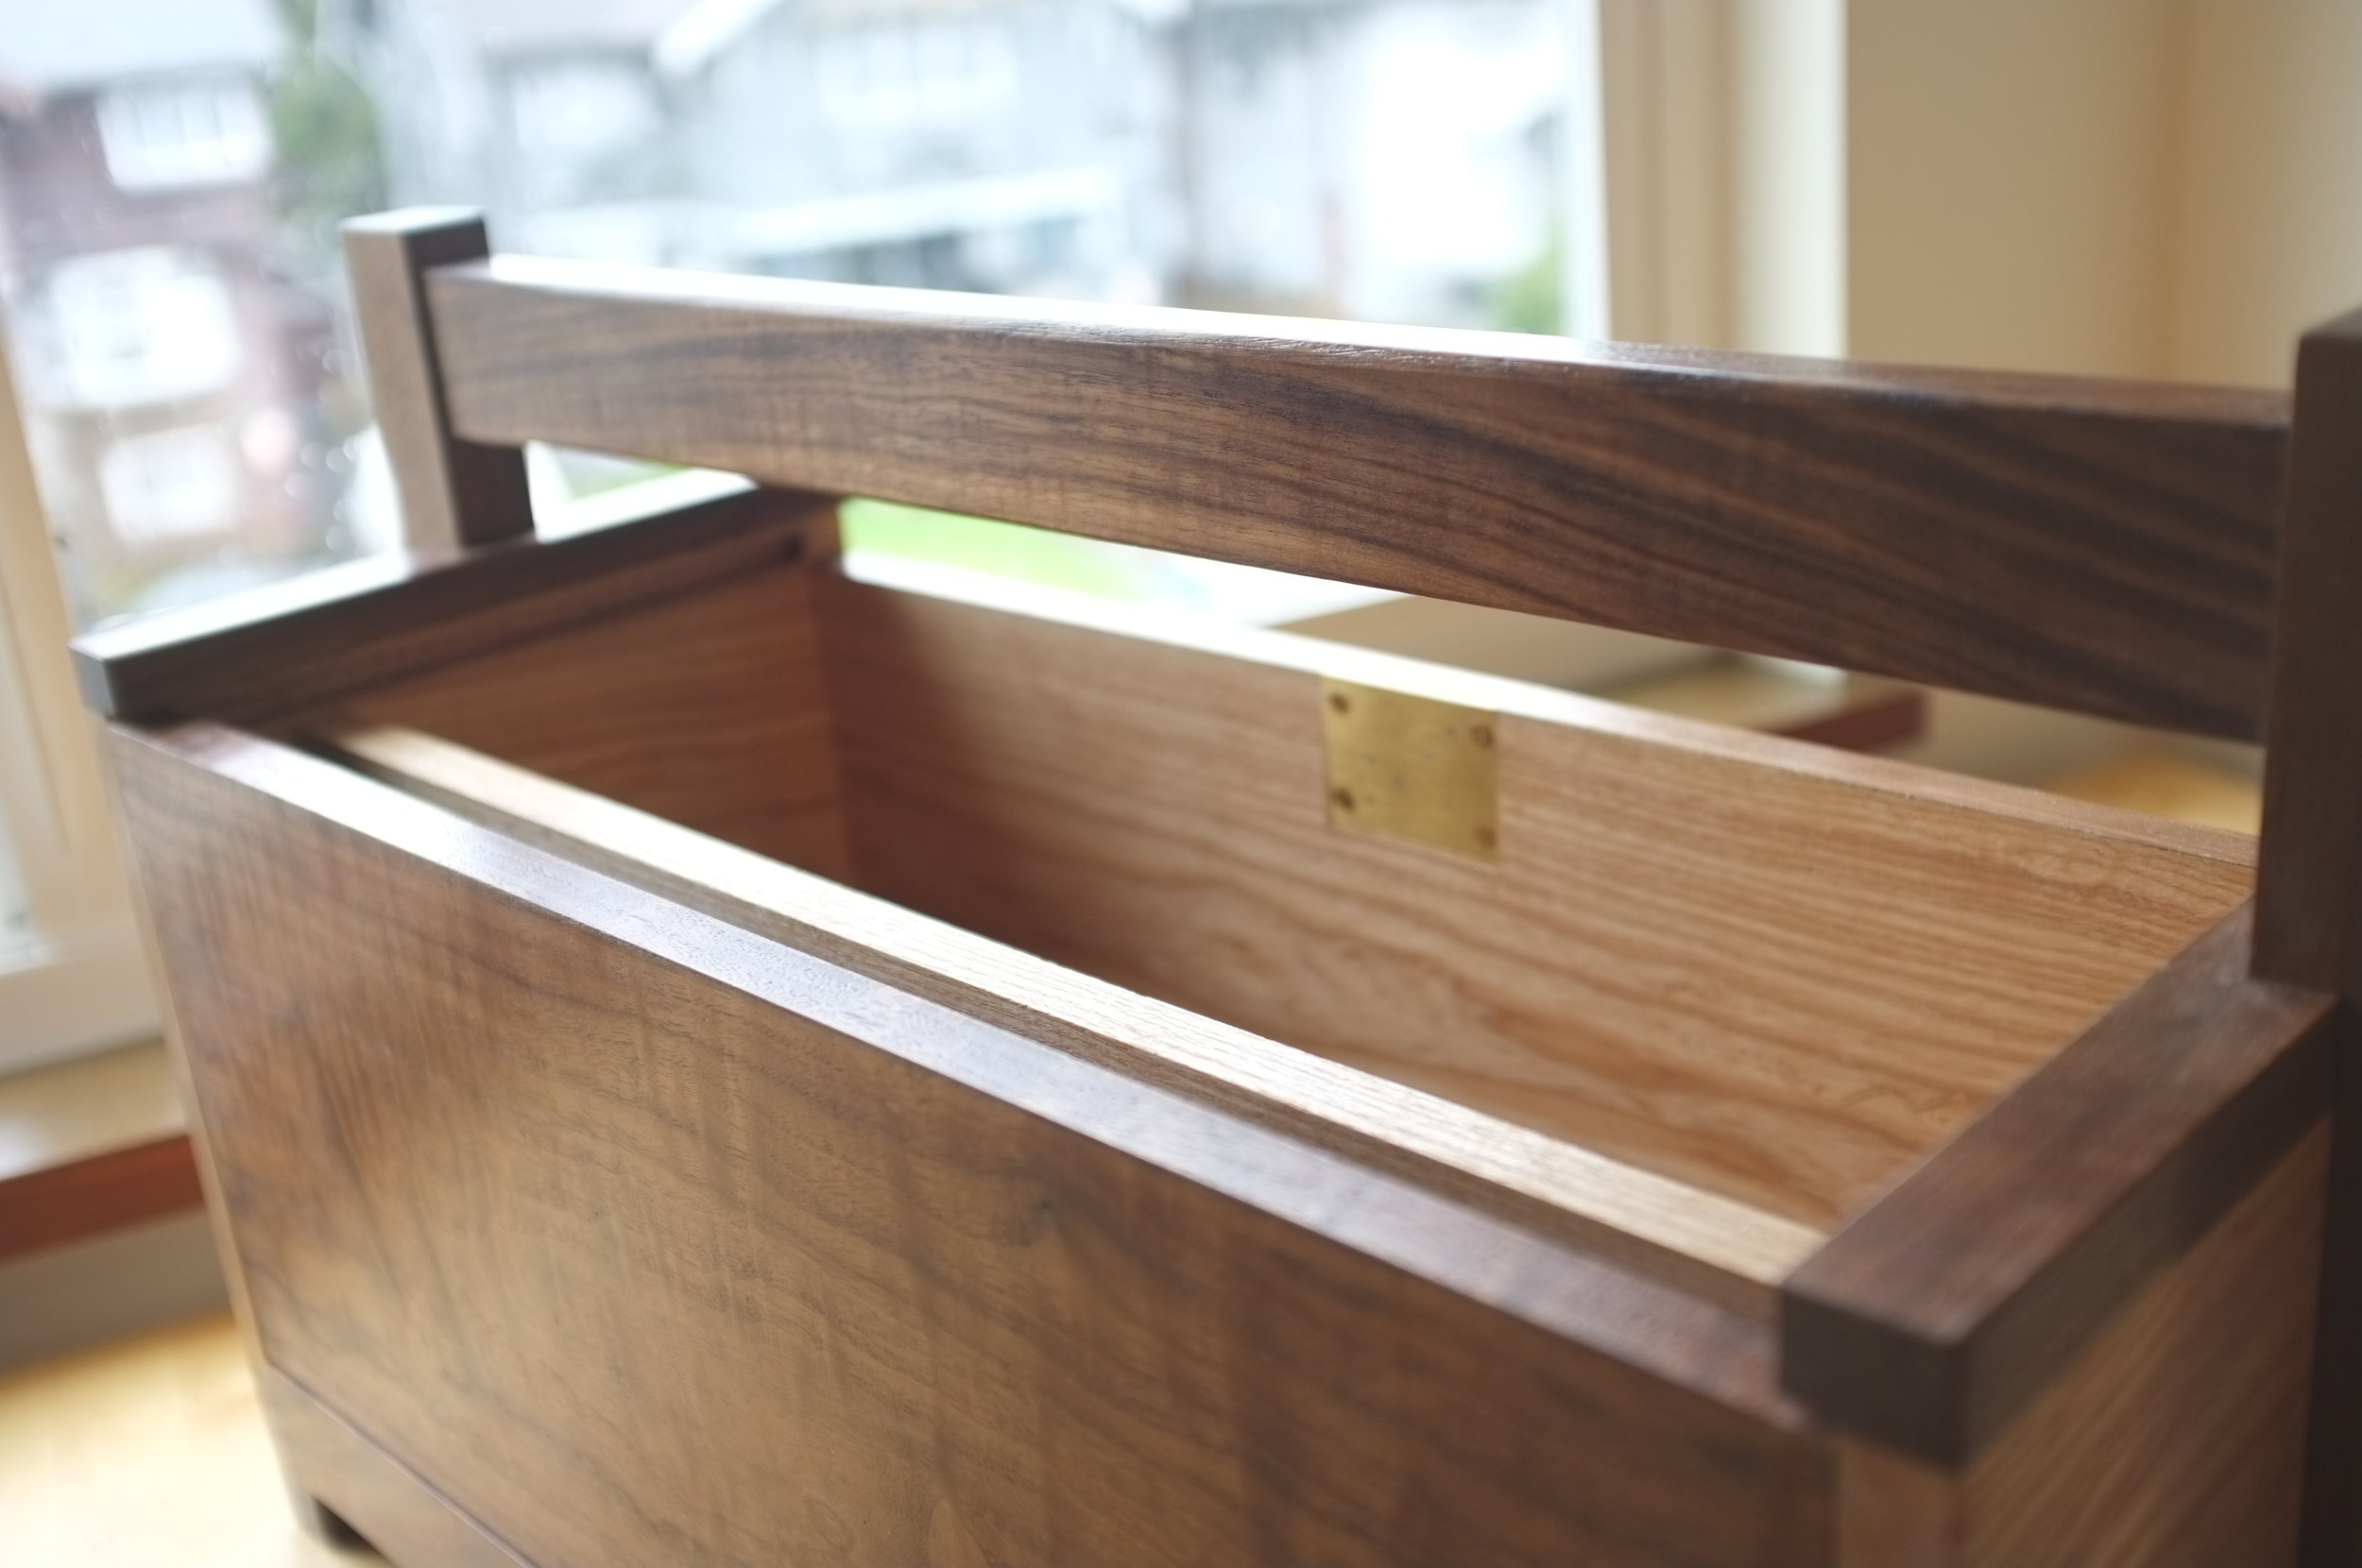
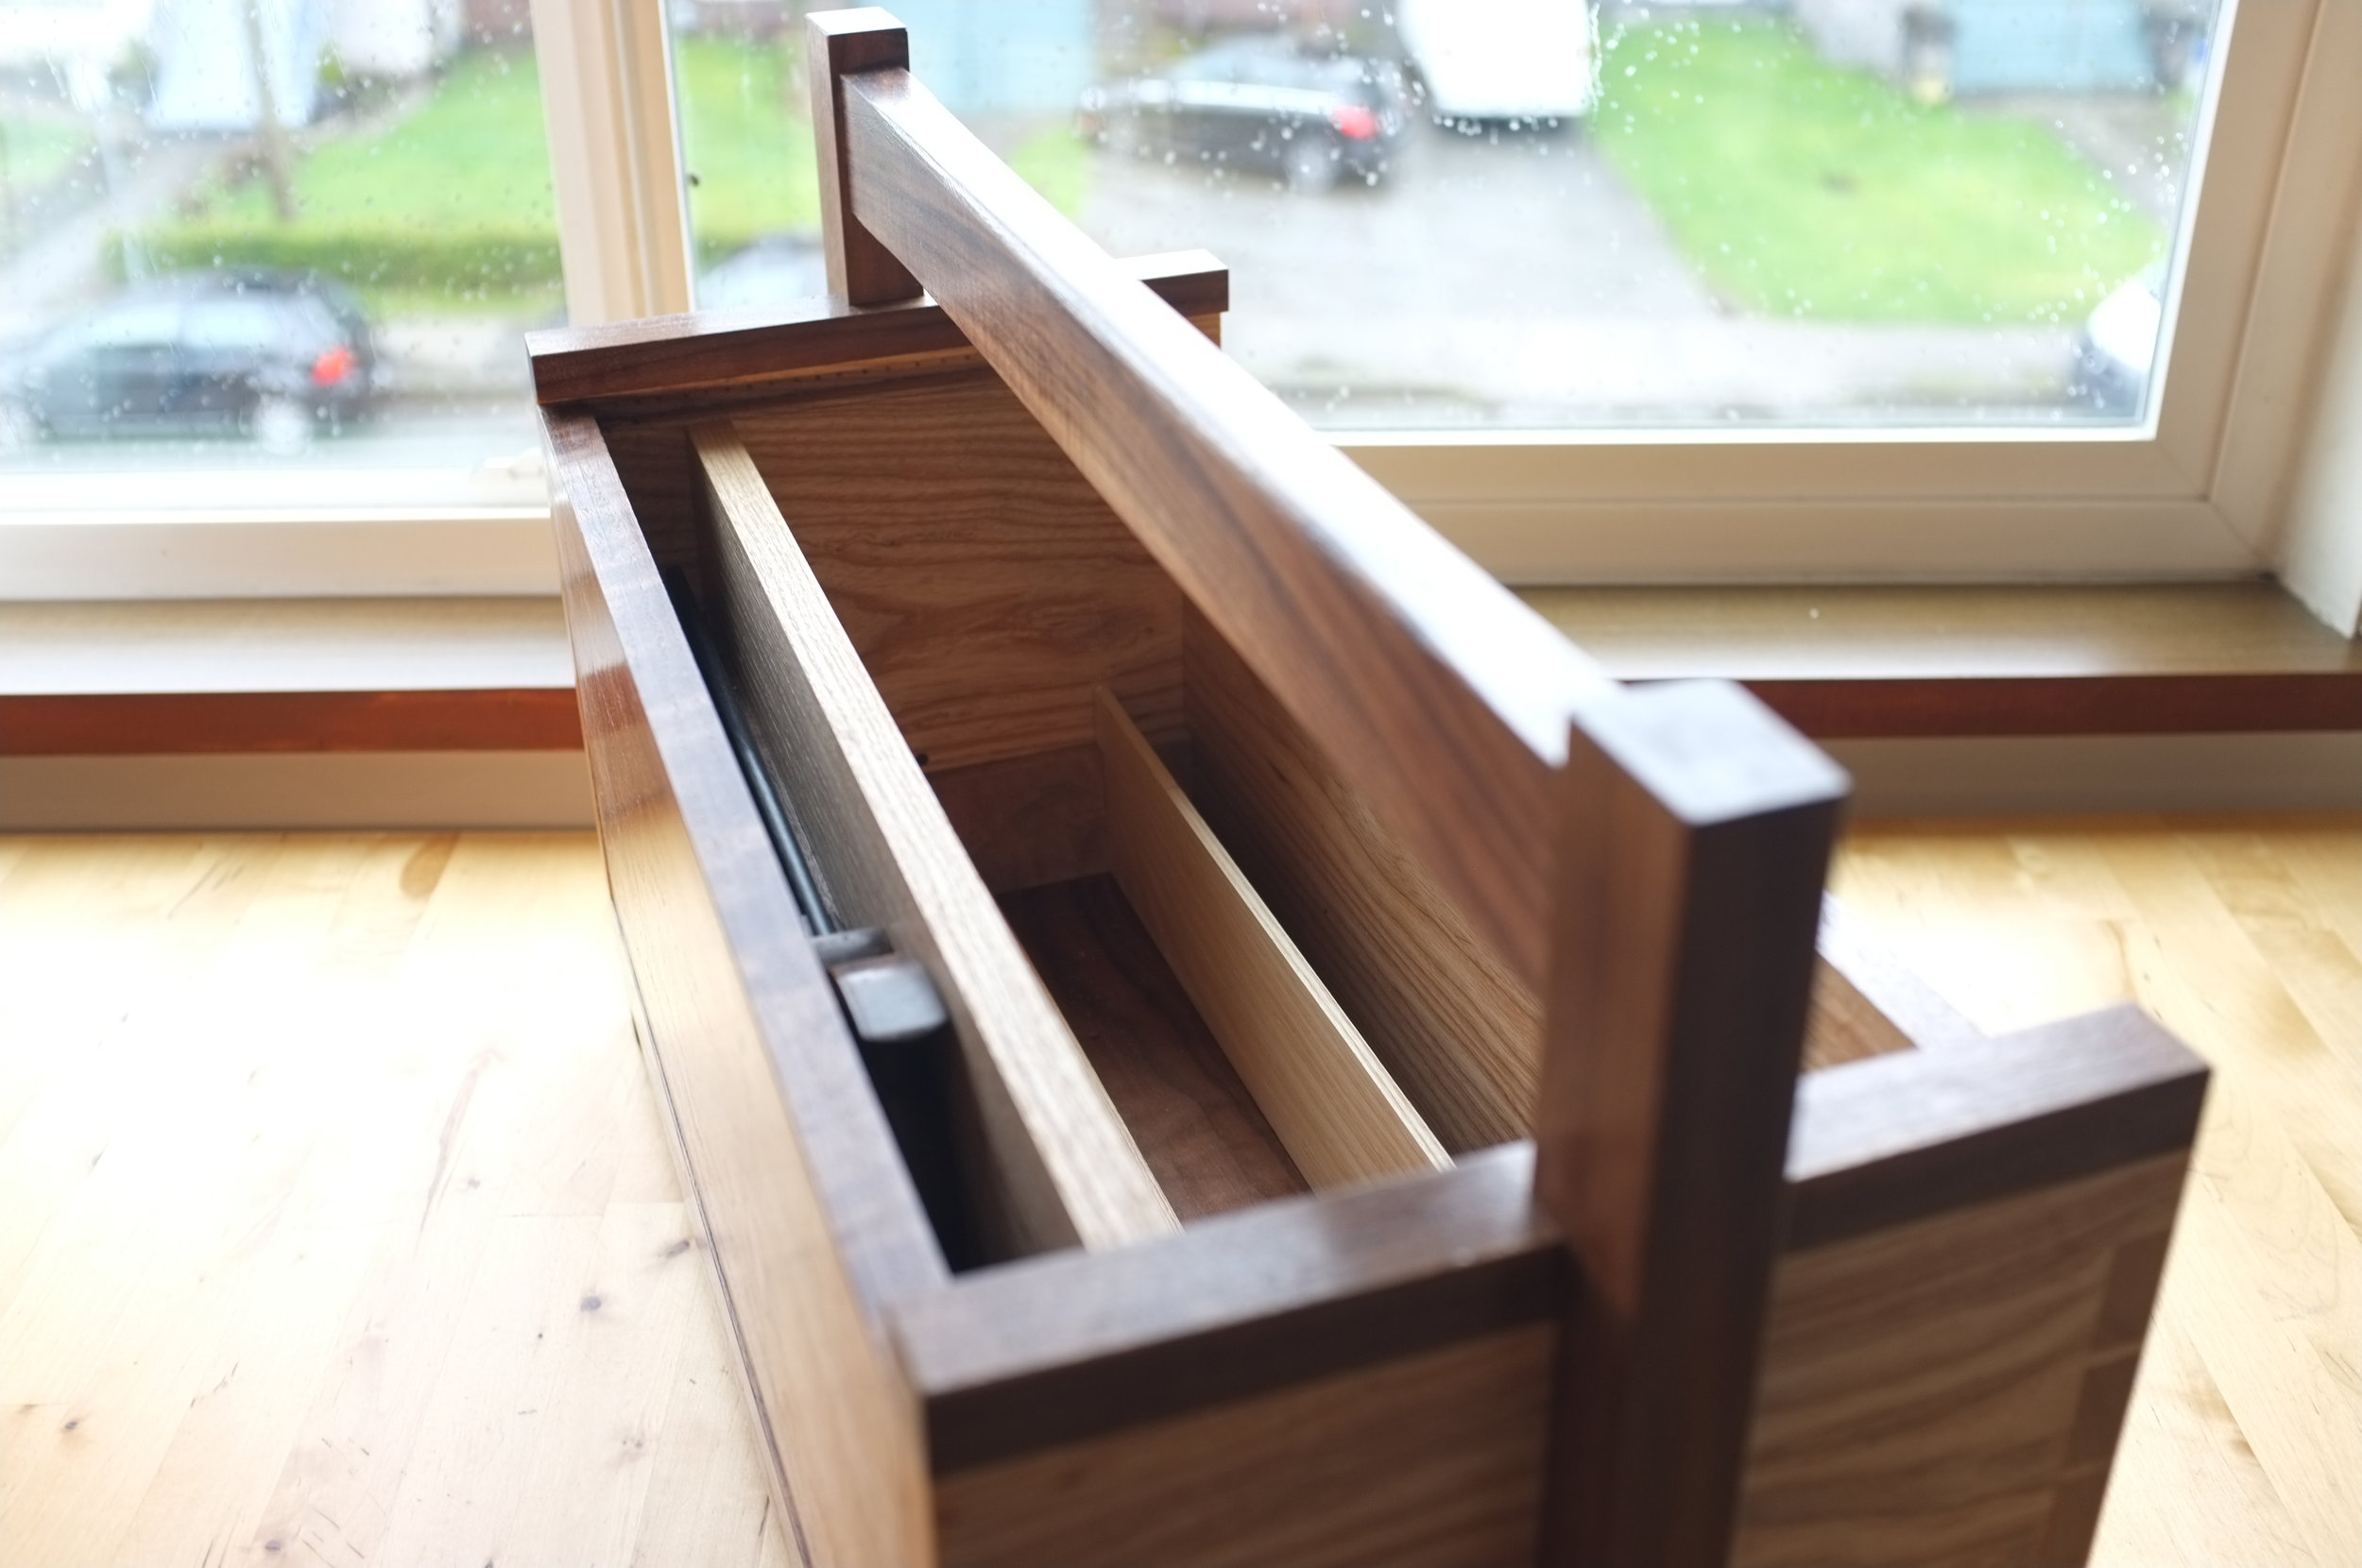
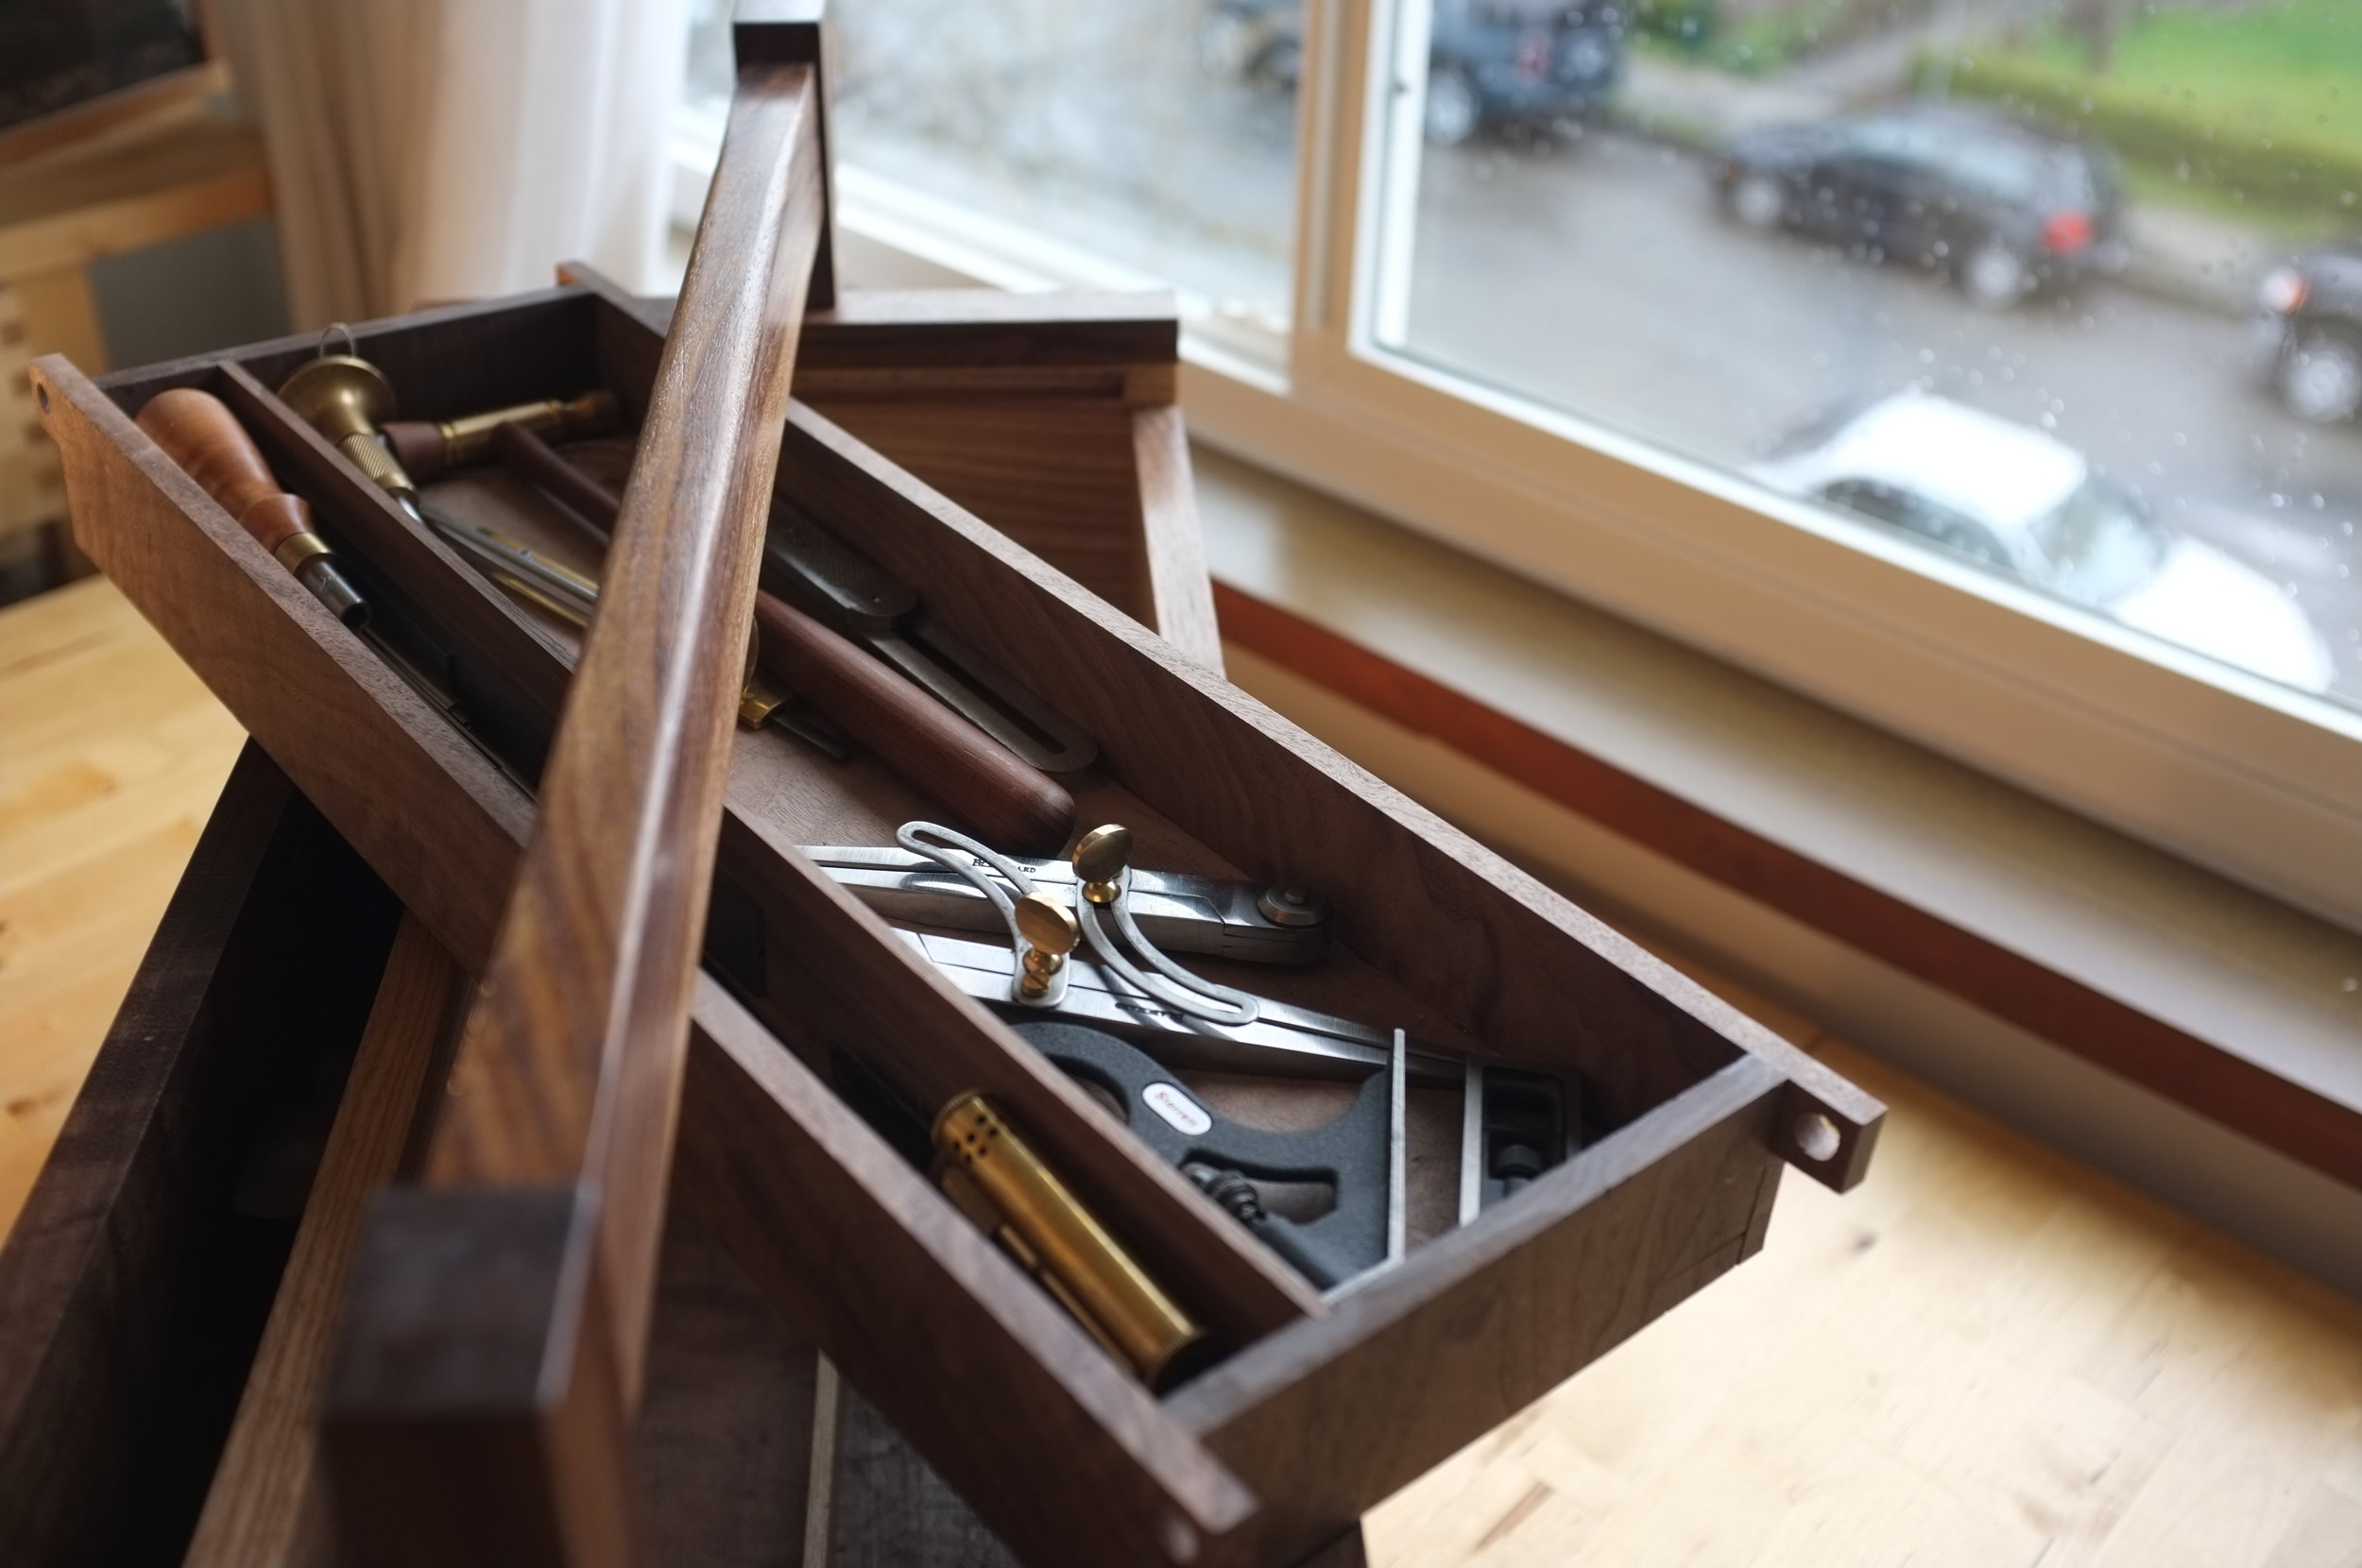
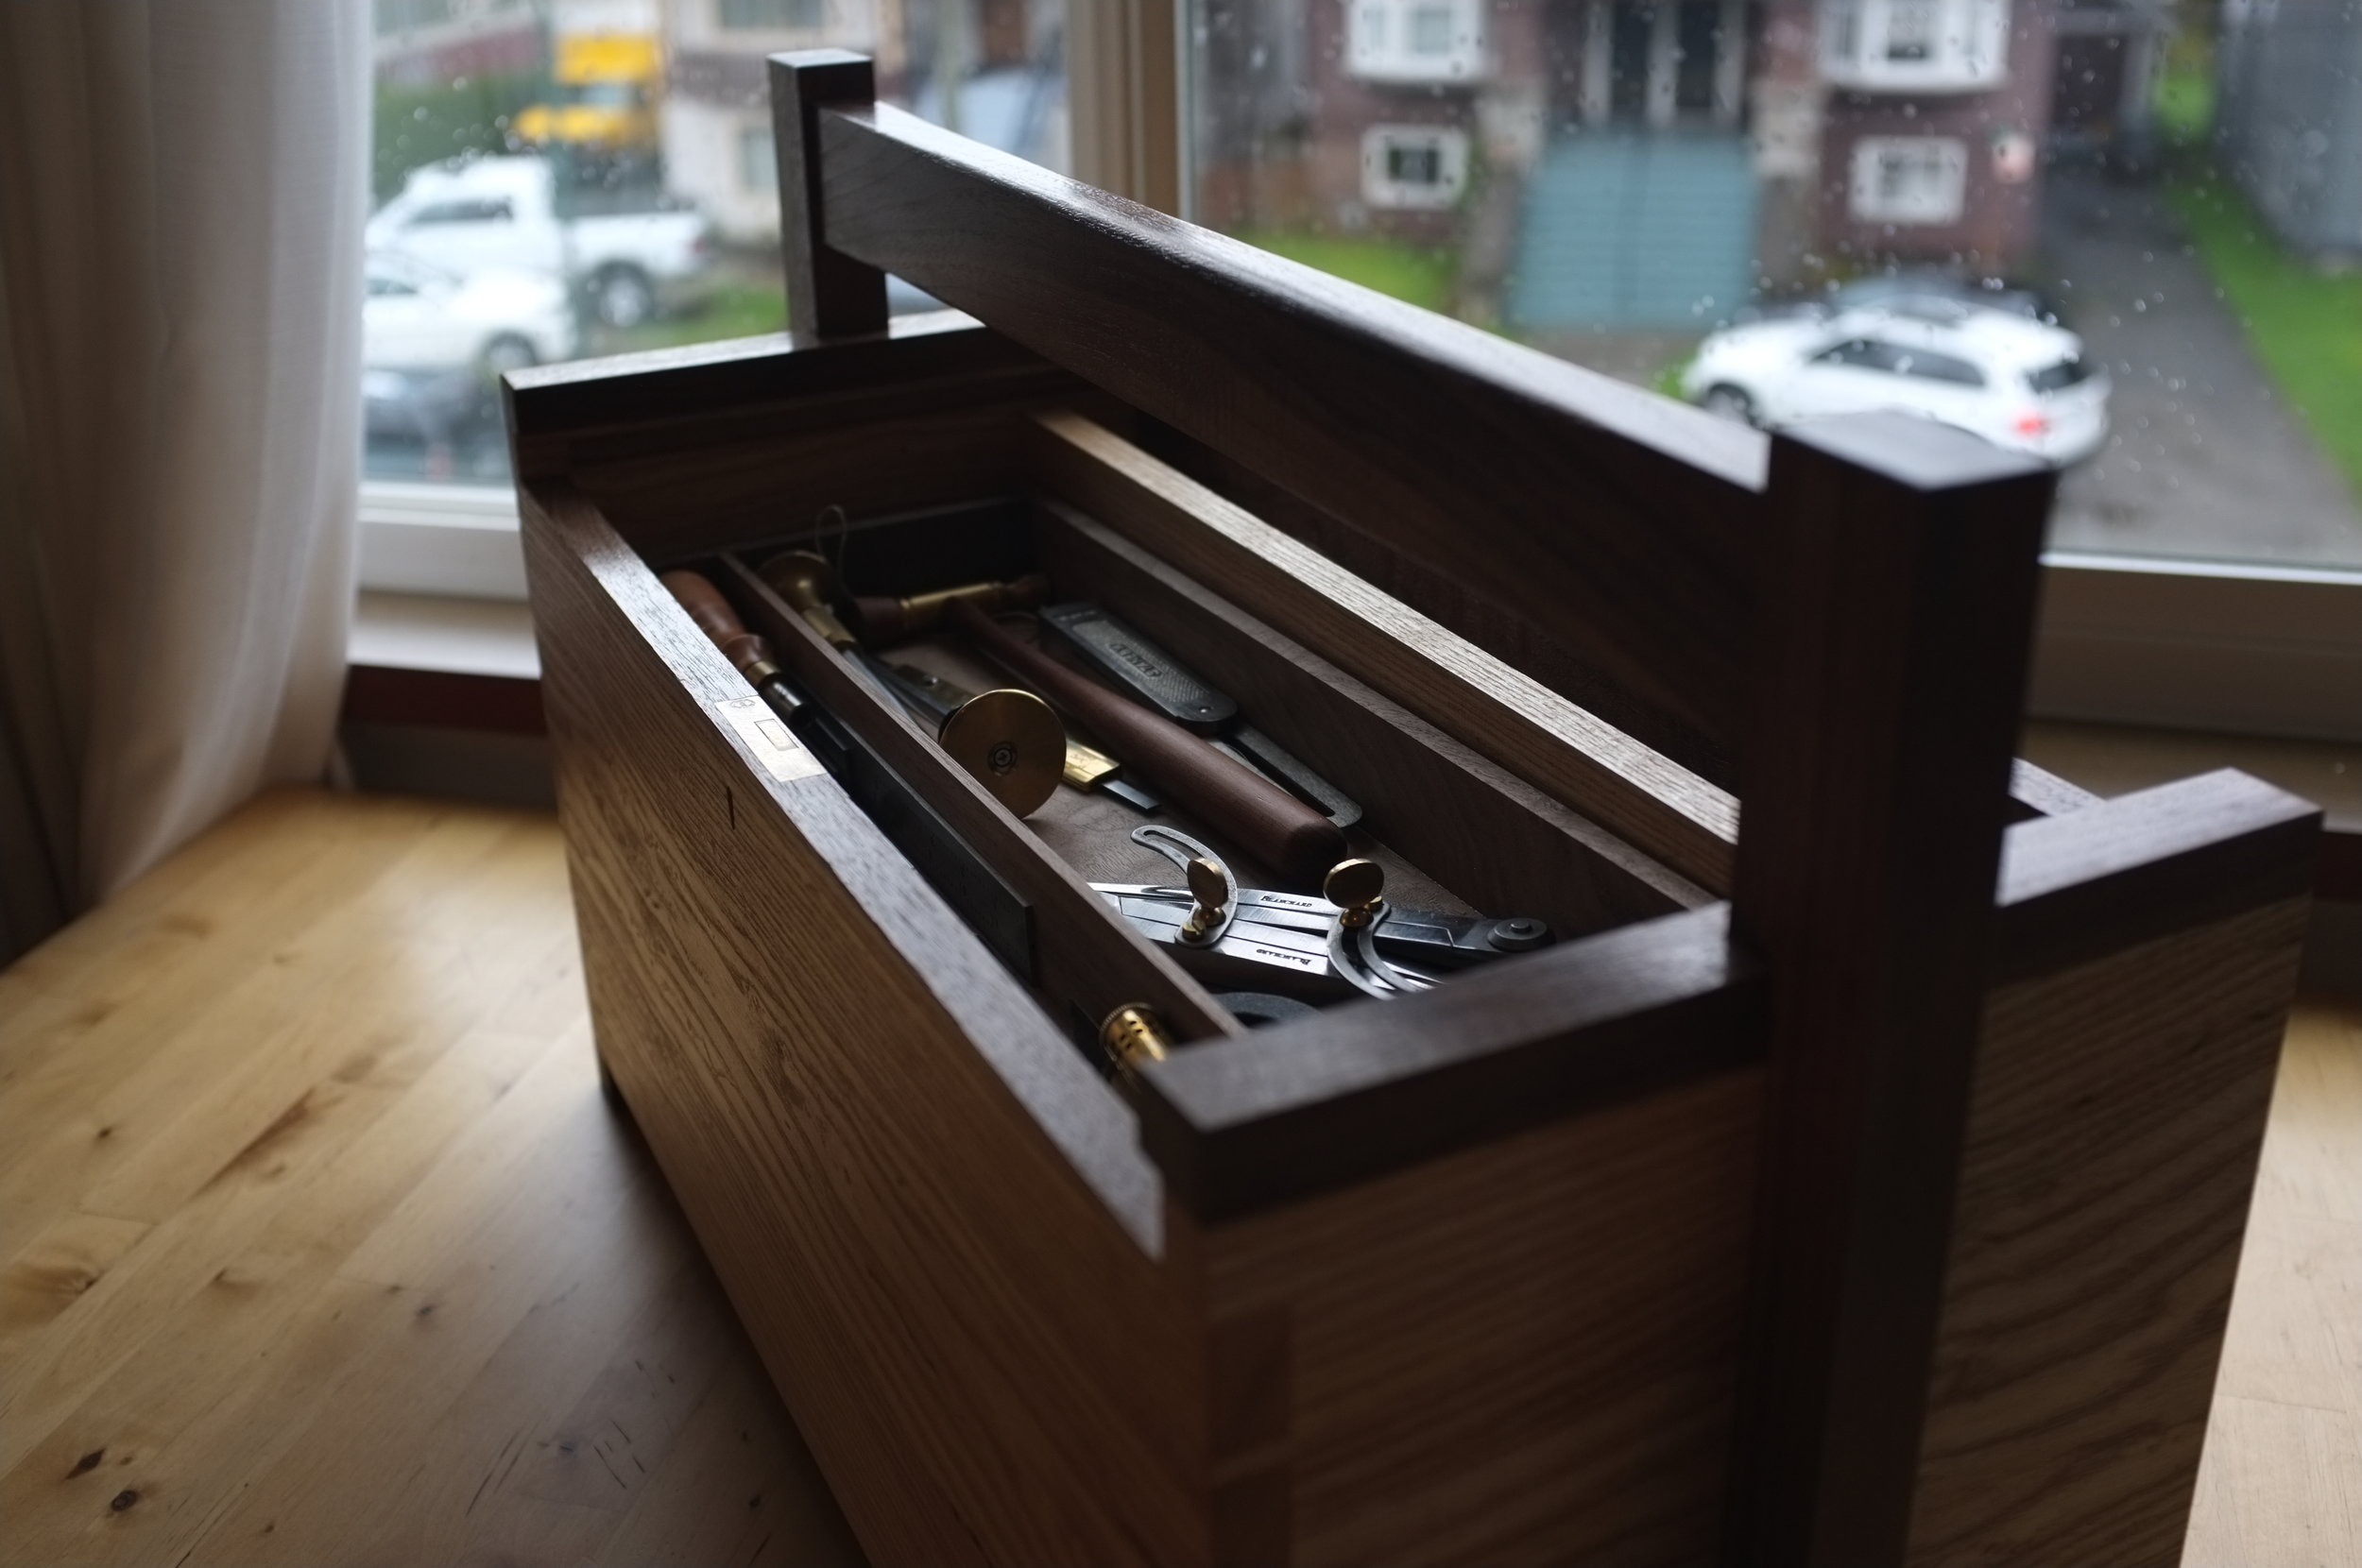
A Cabinetmaker's Toolchest


The Finishing Line

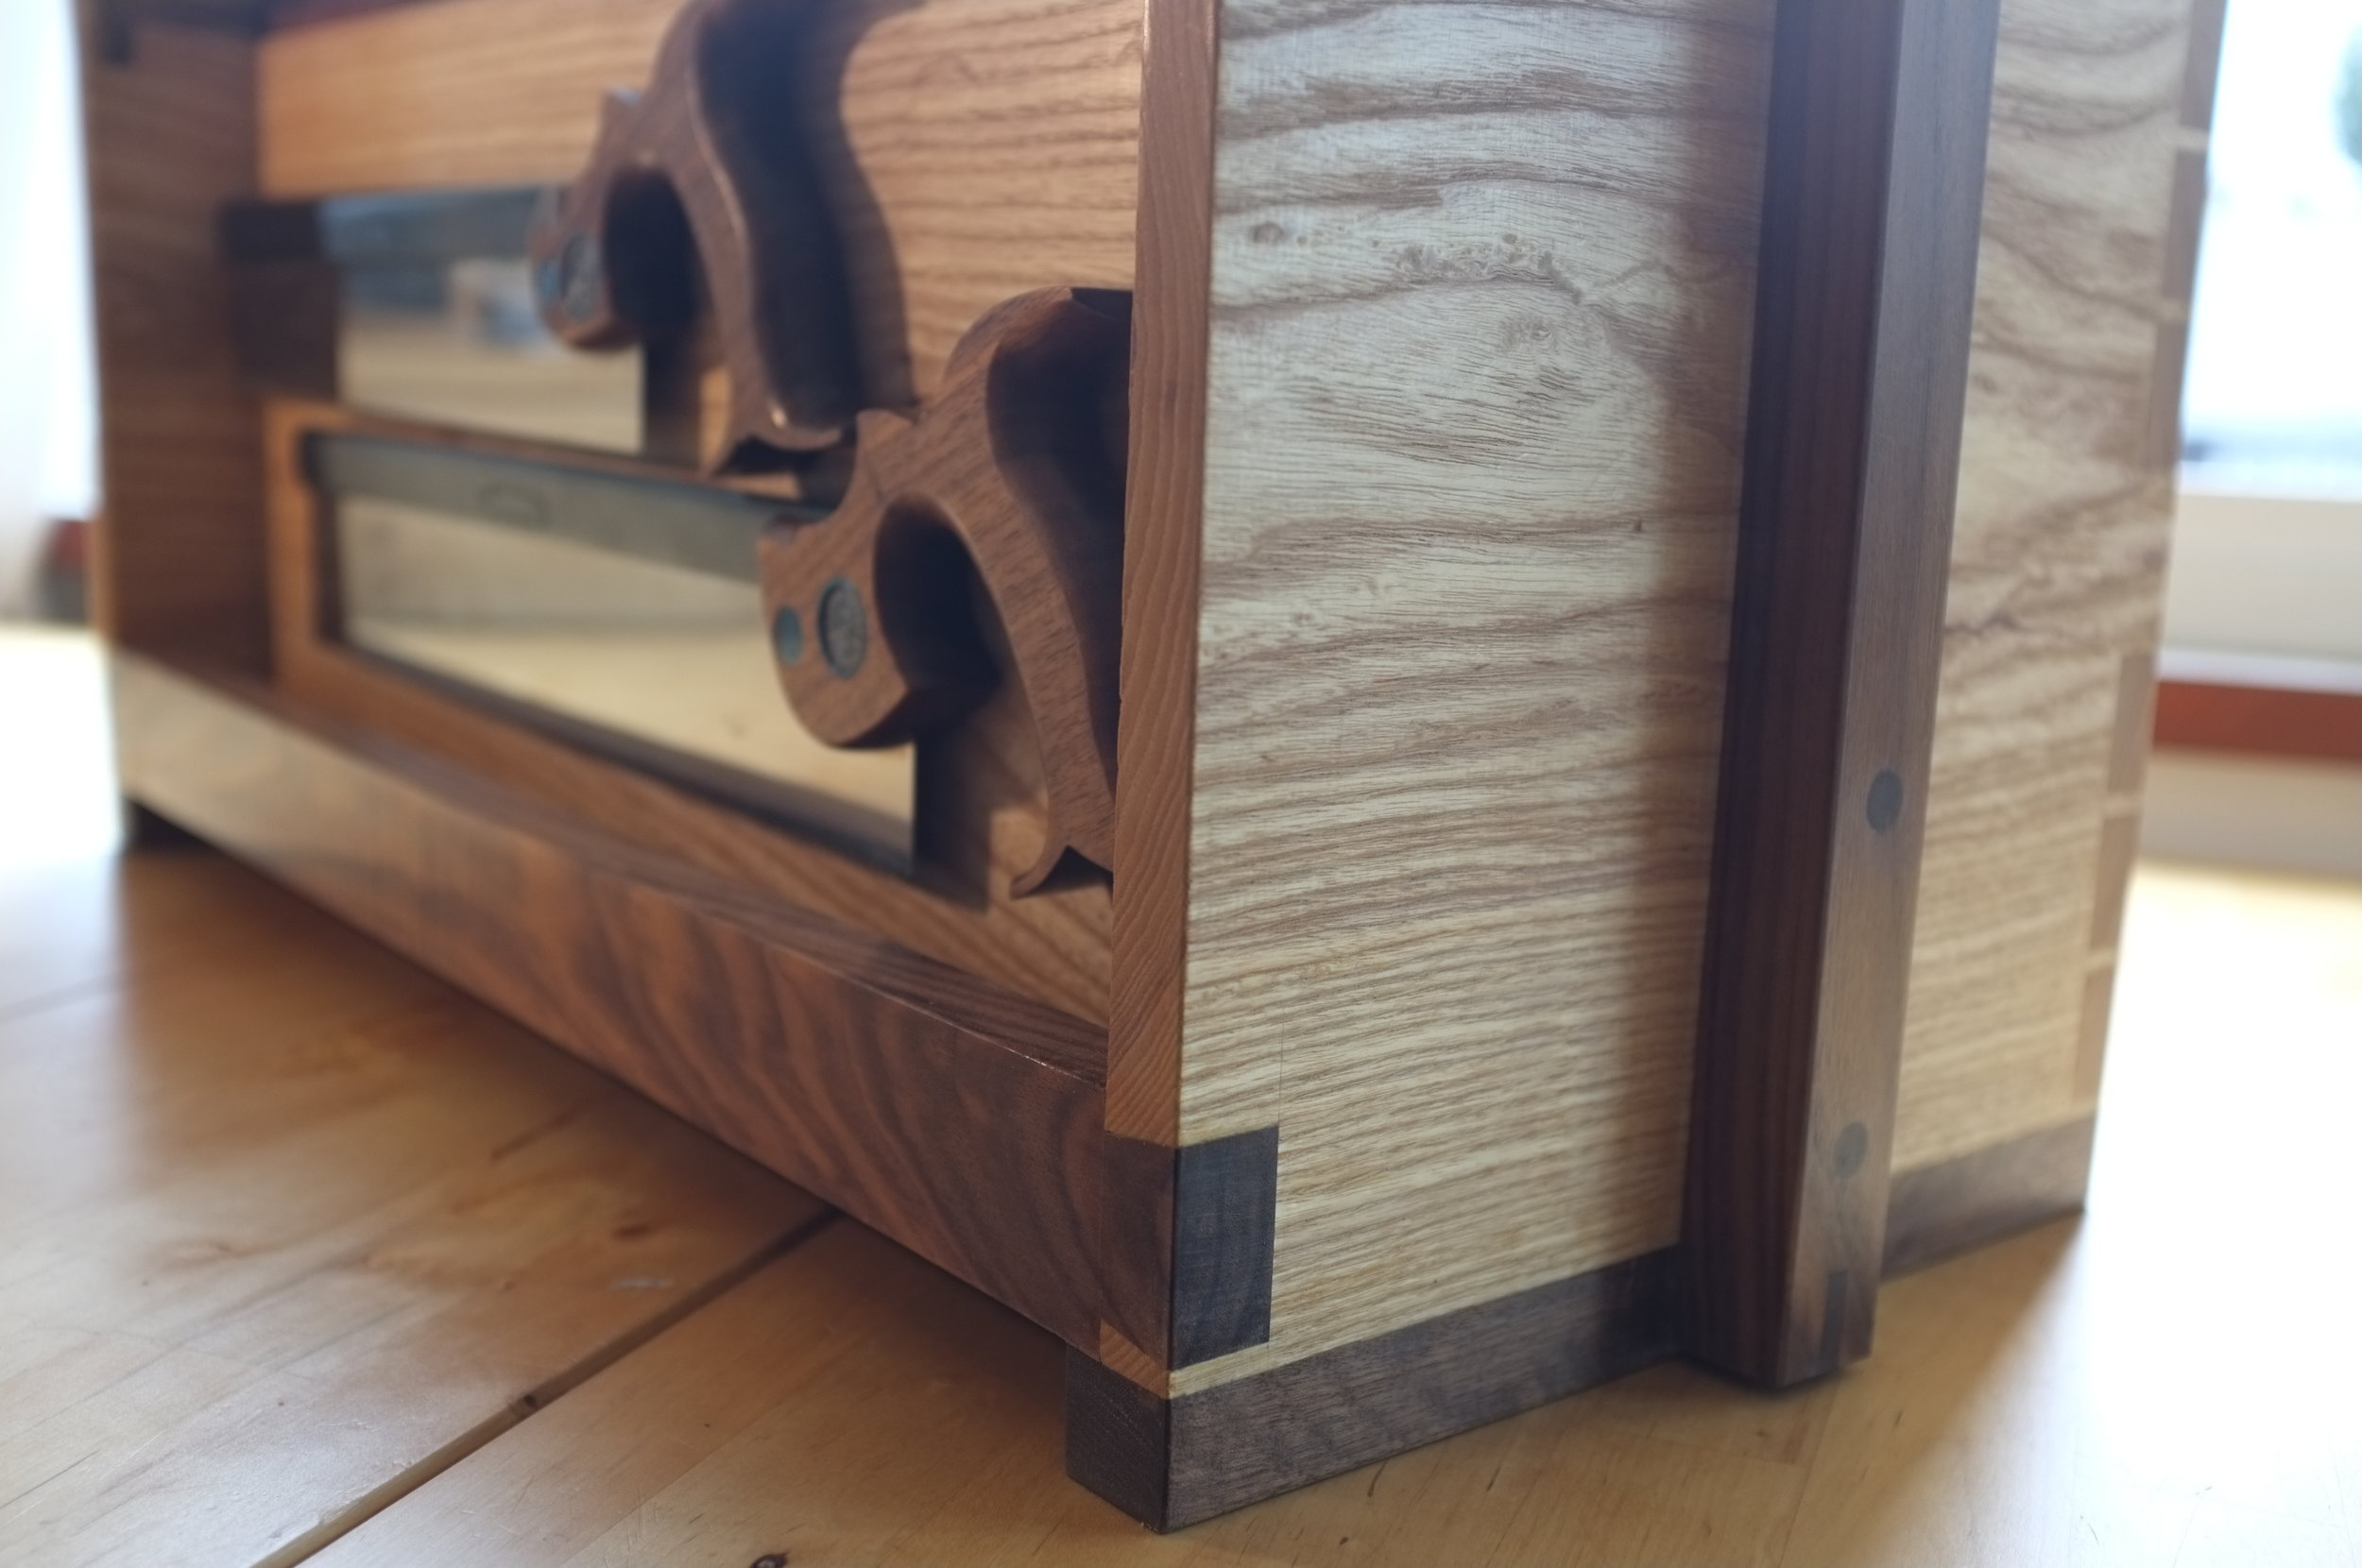
Time to add a little structural insurance. These miller dowels will lock the lower portion of the handle assembly to the carcass while adding visual detail and mechanical strength. They work by creating a tapered hole using a tapered drill bit which is the same profile as the dowels. I really like using these little guys, they're like the western version of Japanese wooden nails.

Though they're not fool proof... I almost drilled into the floating floorboard. I was lucky and just missed it..

A little end-grain paring.
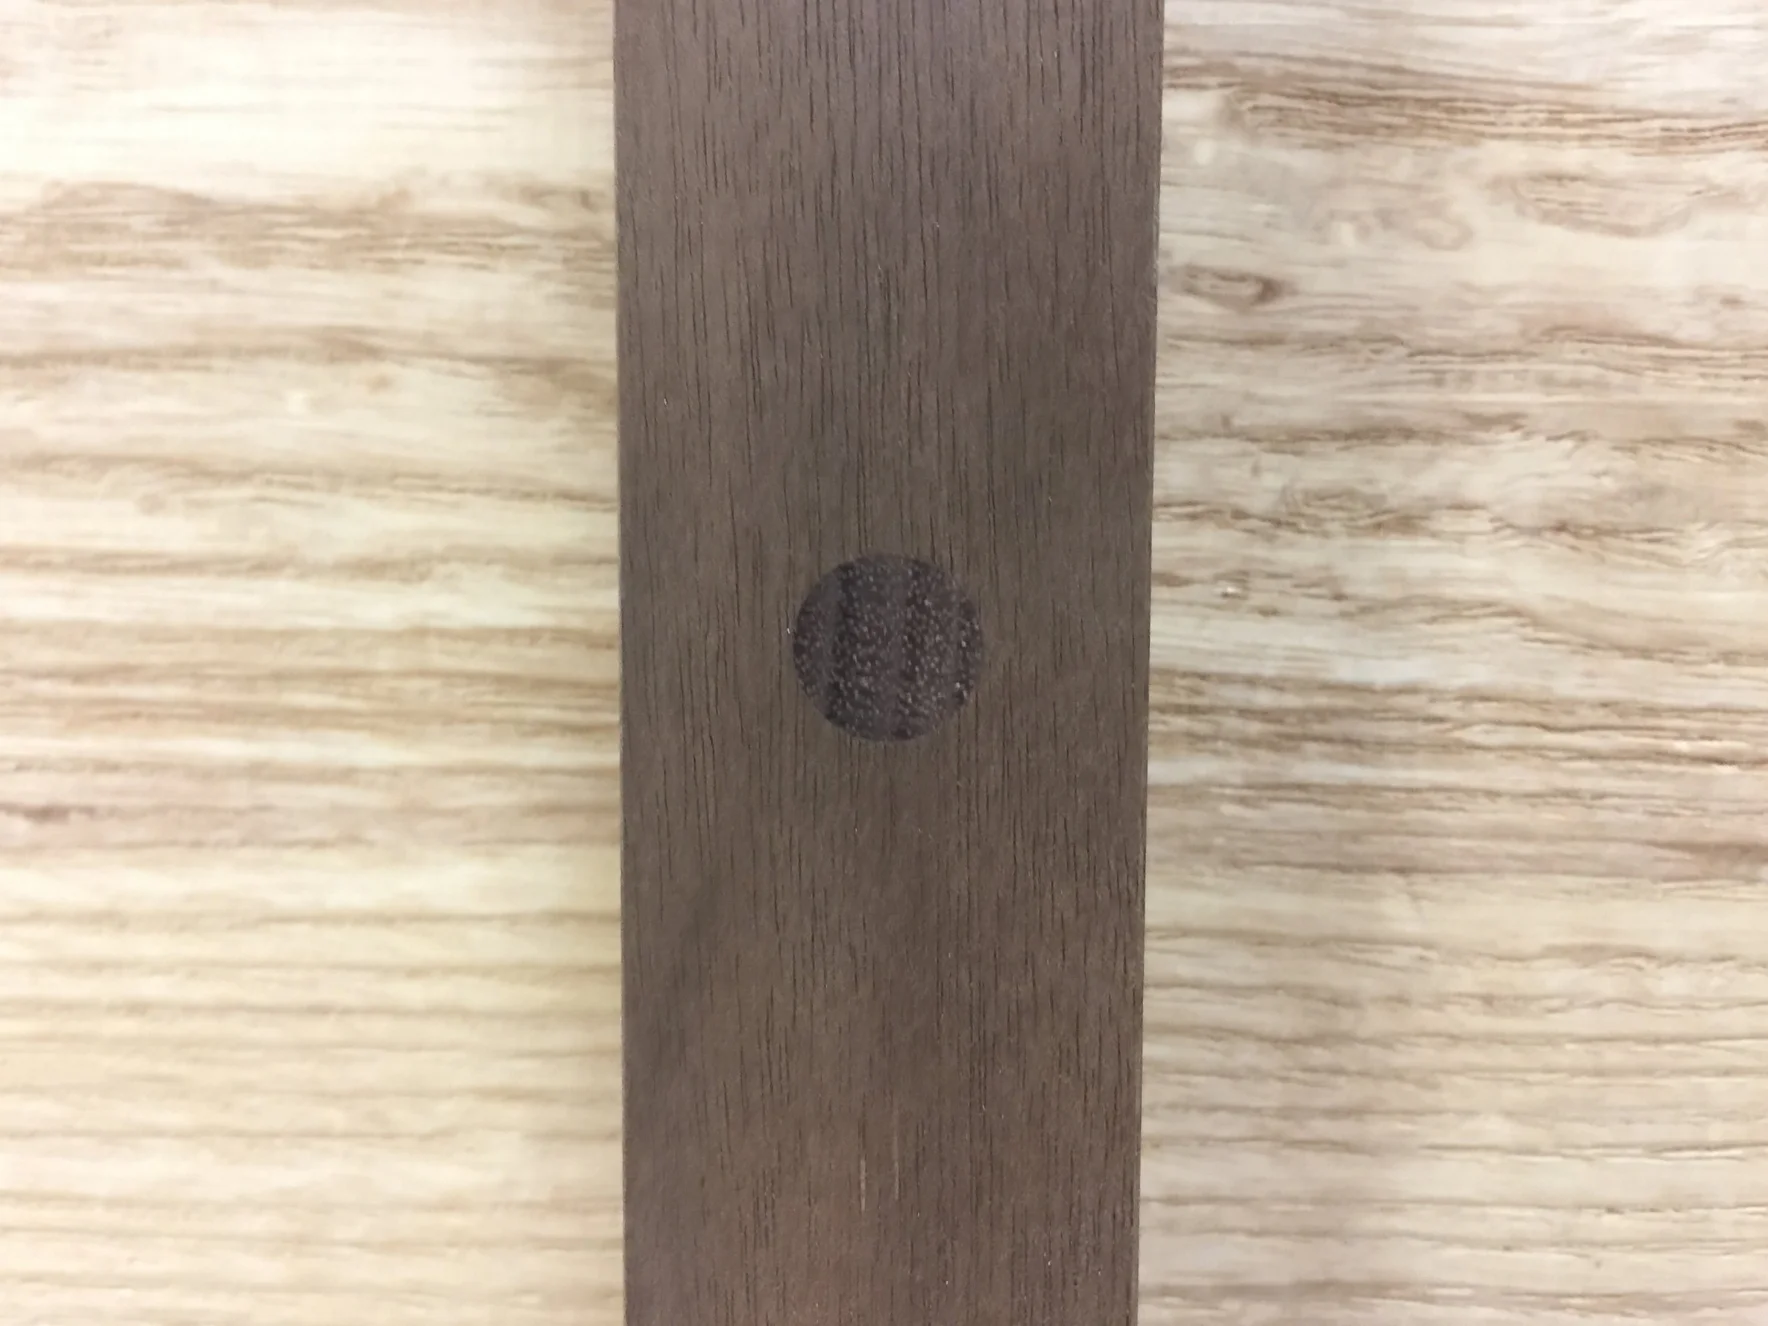
And a little surface planing and we're done.
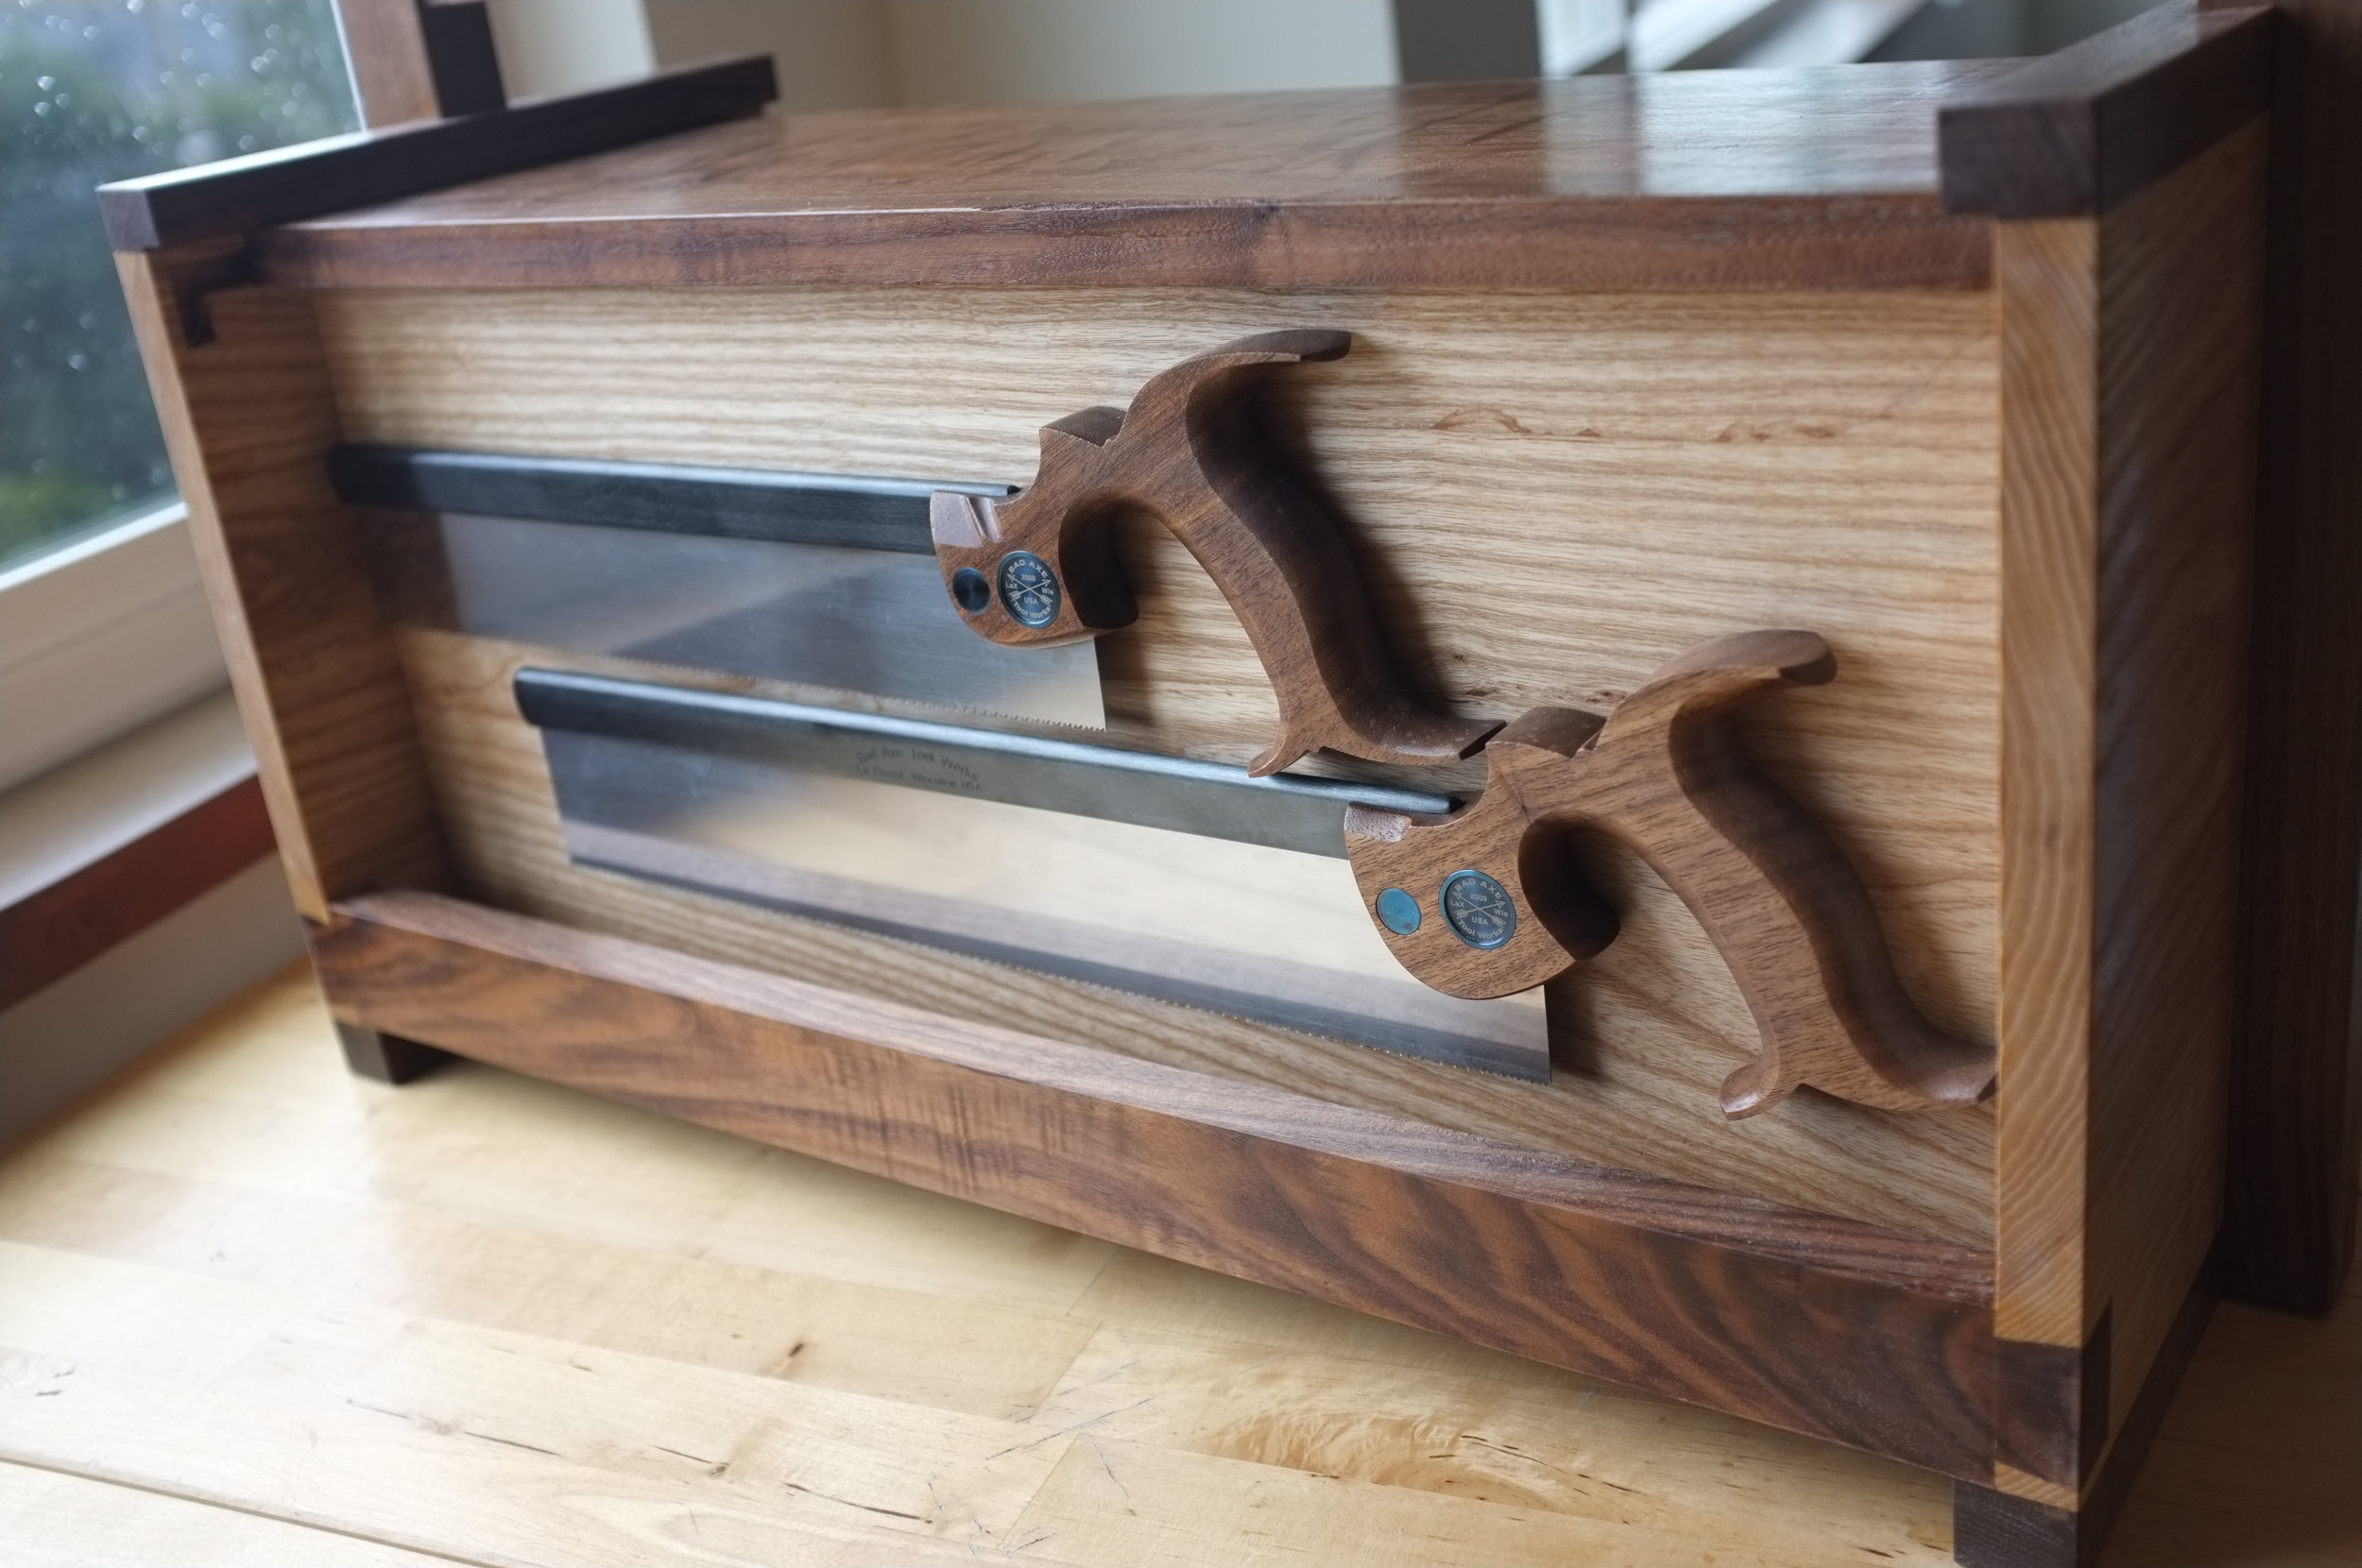
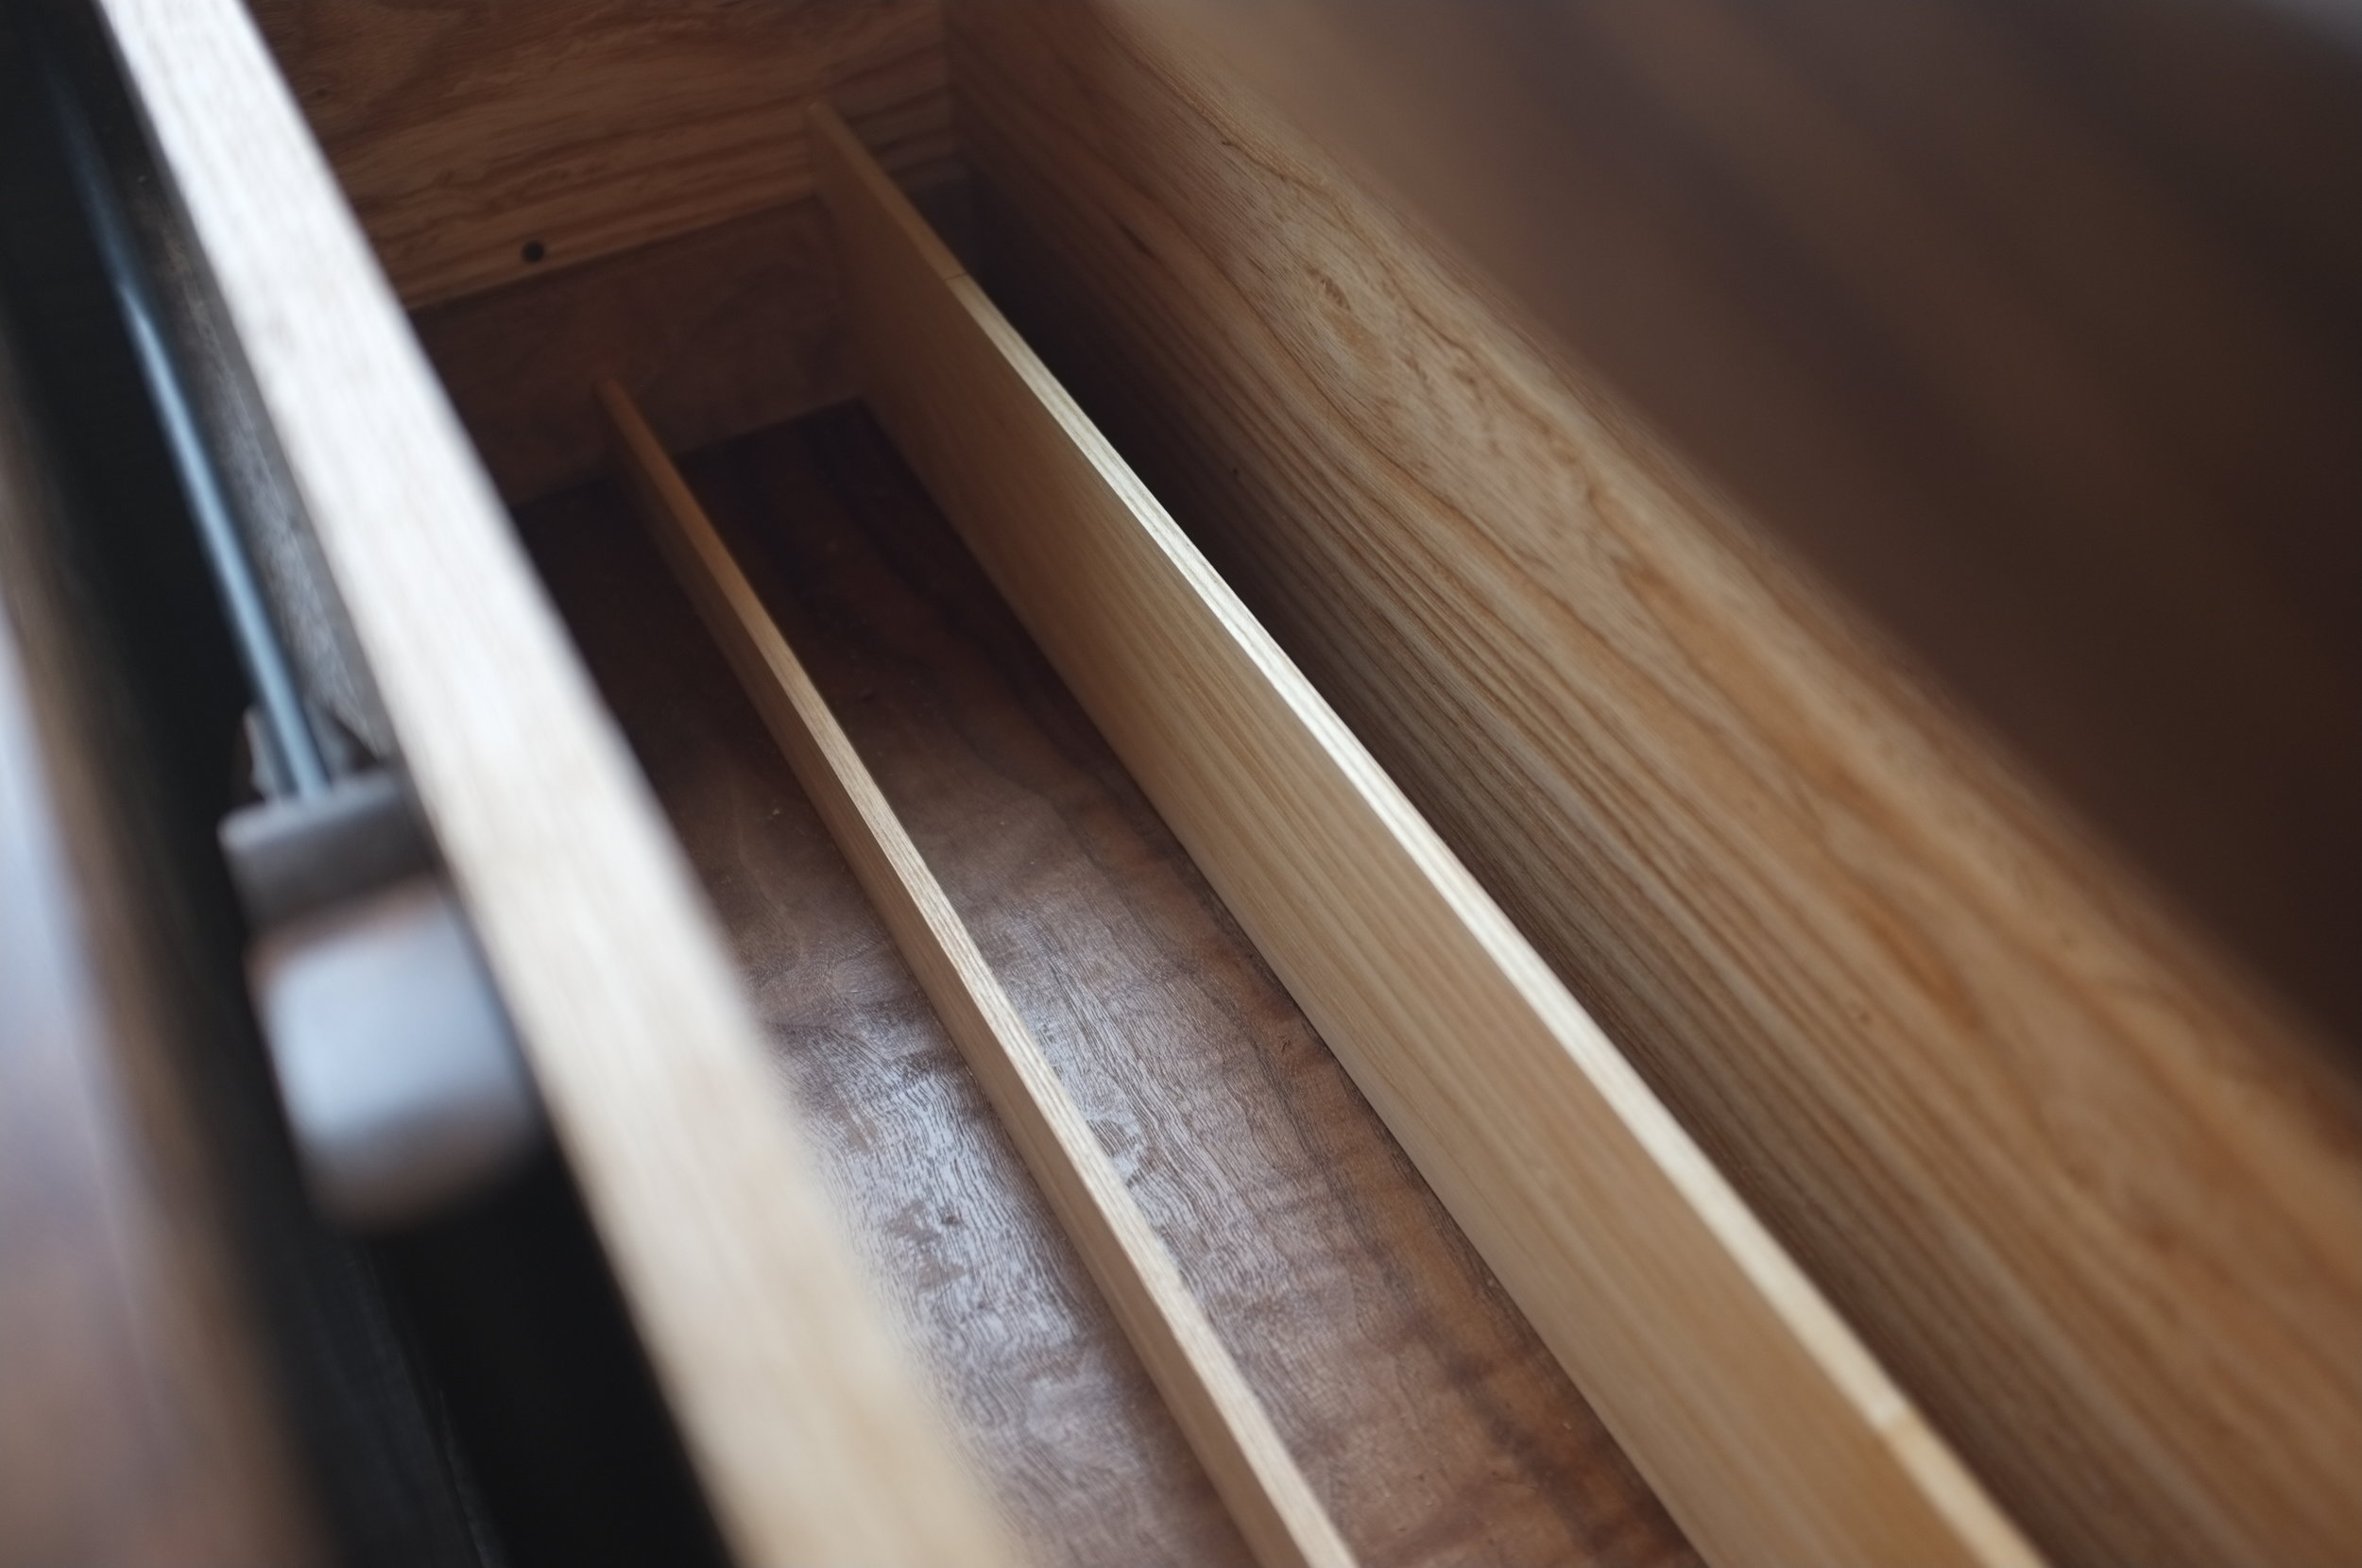
Remember those magnetic saw holders? It's time to mount them, again using miller dowels, though this time using the smallest size. It was a little tricky to get the alignment right, there needed to be enough clearance to allow the lid to close and the saws to be positioned so that they were spaced without interfering with each other.

I think it worked out A-Okay.

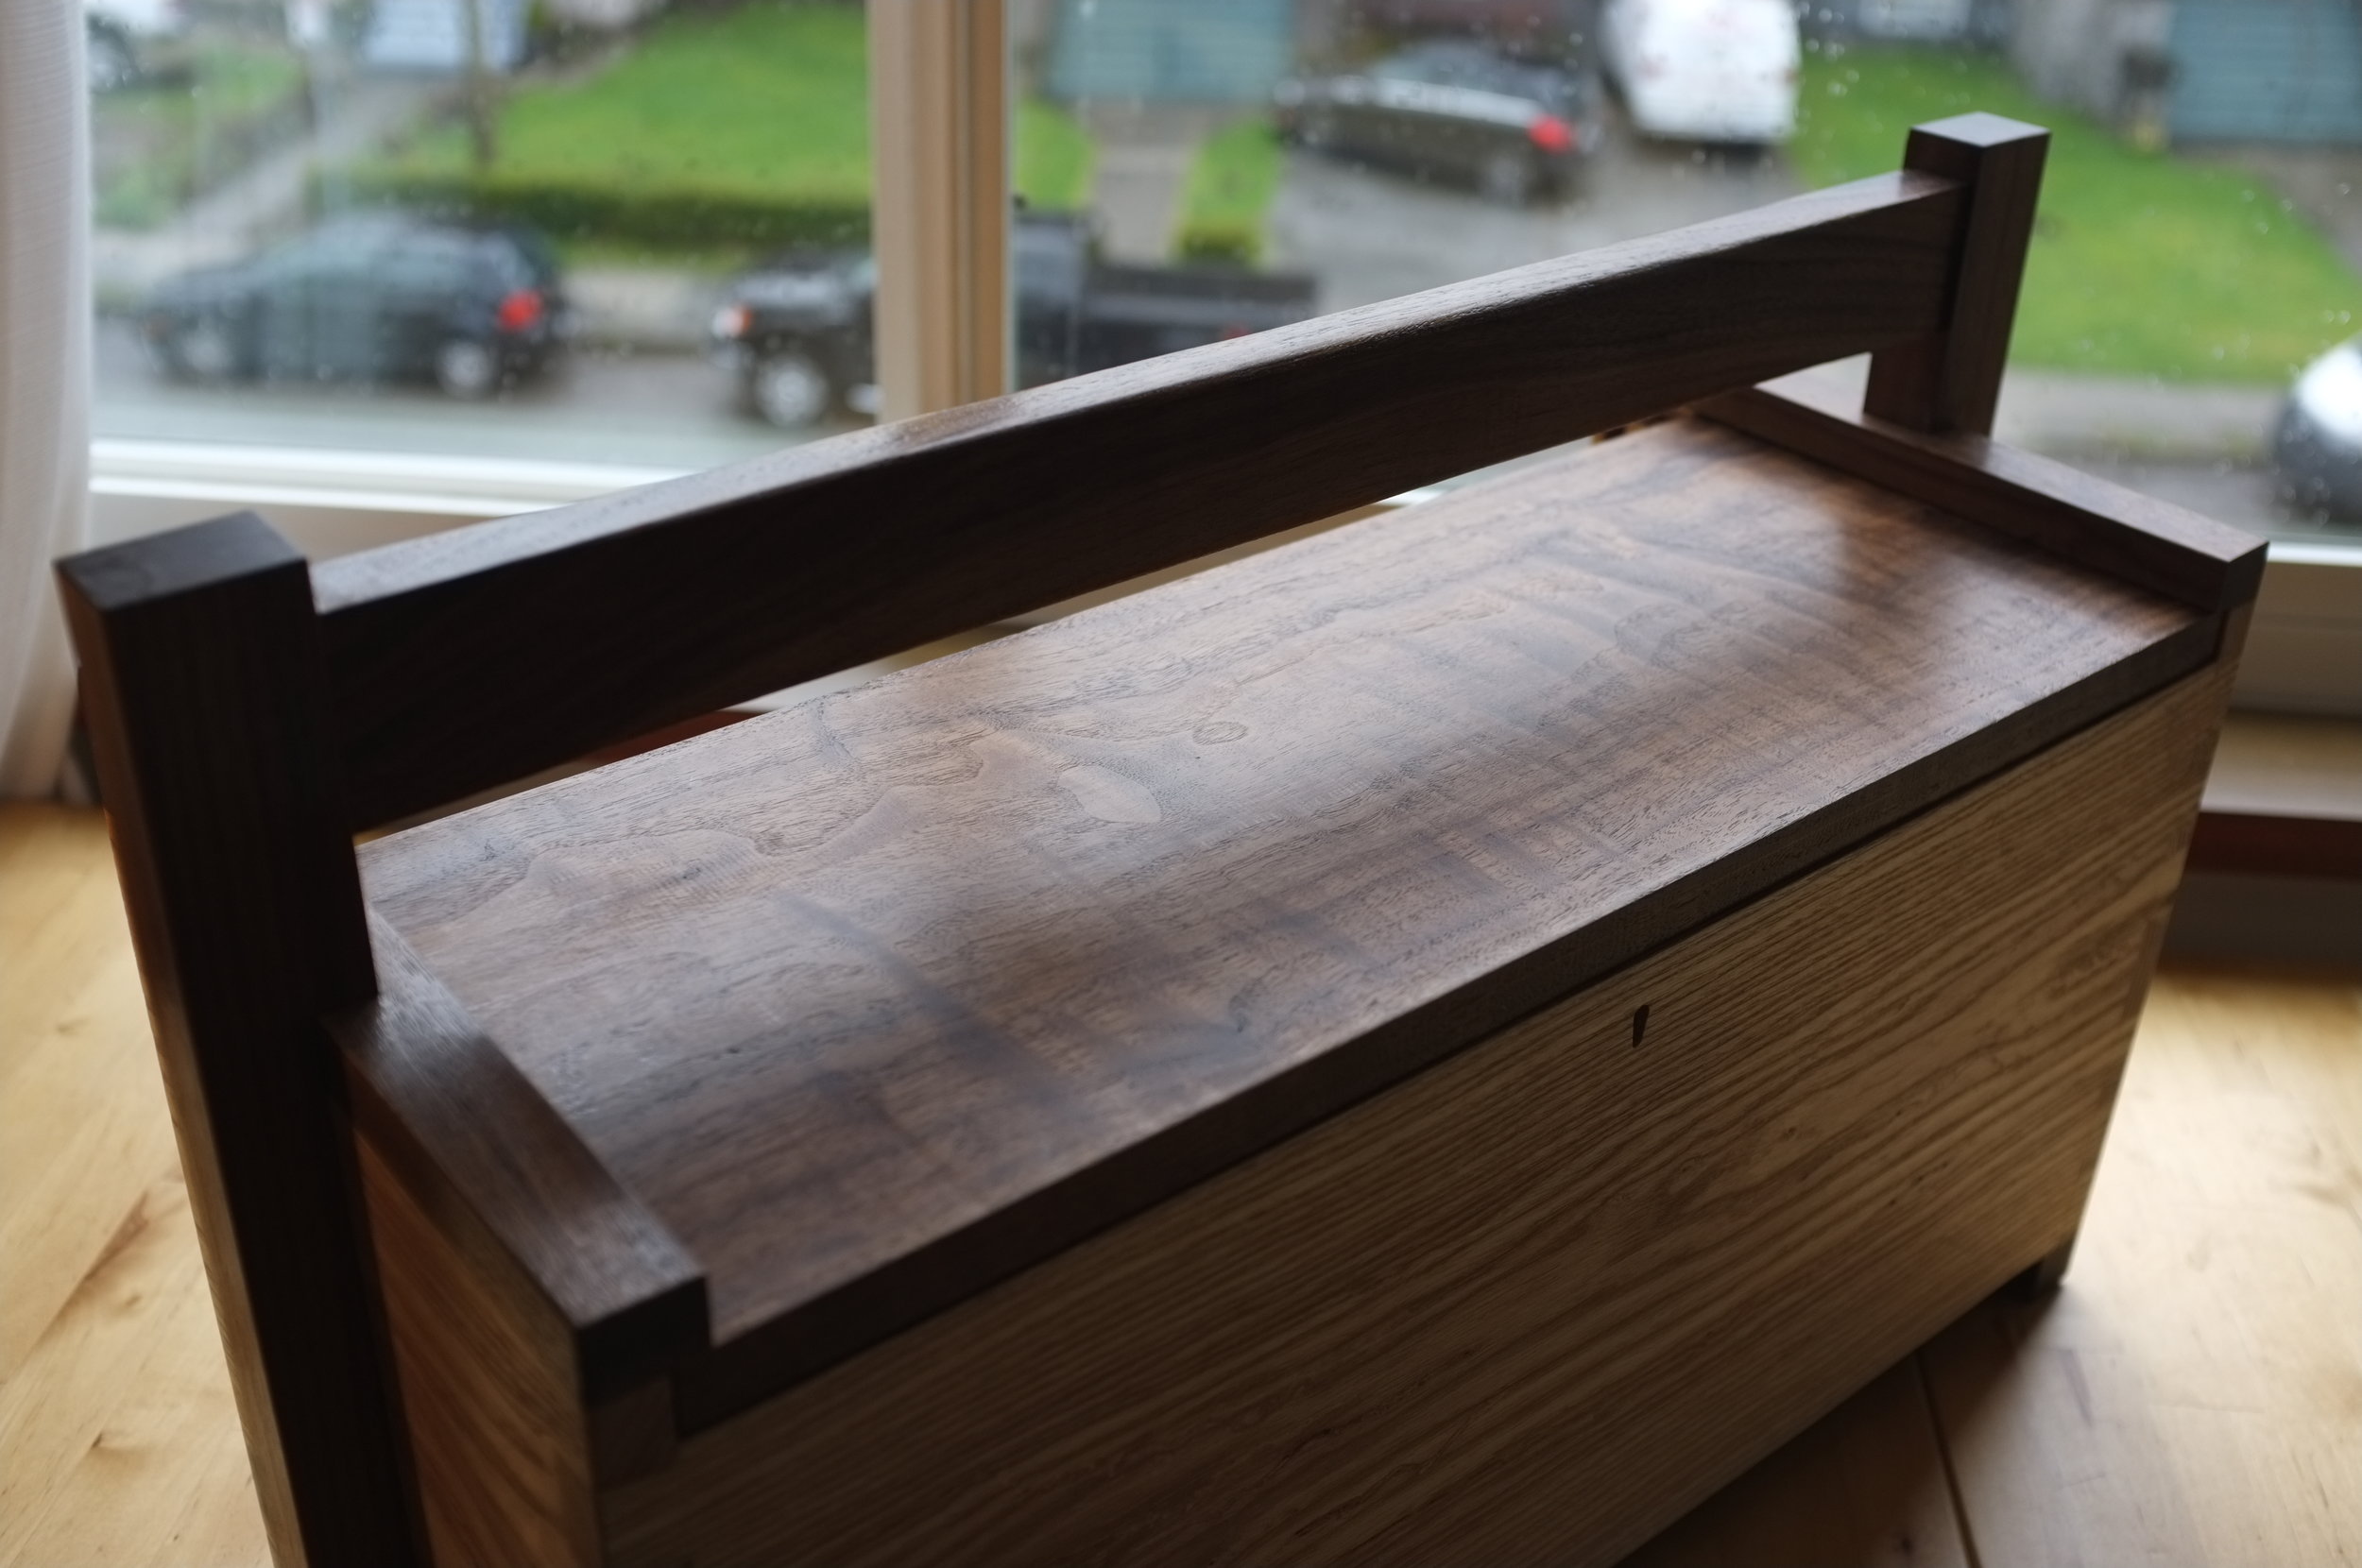
A quick card scrap and I'm ready for finishing. Am I crazy for liking walnut without a finish? I debated between a tung-poly blend and shellac, ultimately the bugs won out over the nuts.

I went with a 2lb cut of amber shellac applied thick and heavy. I'm not a fan of gloss finishes, I'll knock it right back with steel wool and wax once it's set, but that's a story for another day.
Bandaids

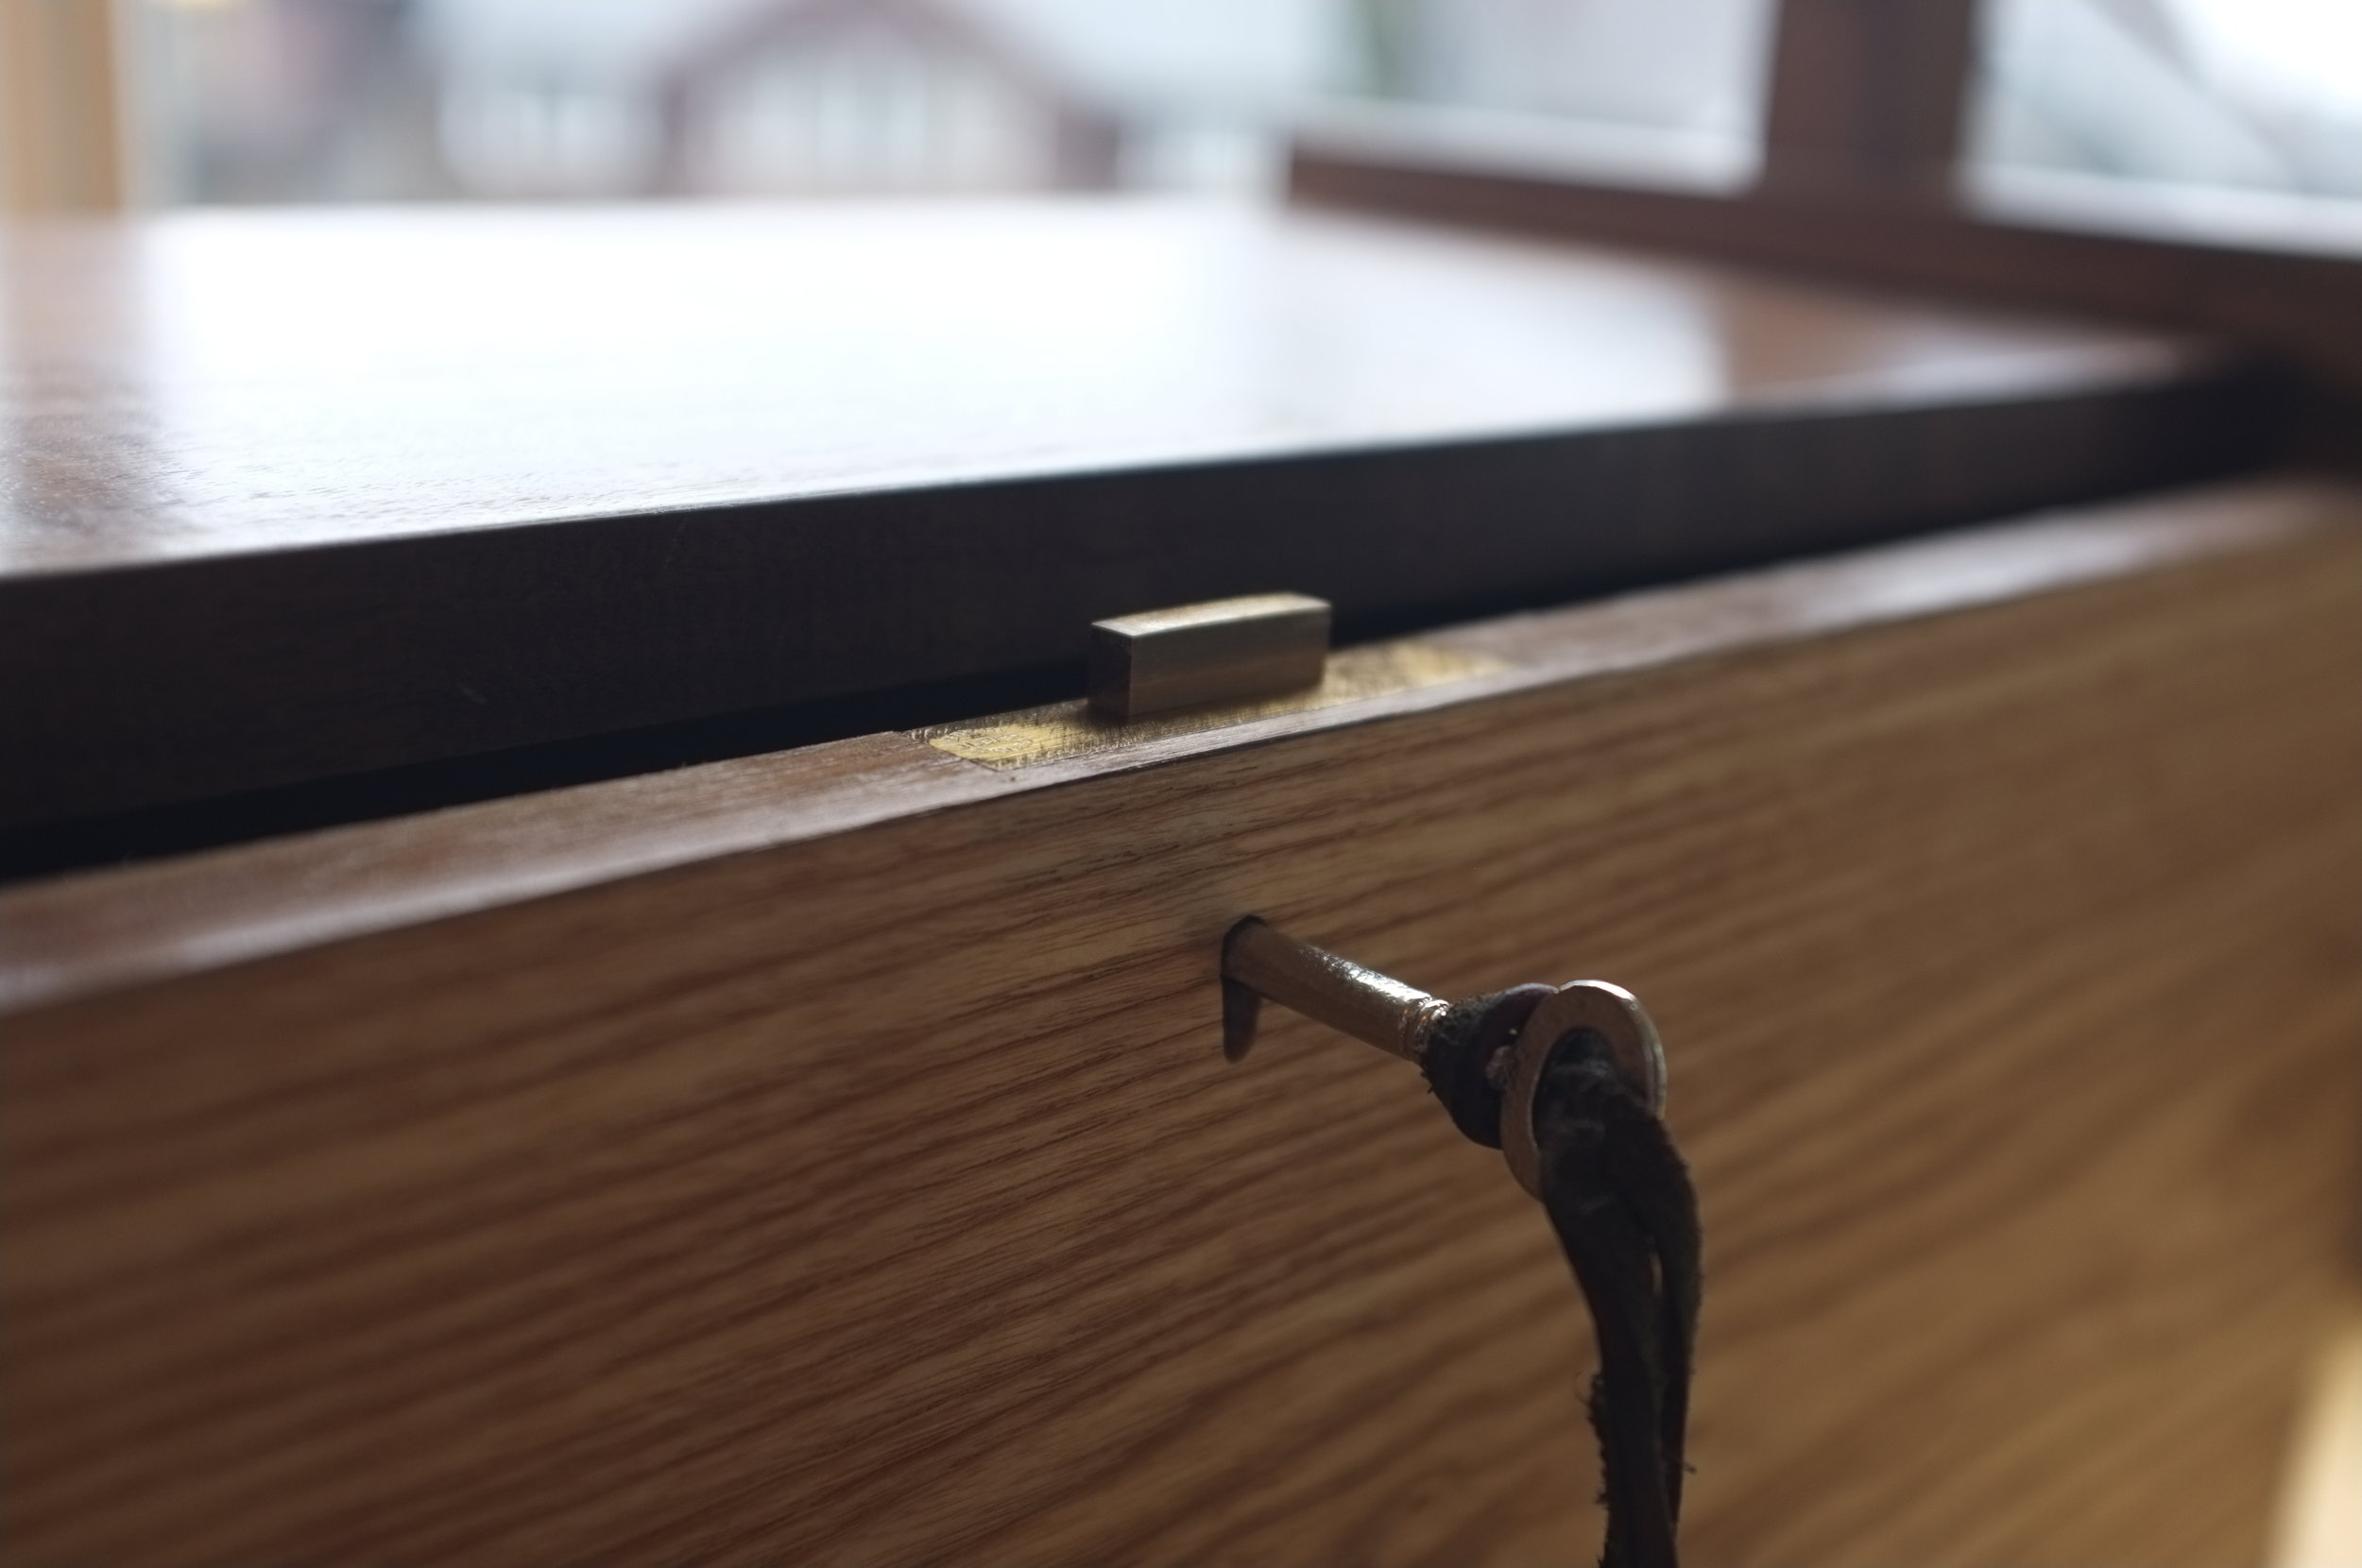
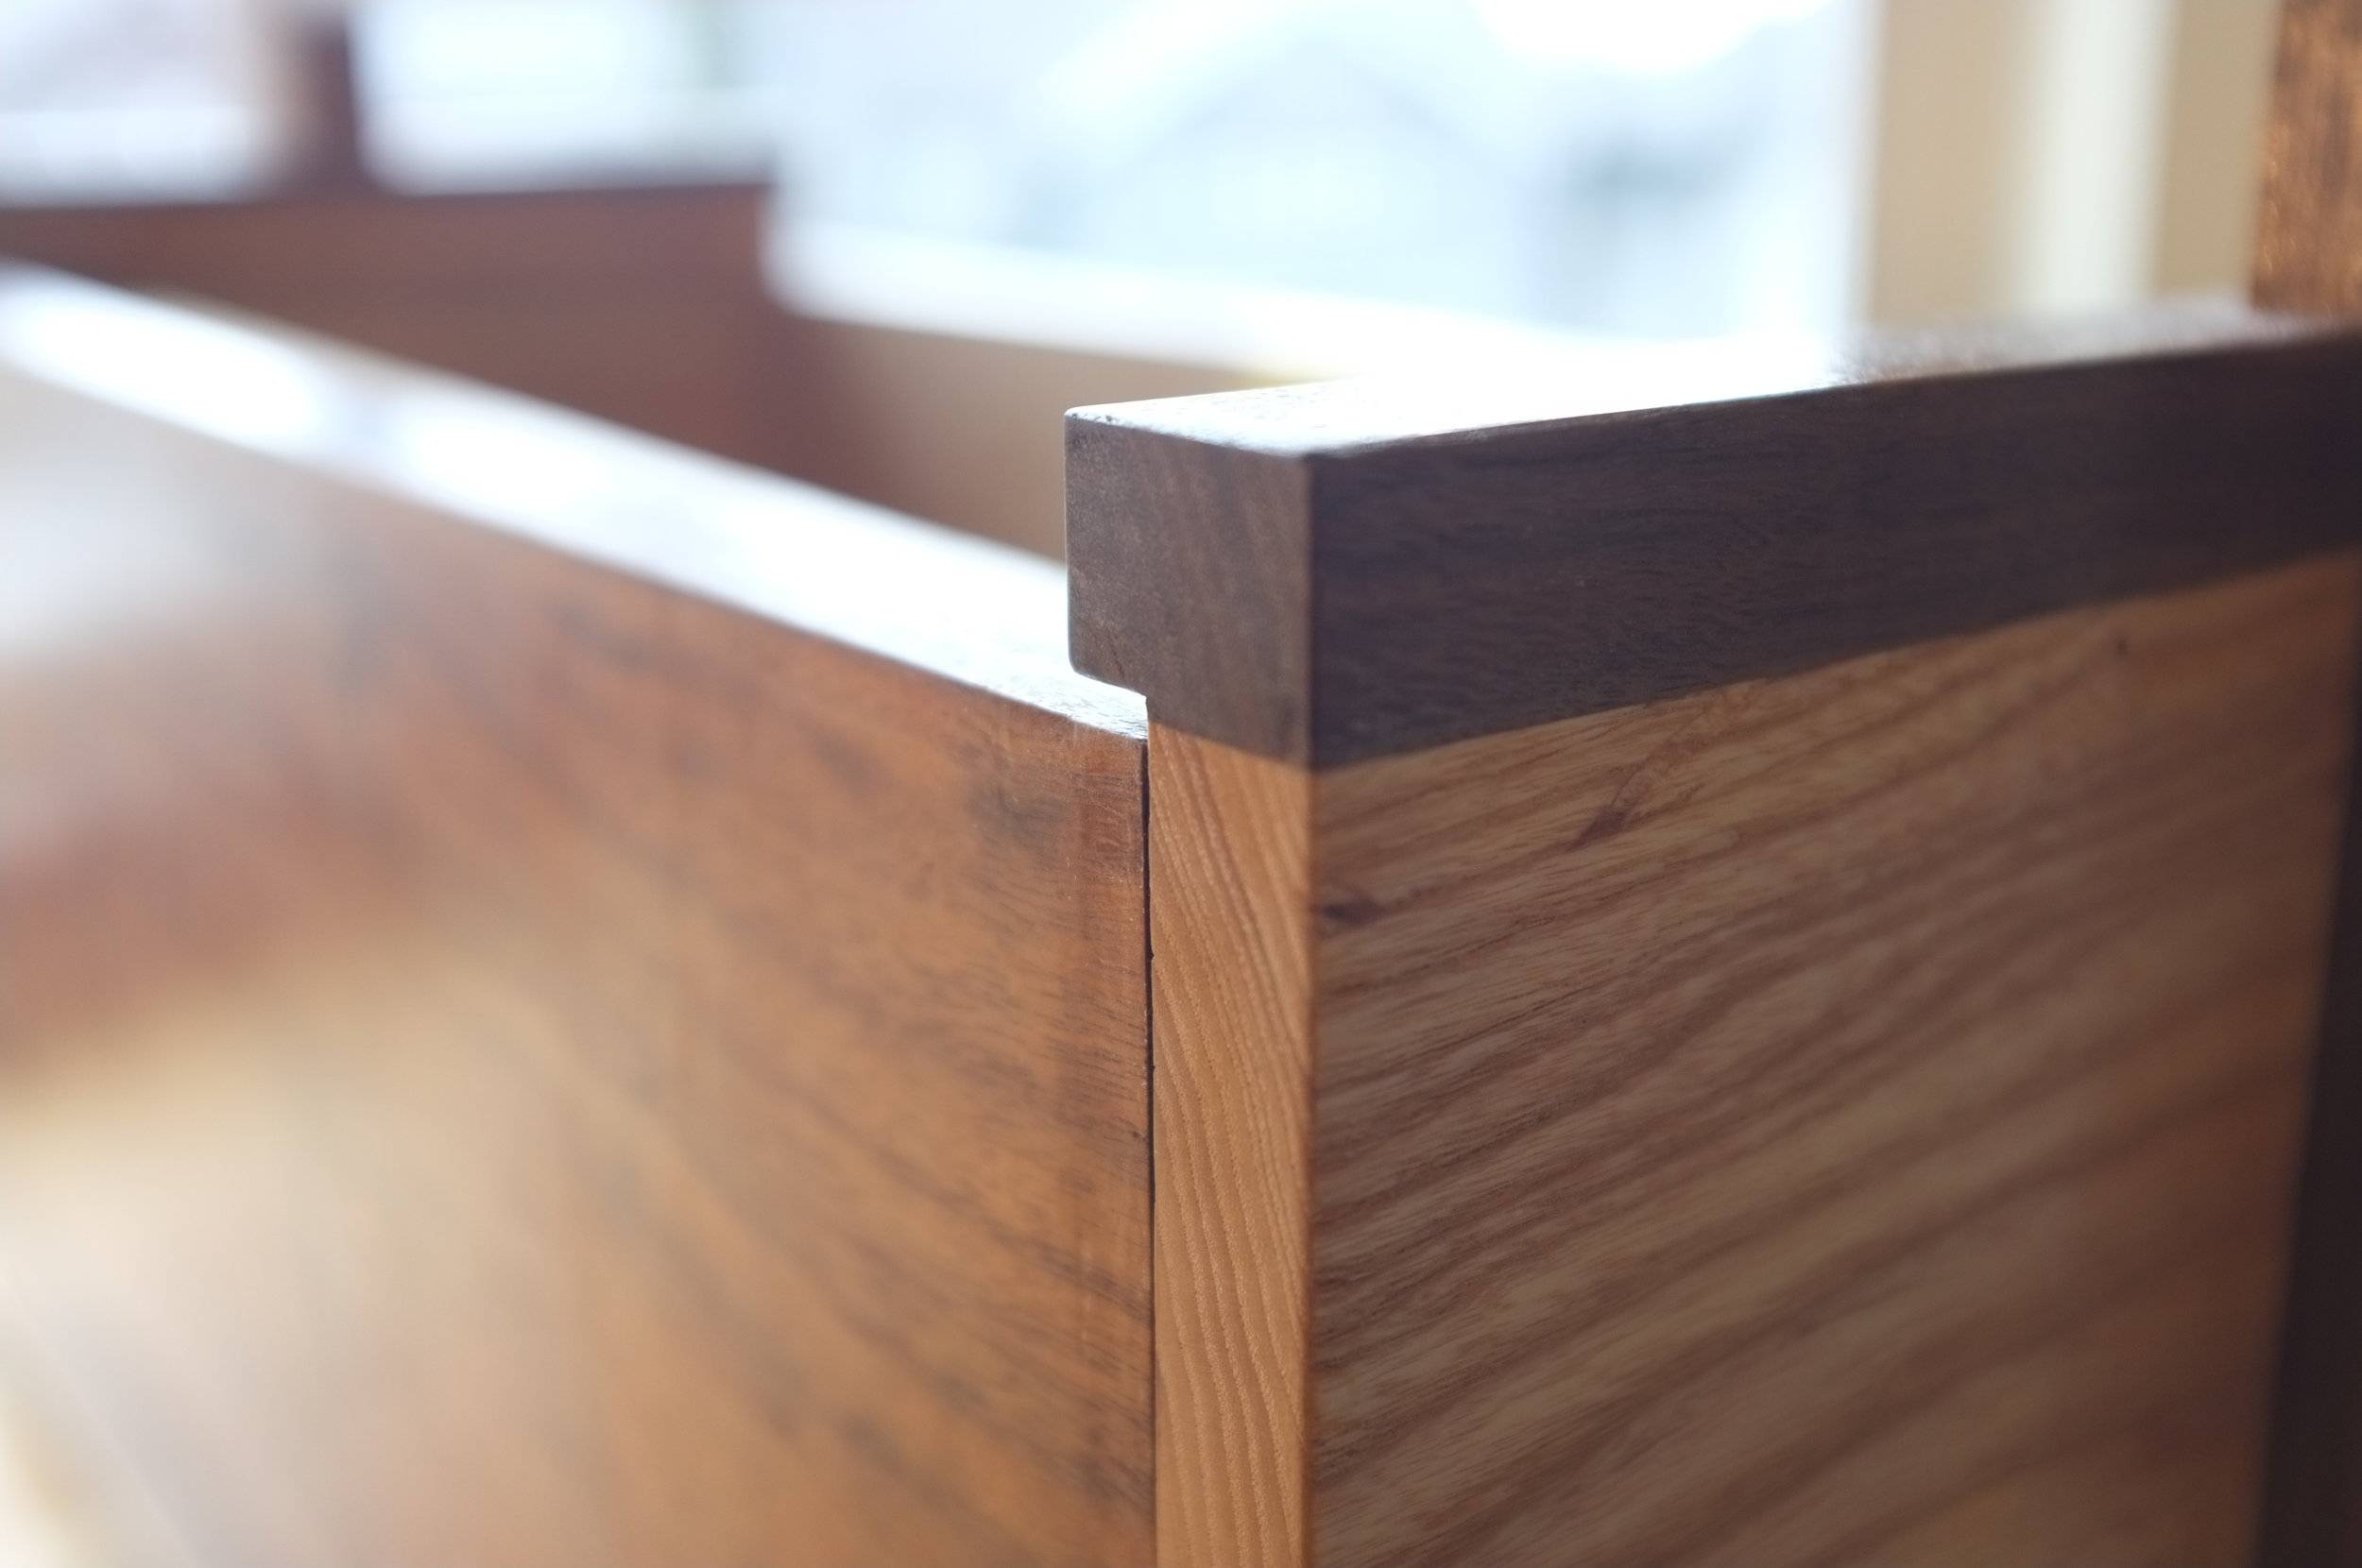
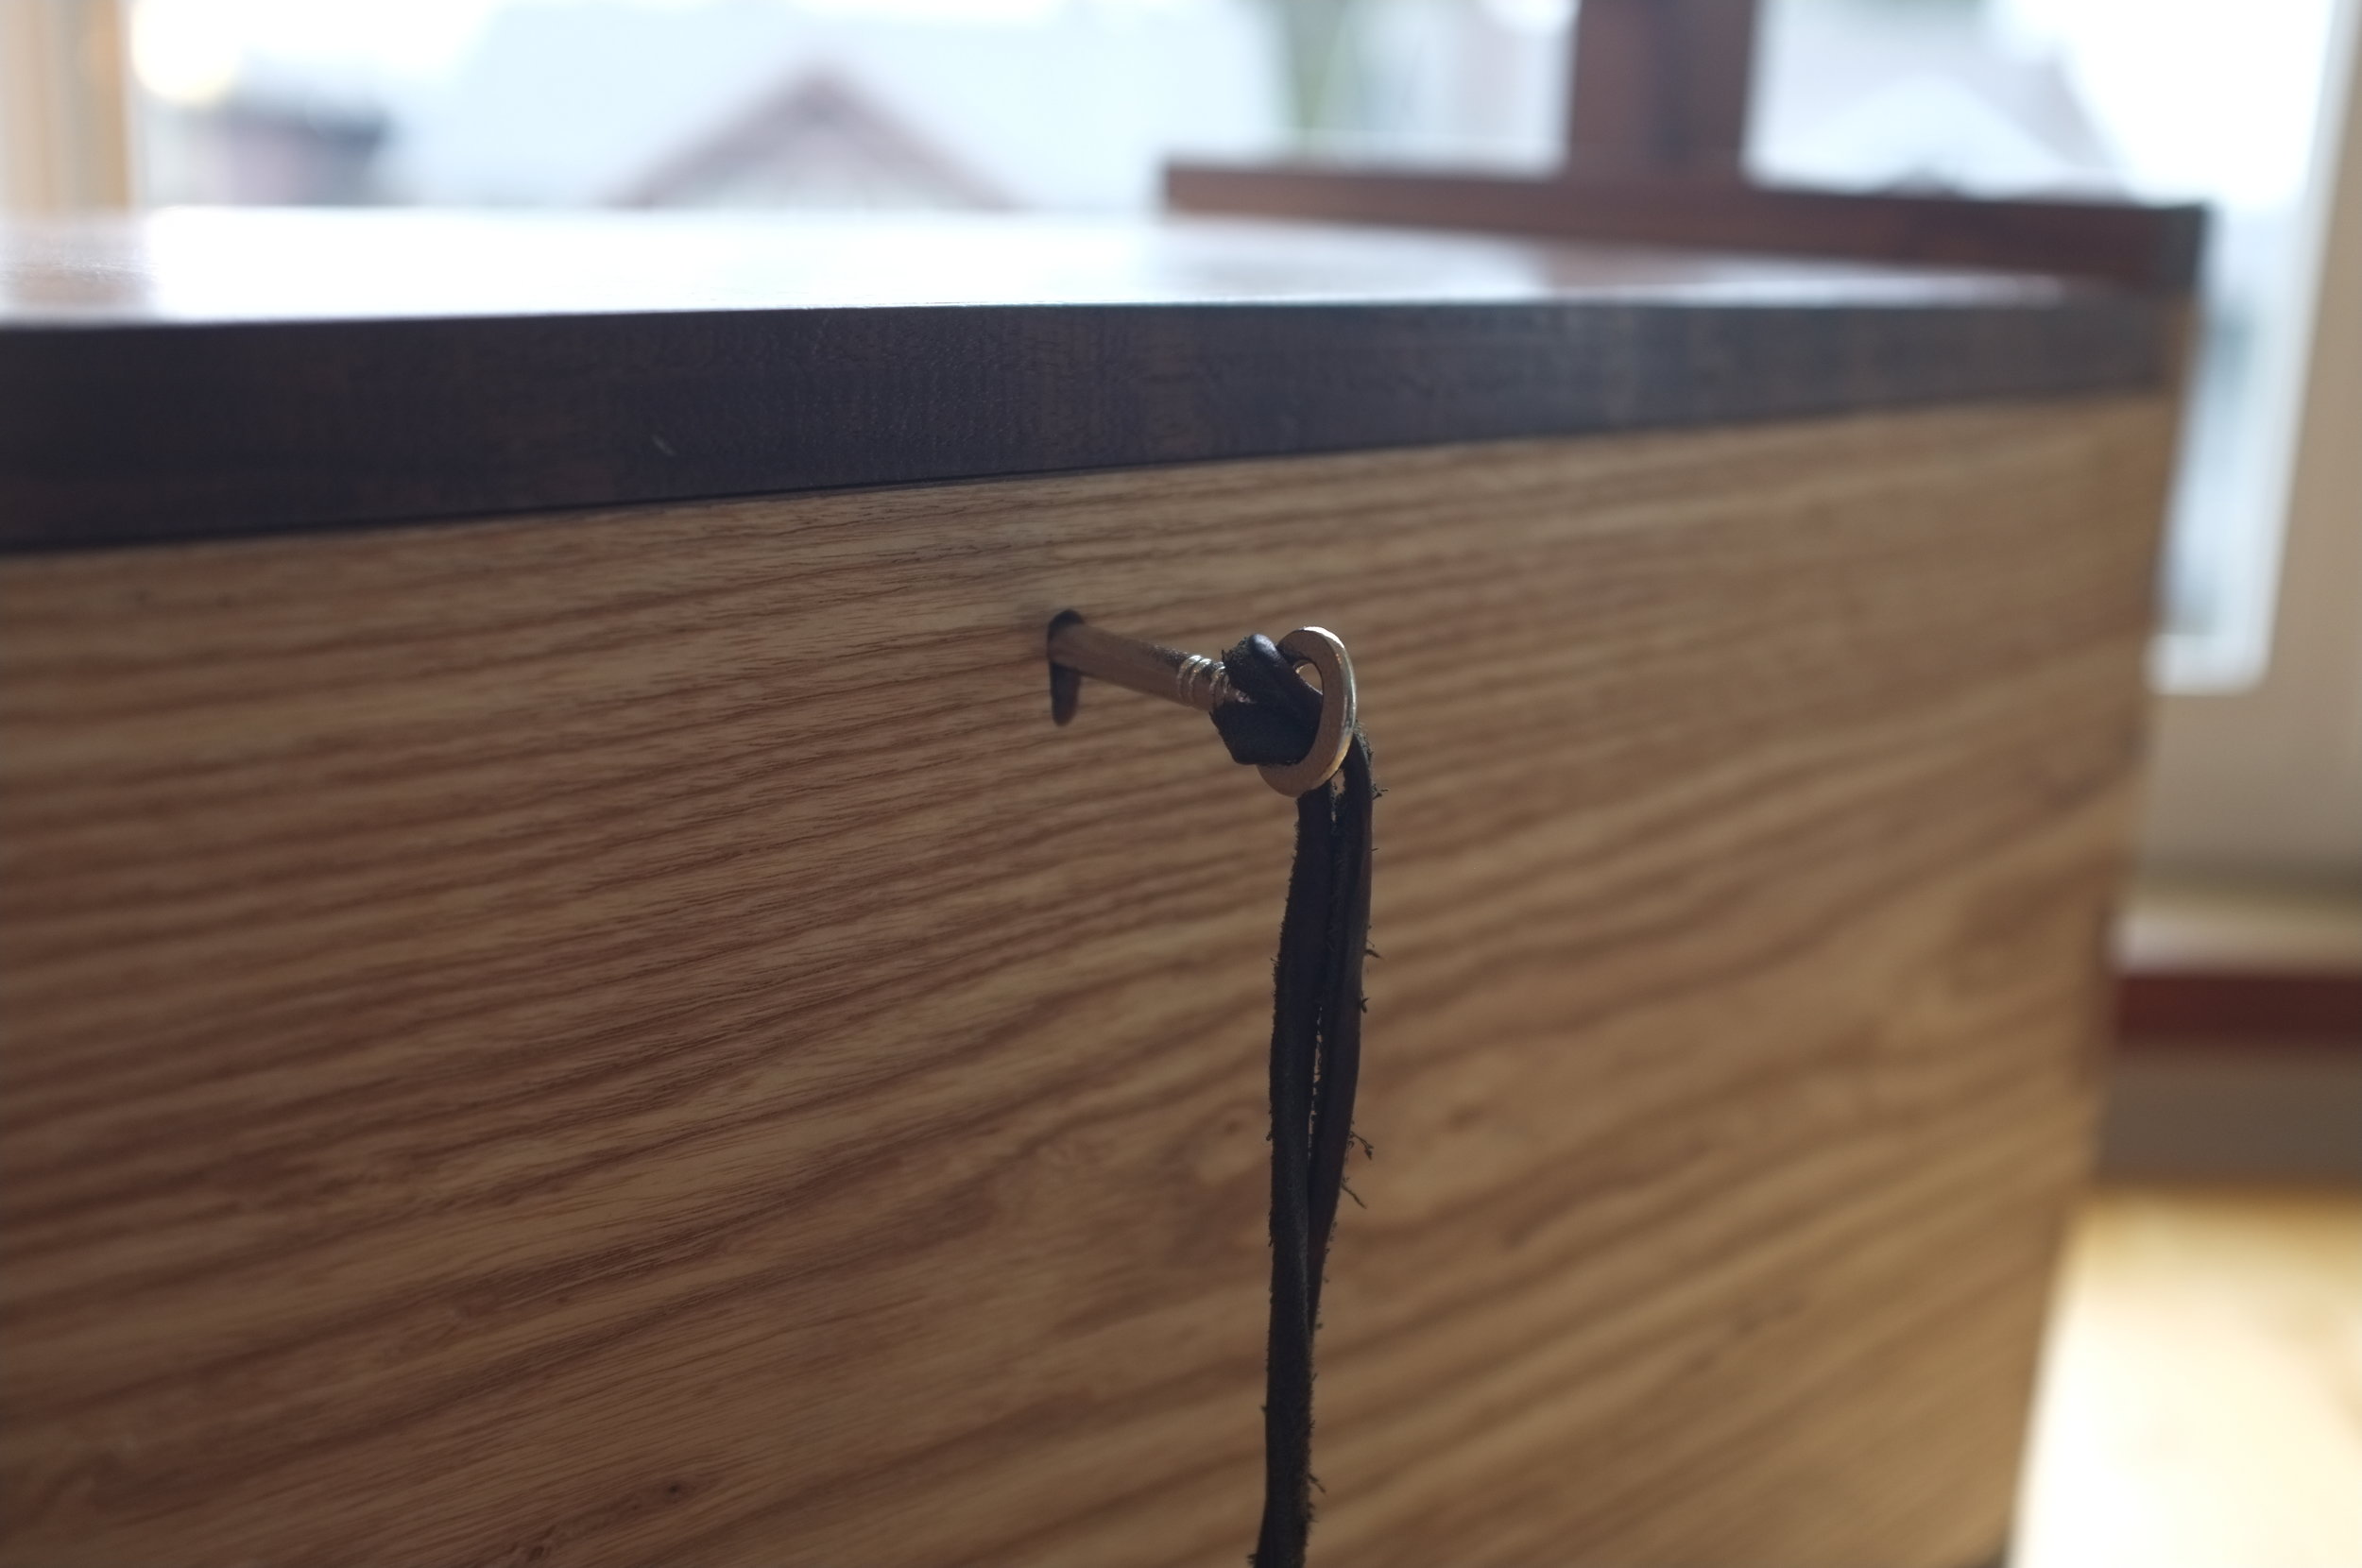
I've made a few slight changes to Tom Fidgen's toolchest design, namely increasing the dimensions somewhat, using a two piece approach for the bottom runners and adding a half mortise lock. It was my first time installing a lock and although the mortising and keyhole parts went well, the selvage was sitting proud of the surface... Oh well, time to learn how to edge band.

I'll be honest, it took a couple tries to cut the banding around the selvage plate and to the exact length of side. On the plus side, it's pretty cheap stuff so I could afford to make mistakes.

After some ironing and rubbing with a block of wood it looked pretty good. The surface was practically flush and only the overhang was left to trim.

A sharp razor blade made short work of the excess, I couldn't be happier with how easily this fix worked out.

The screws for the half mortise are also sitting proud, on Wednesday I'll file them down flush.
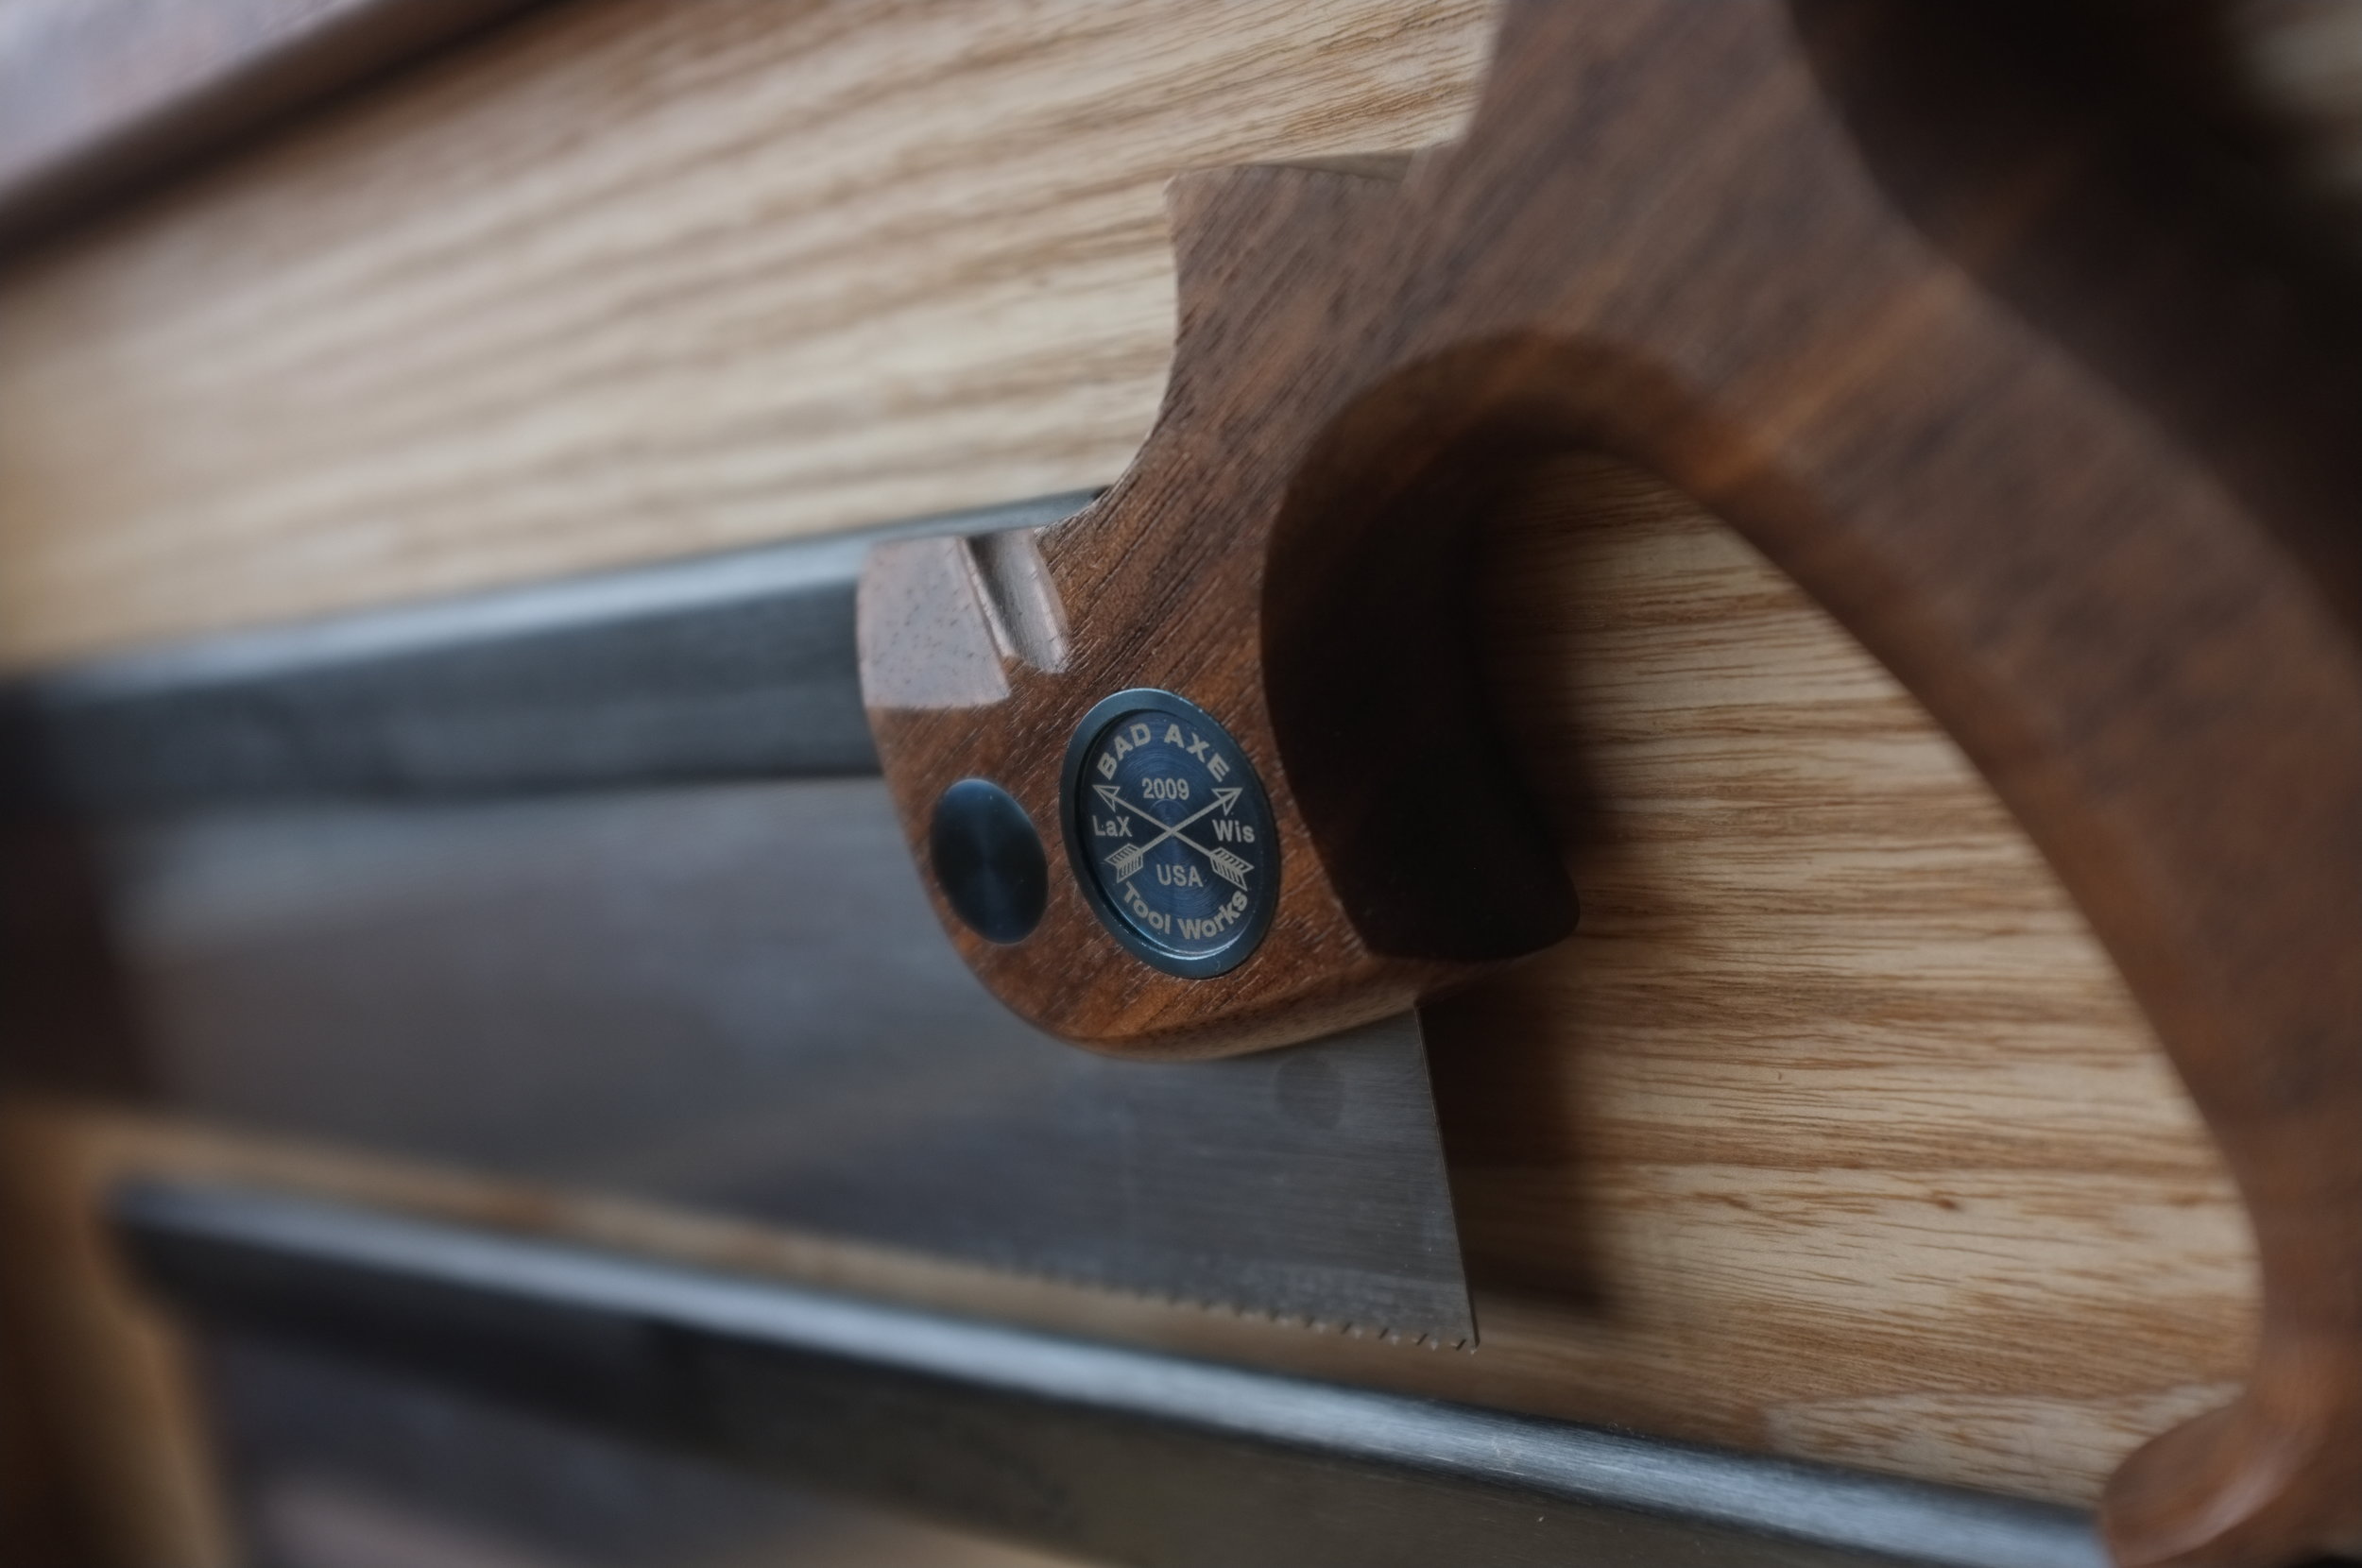
Magnetic Attraction

Did you know that putting a magnet in a steel cup will increase its strength by up to 4 times? I wish I had known that before I had made my saw holders. Then again, four 1/2" magnets seem to hold my badaxe bayonet just right. This portion of the build was relatively simple, I used a small forstner bit in a hand drill to bore out a few holes, dropped the magnets in and laminated a thicker piece on top. Nice and easy.
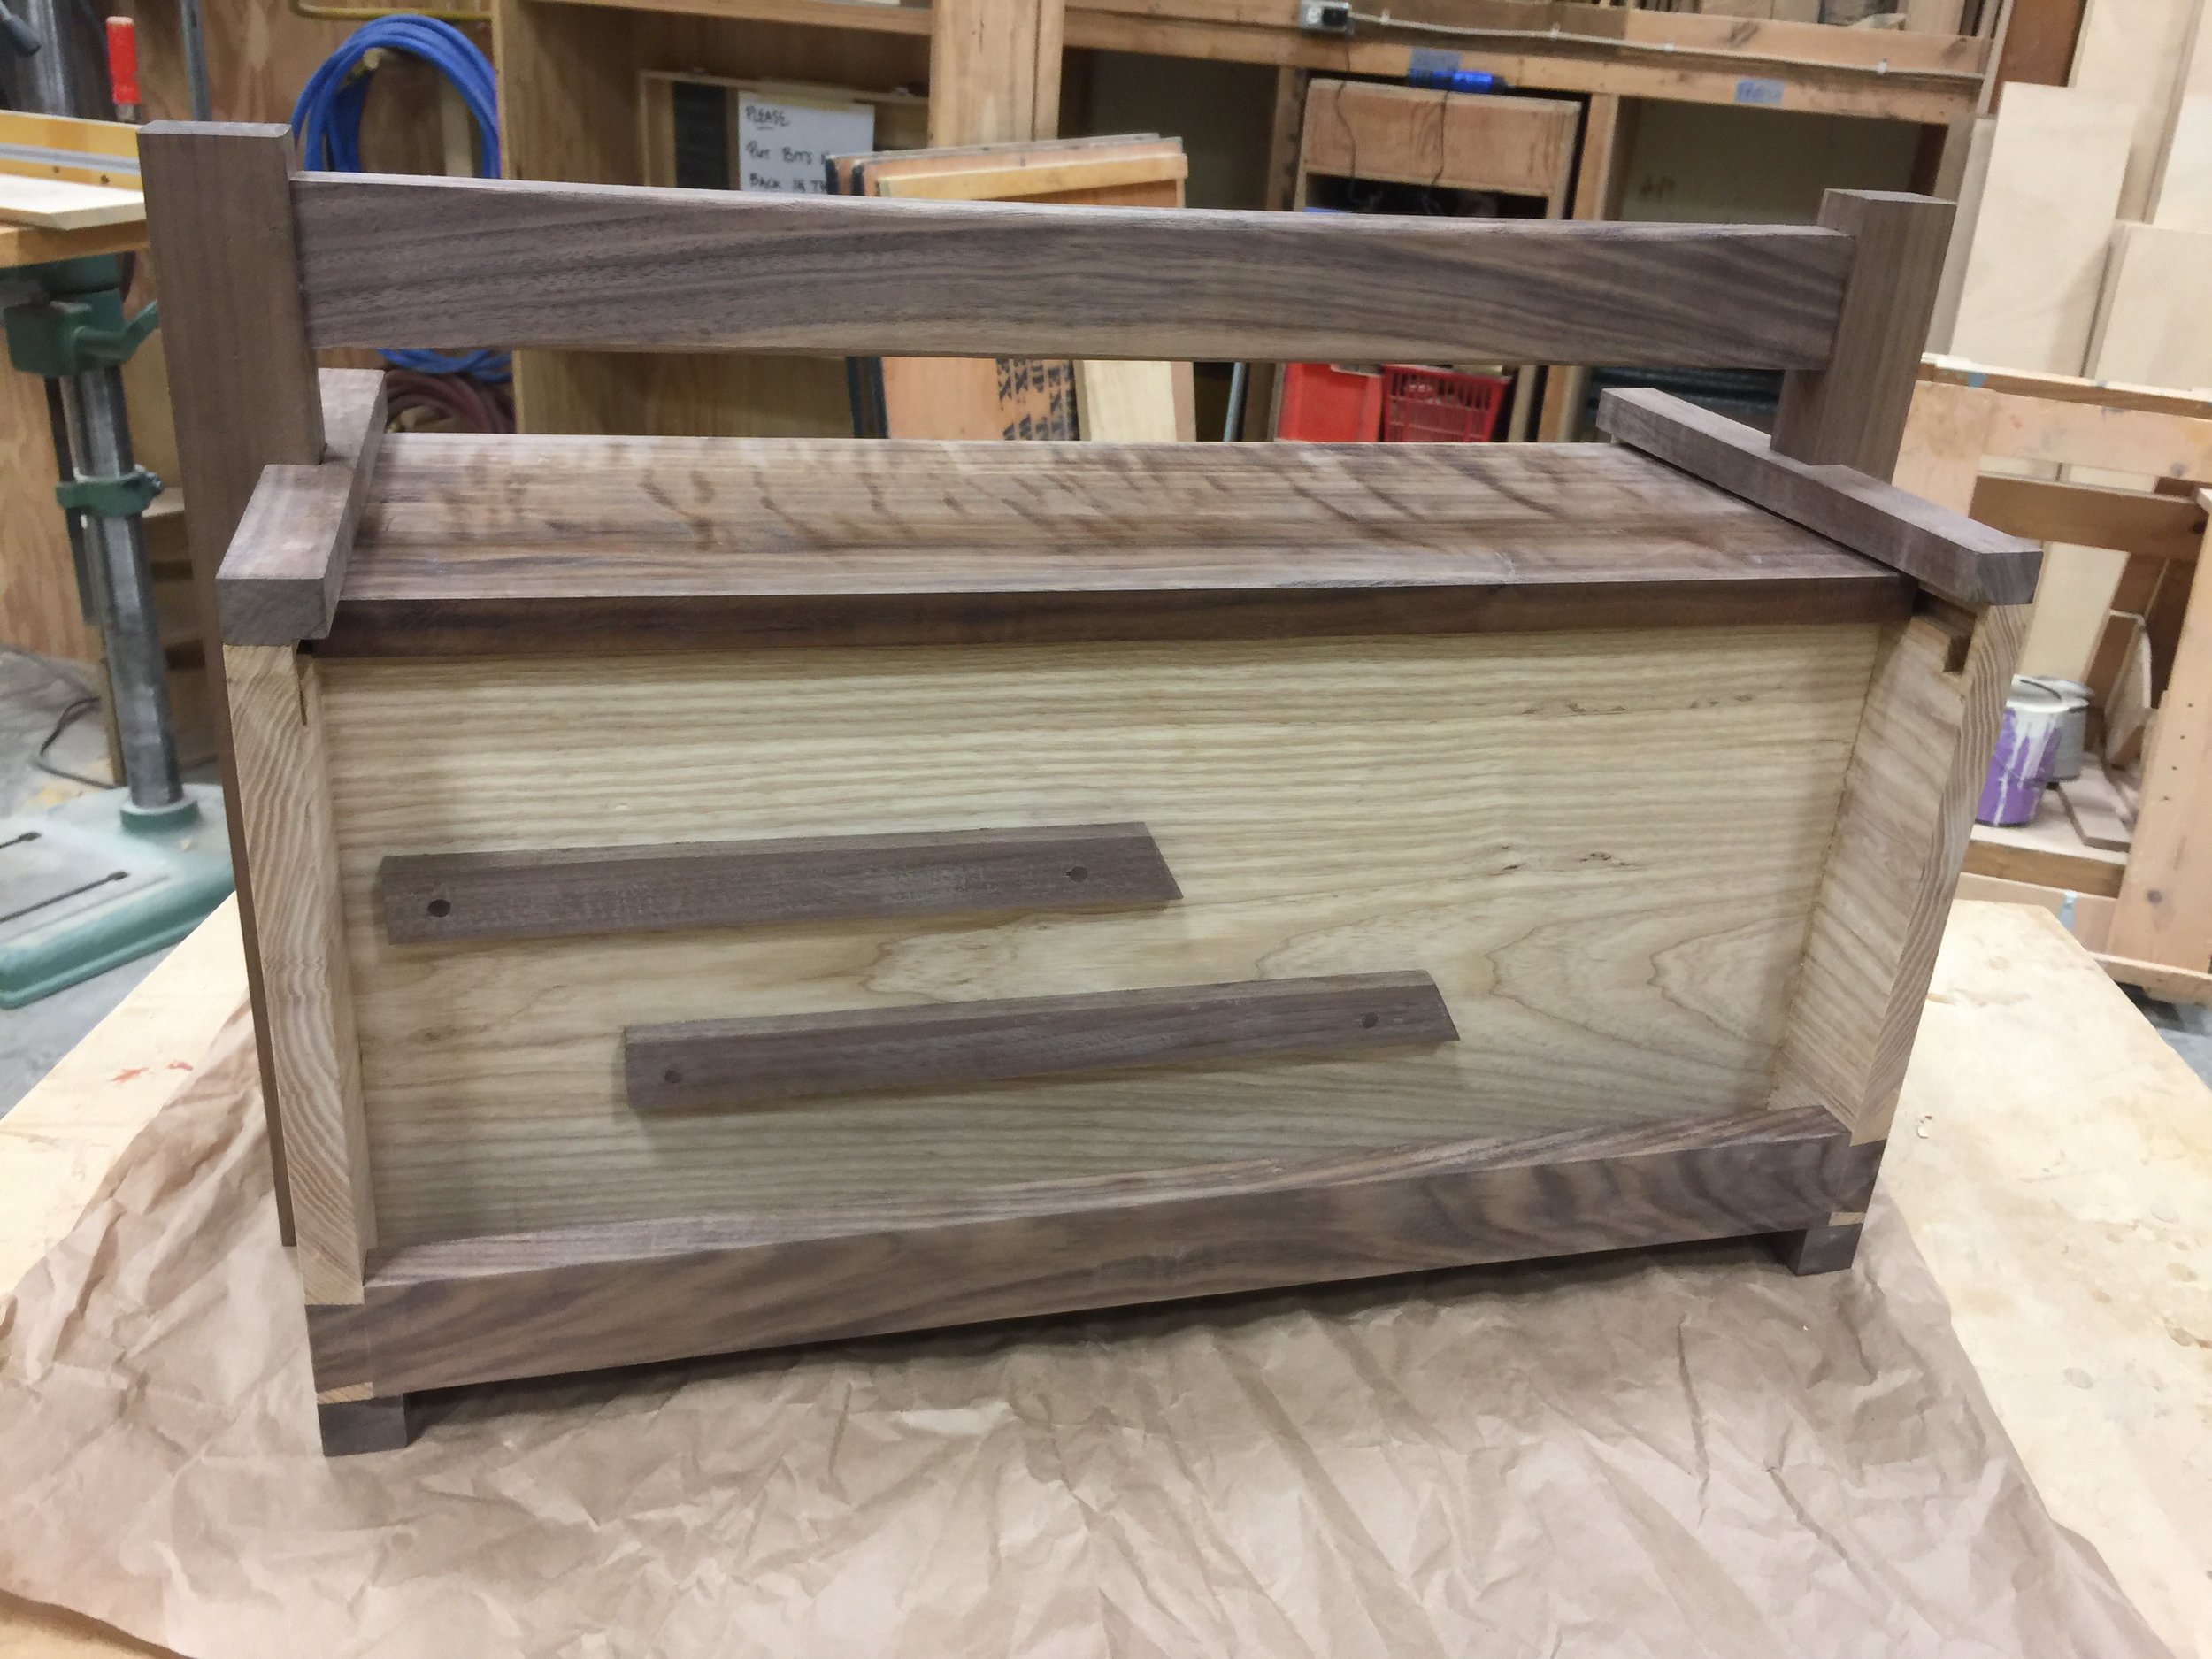
Progress
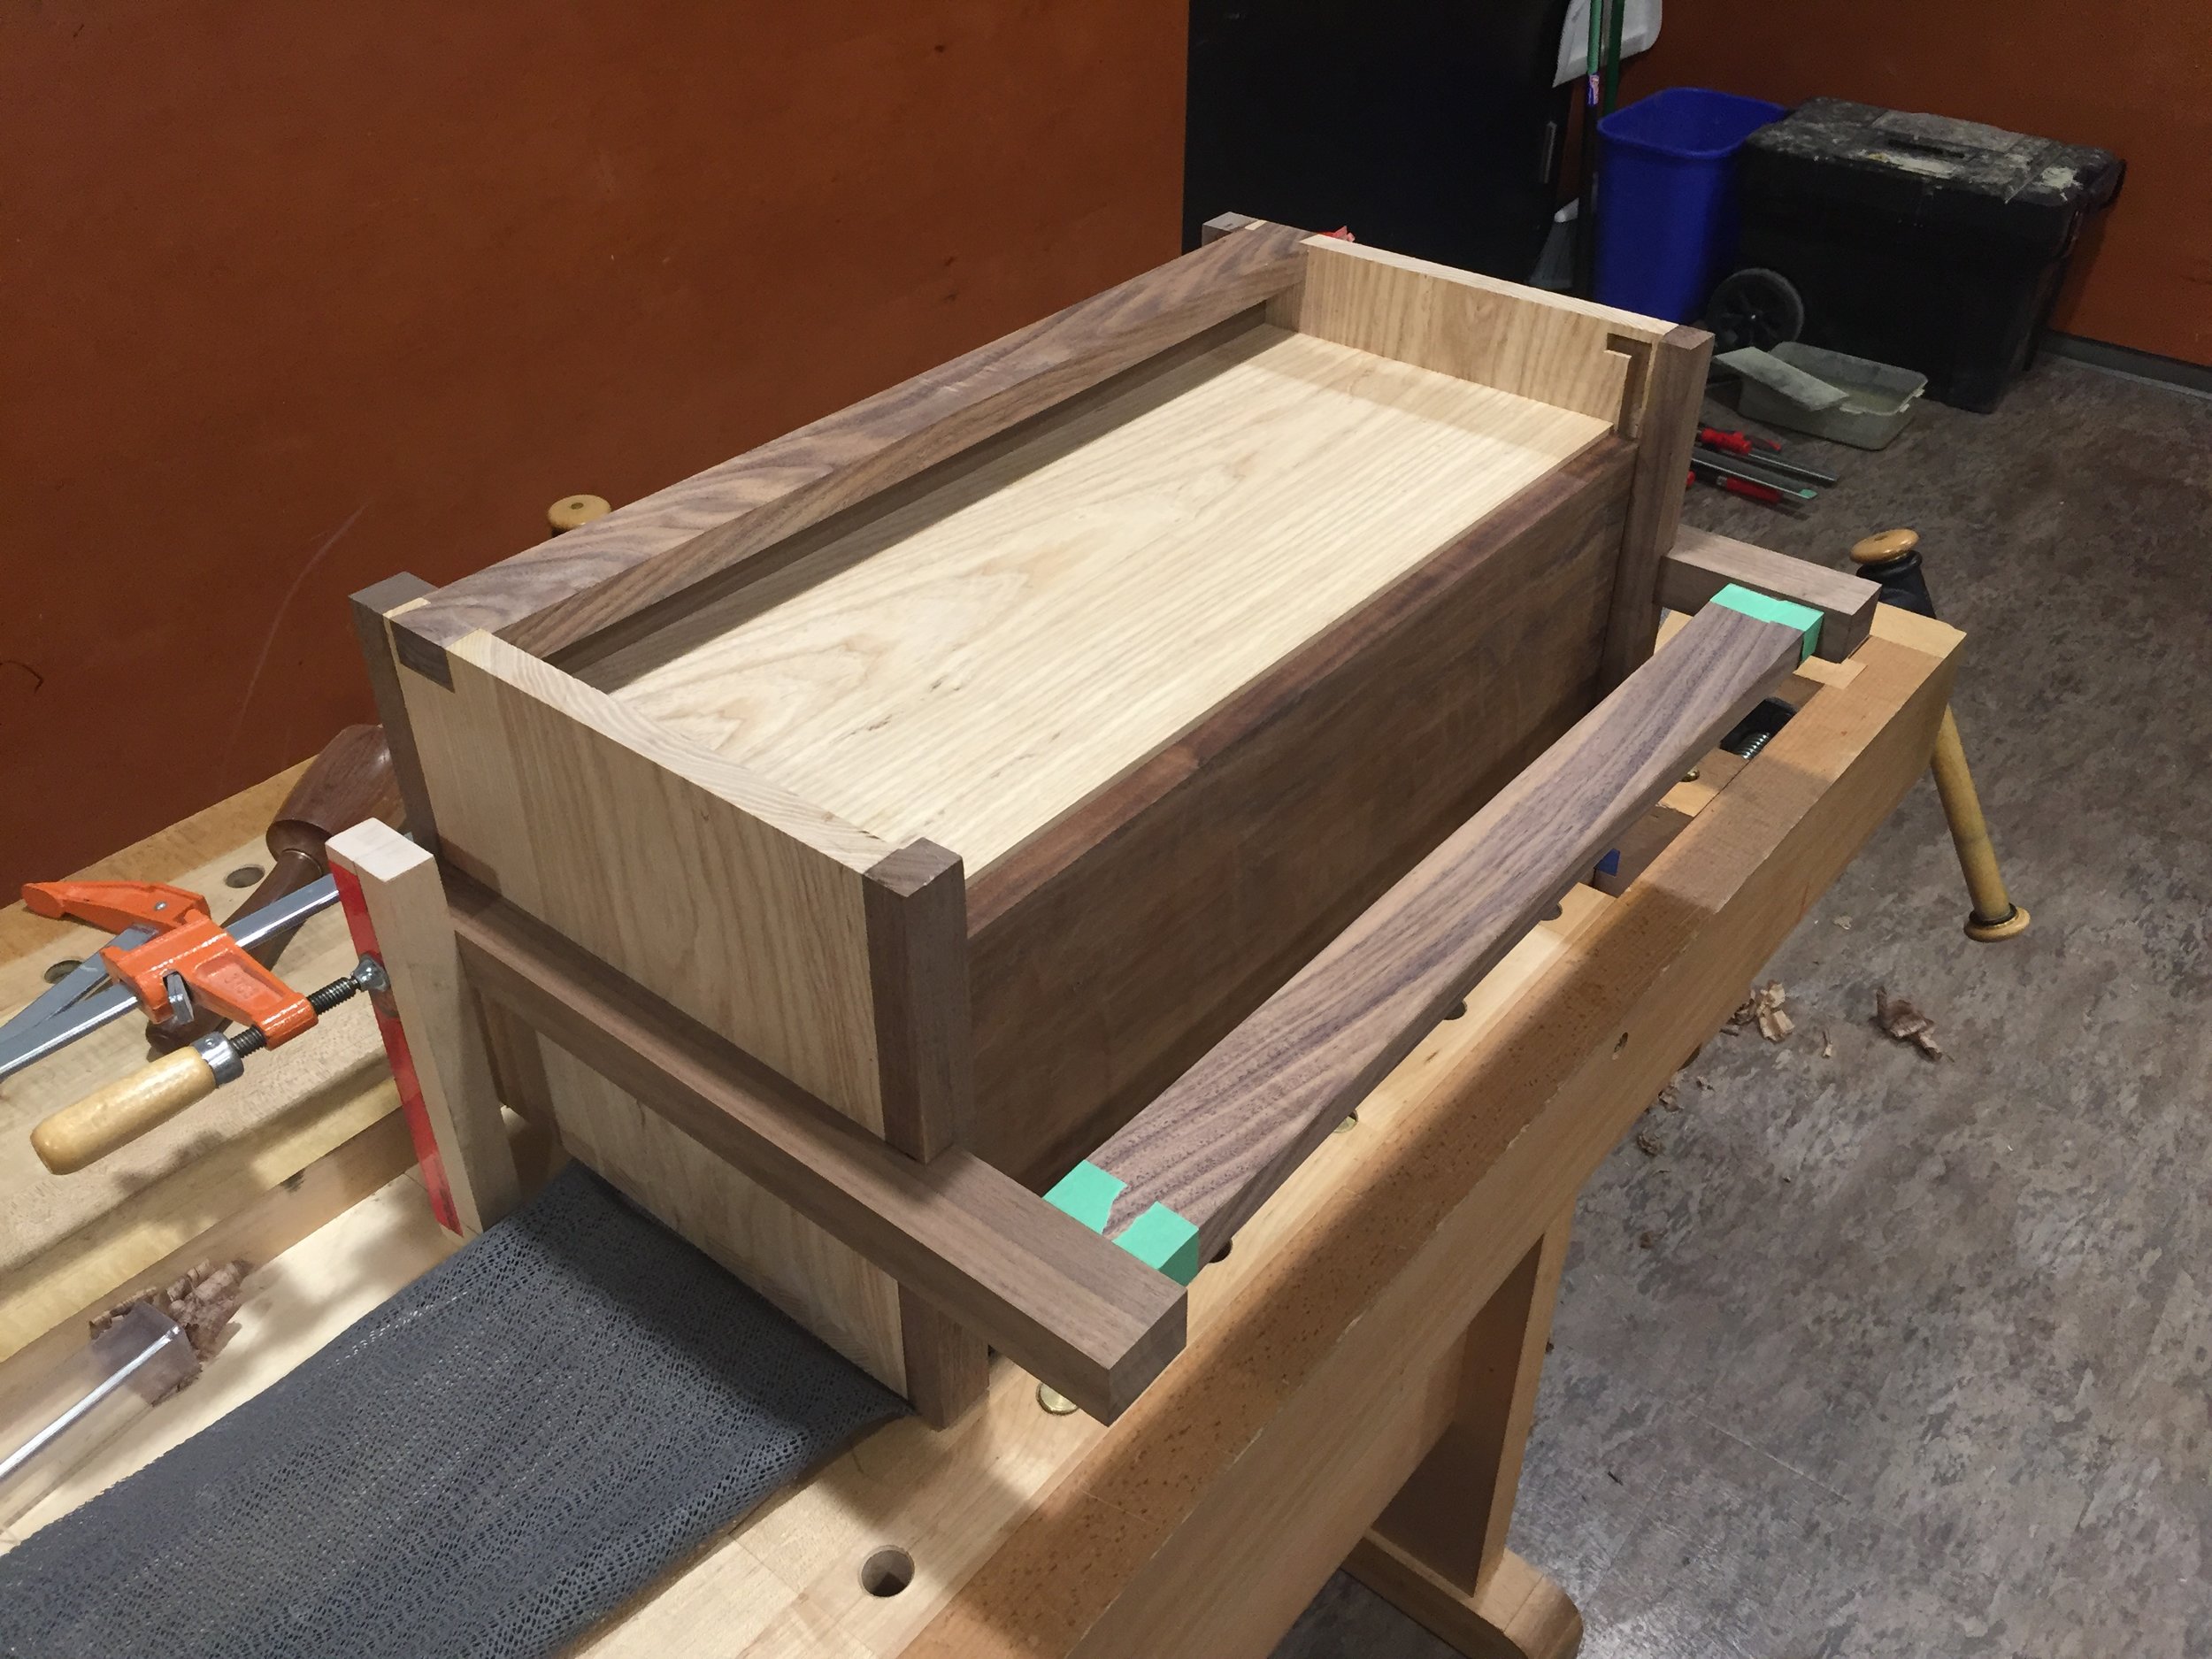
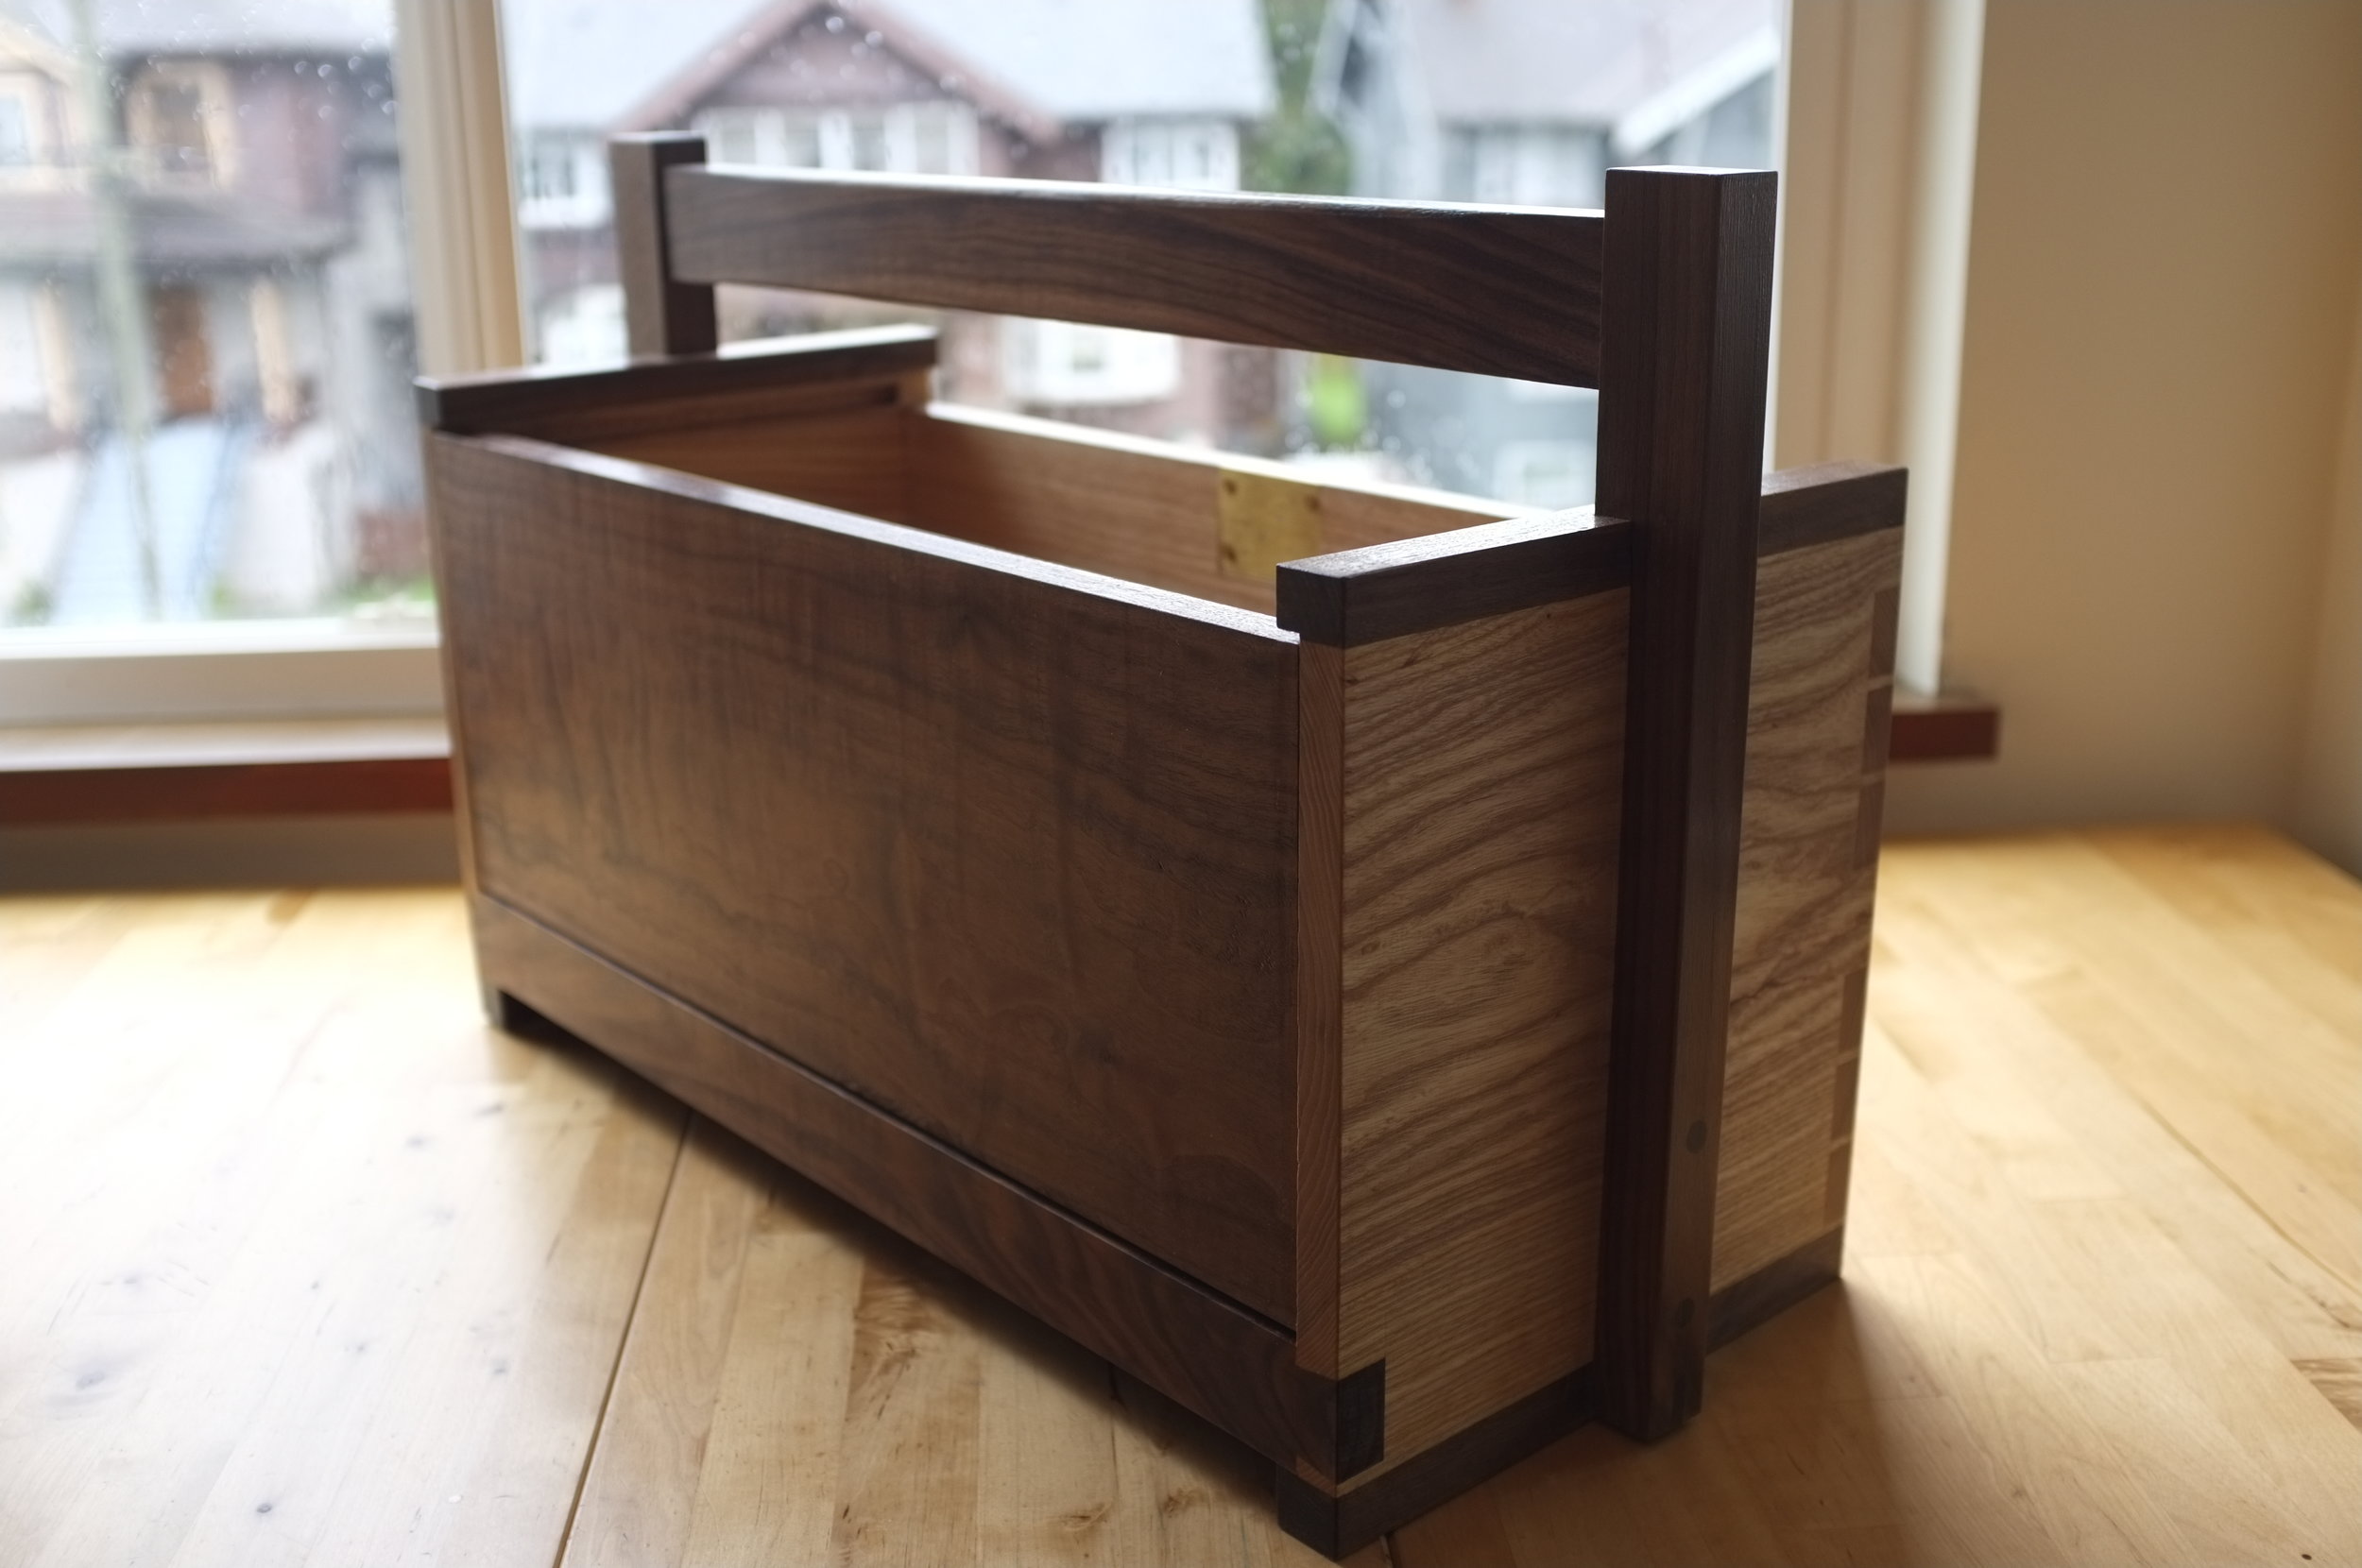
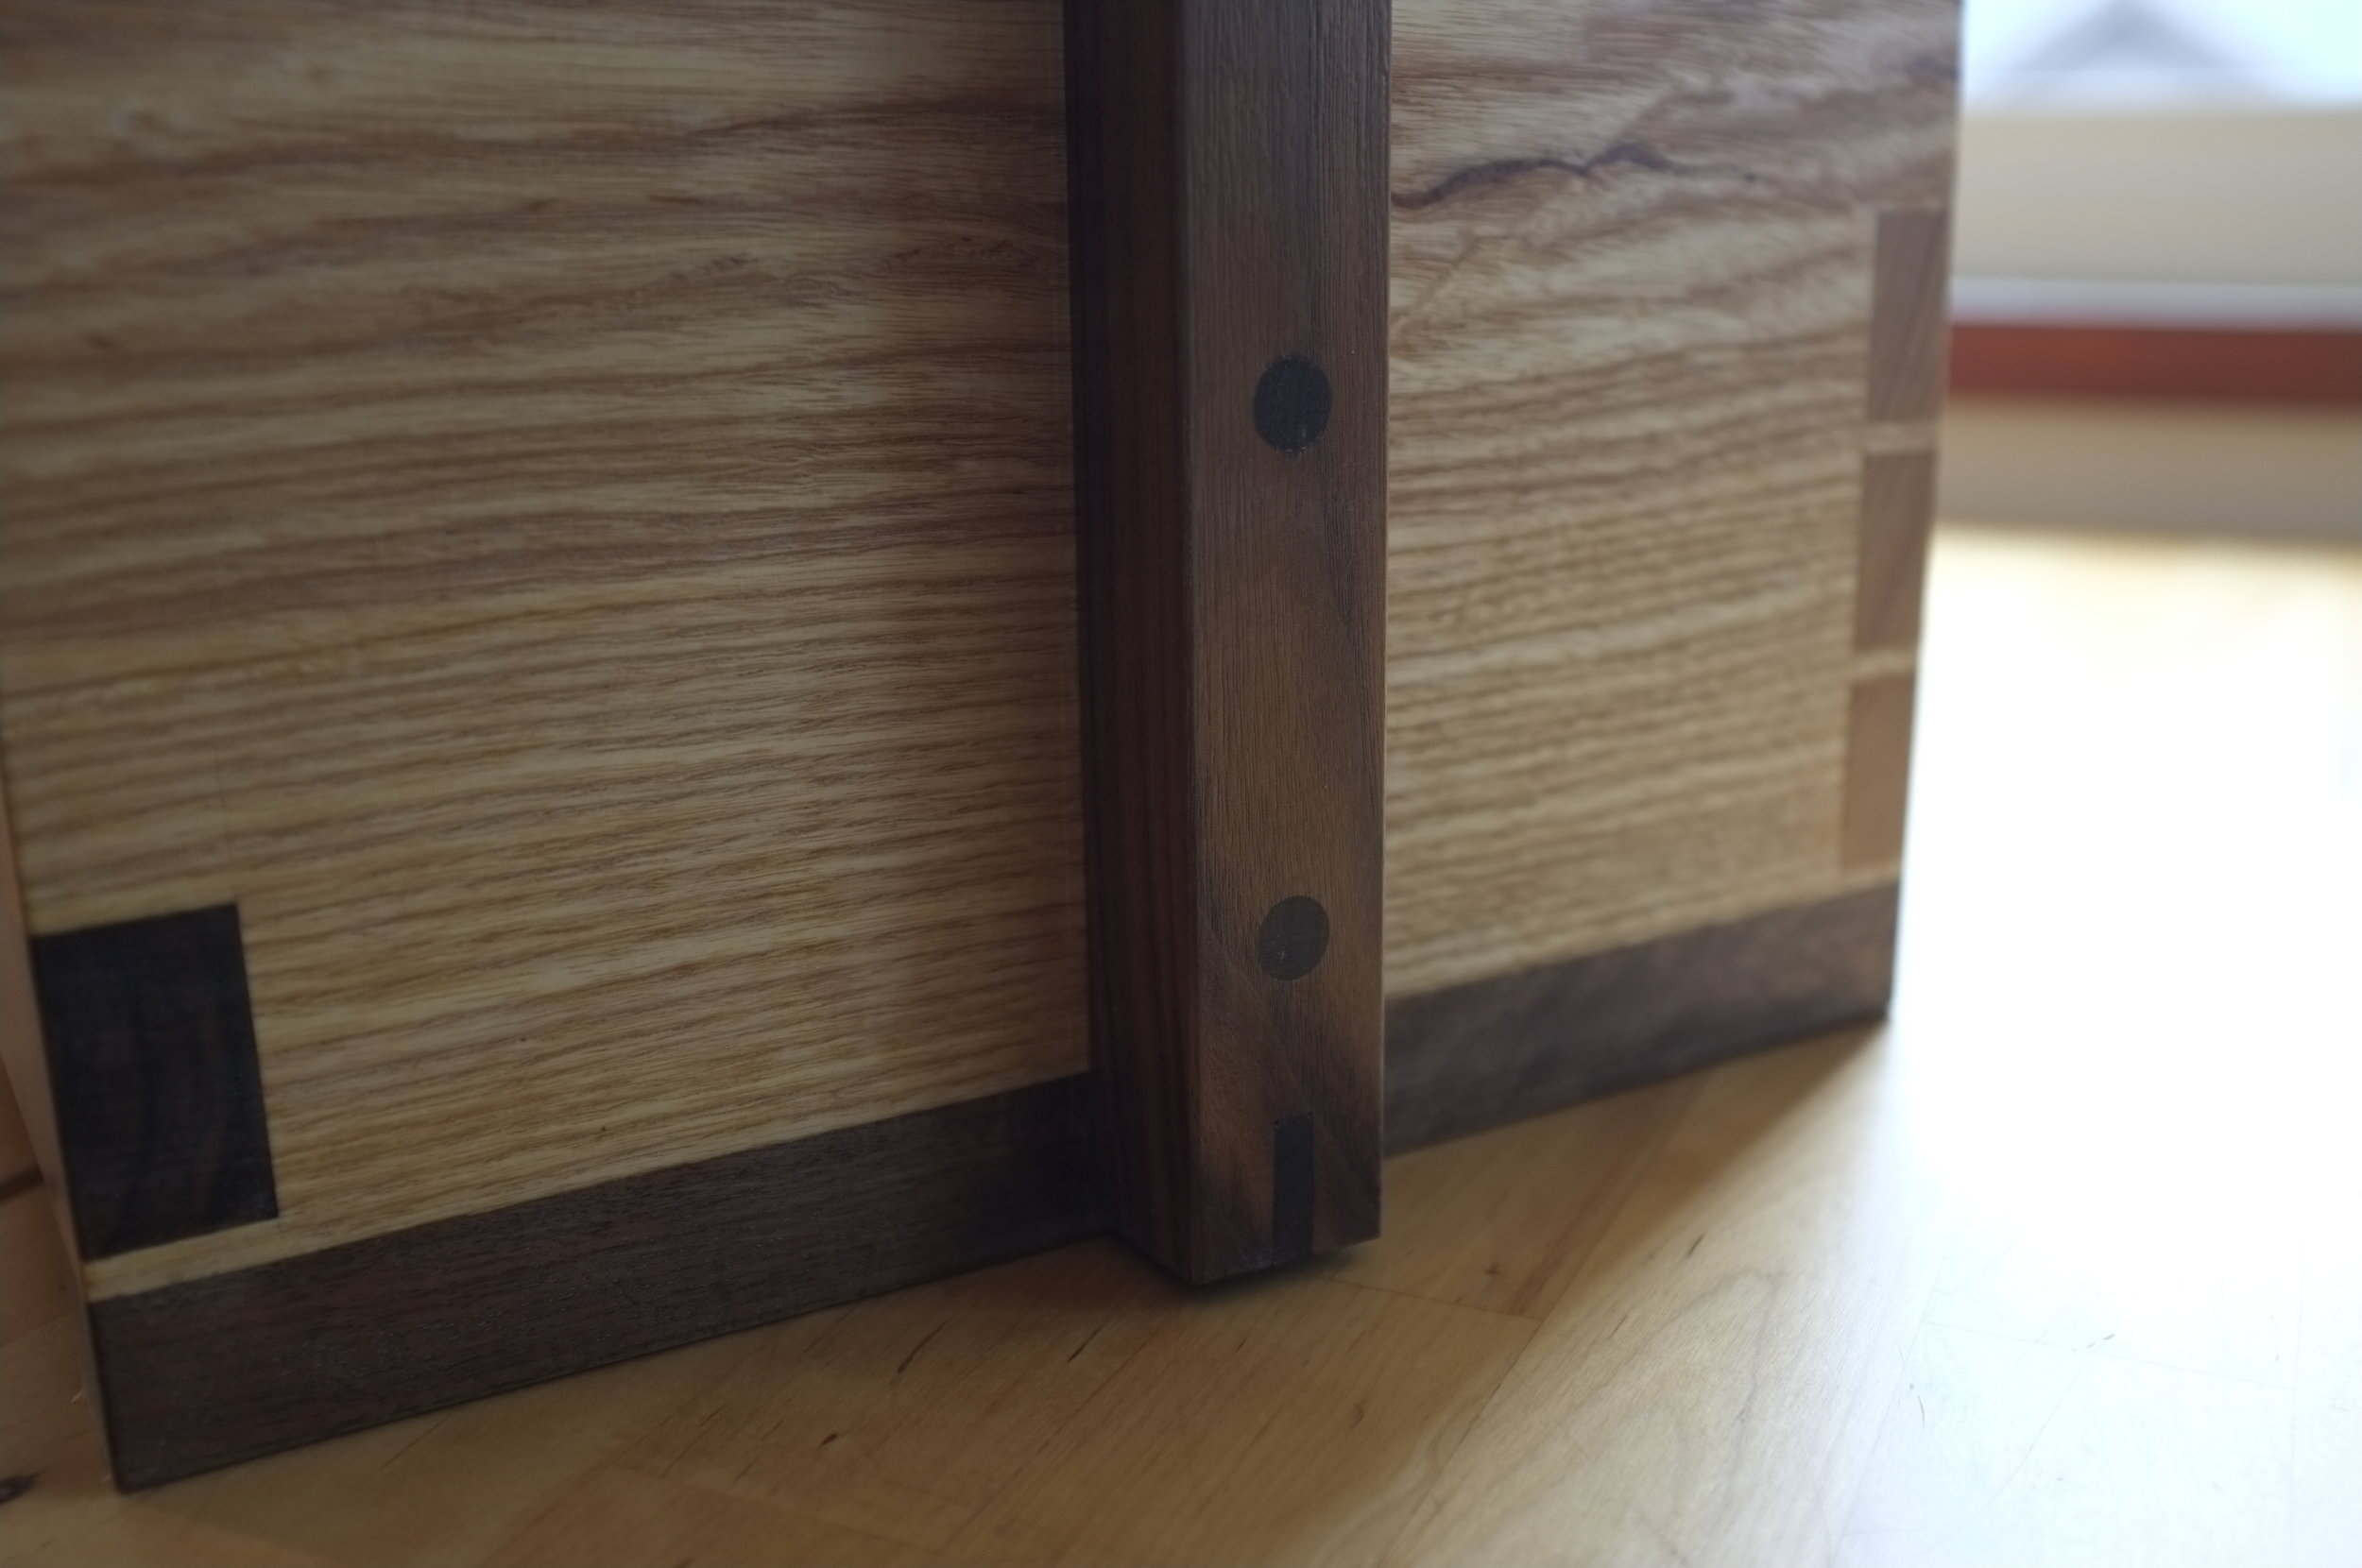
I glued the handle assembly to the carcass yesterday. Well partially glued, I left a good 5 inches of the vertical handle posts un-glued to allow for cross grain wood movement. I'm fairly confident it'll hold and the handle will be able to easily bare the load of a full toolchest. My joinery was tight and the clamps held everything flush to the chest... Though I do have a nagging feeling that I should overbuild this part, i guess my inexperience is showing. I think I'll leave the bottom bridal joint un-pinned but add a couple of large miller dowels to each side to lock everything in place. That approach should work to transfer the majority of the load to the sides and add a bit of aesthetic detail. It feels good to make progress, I've passed a major milestone.
A Precisely Made Bed

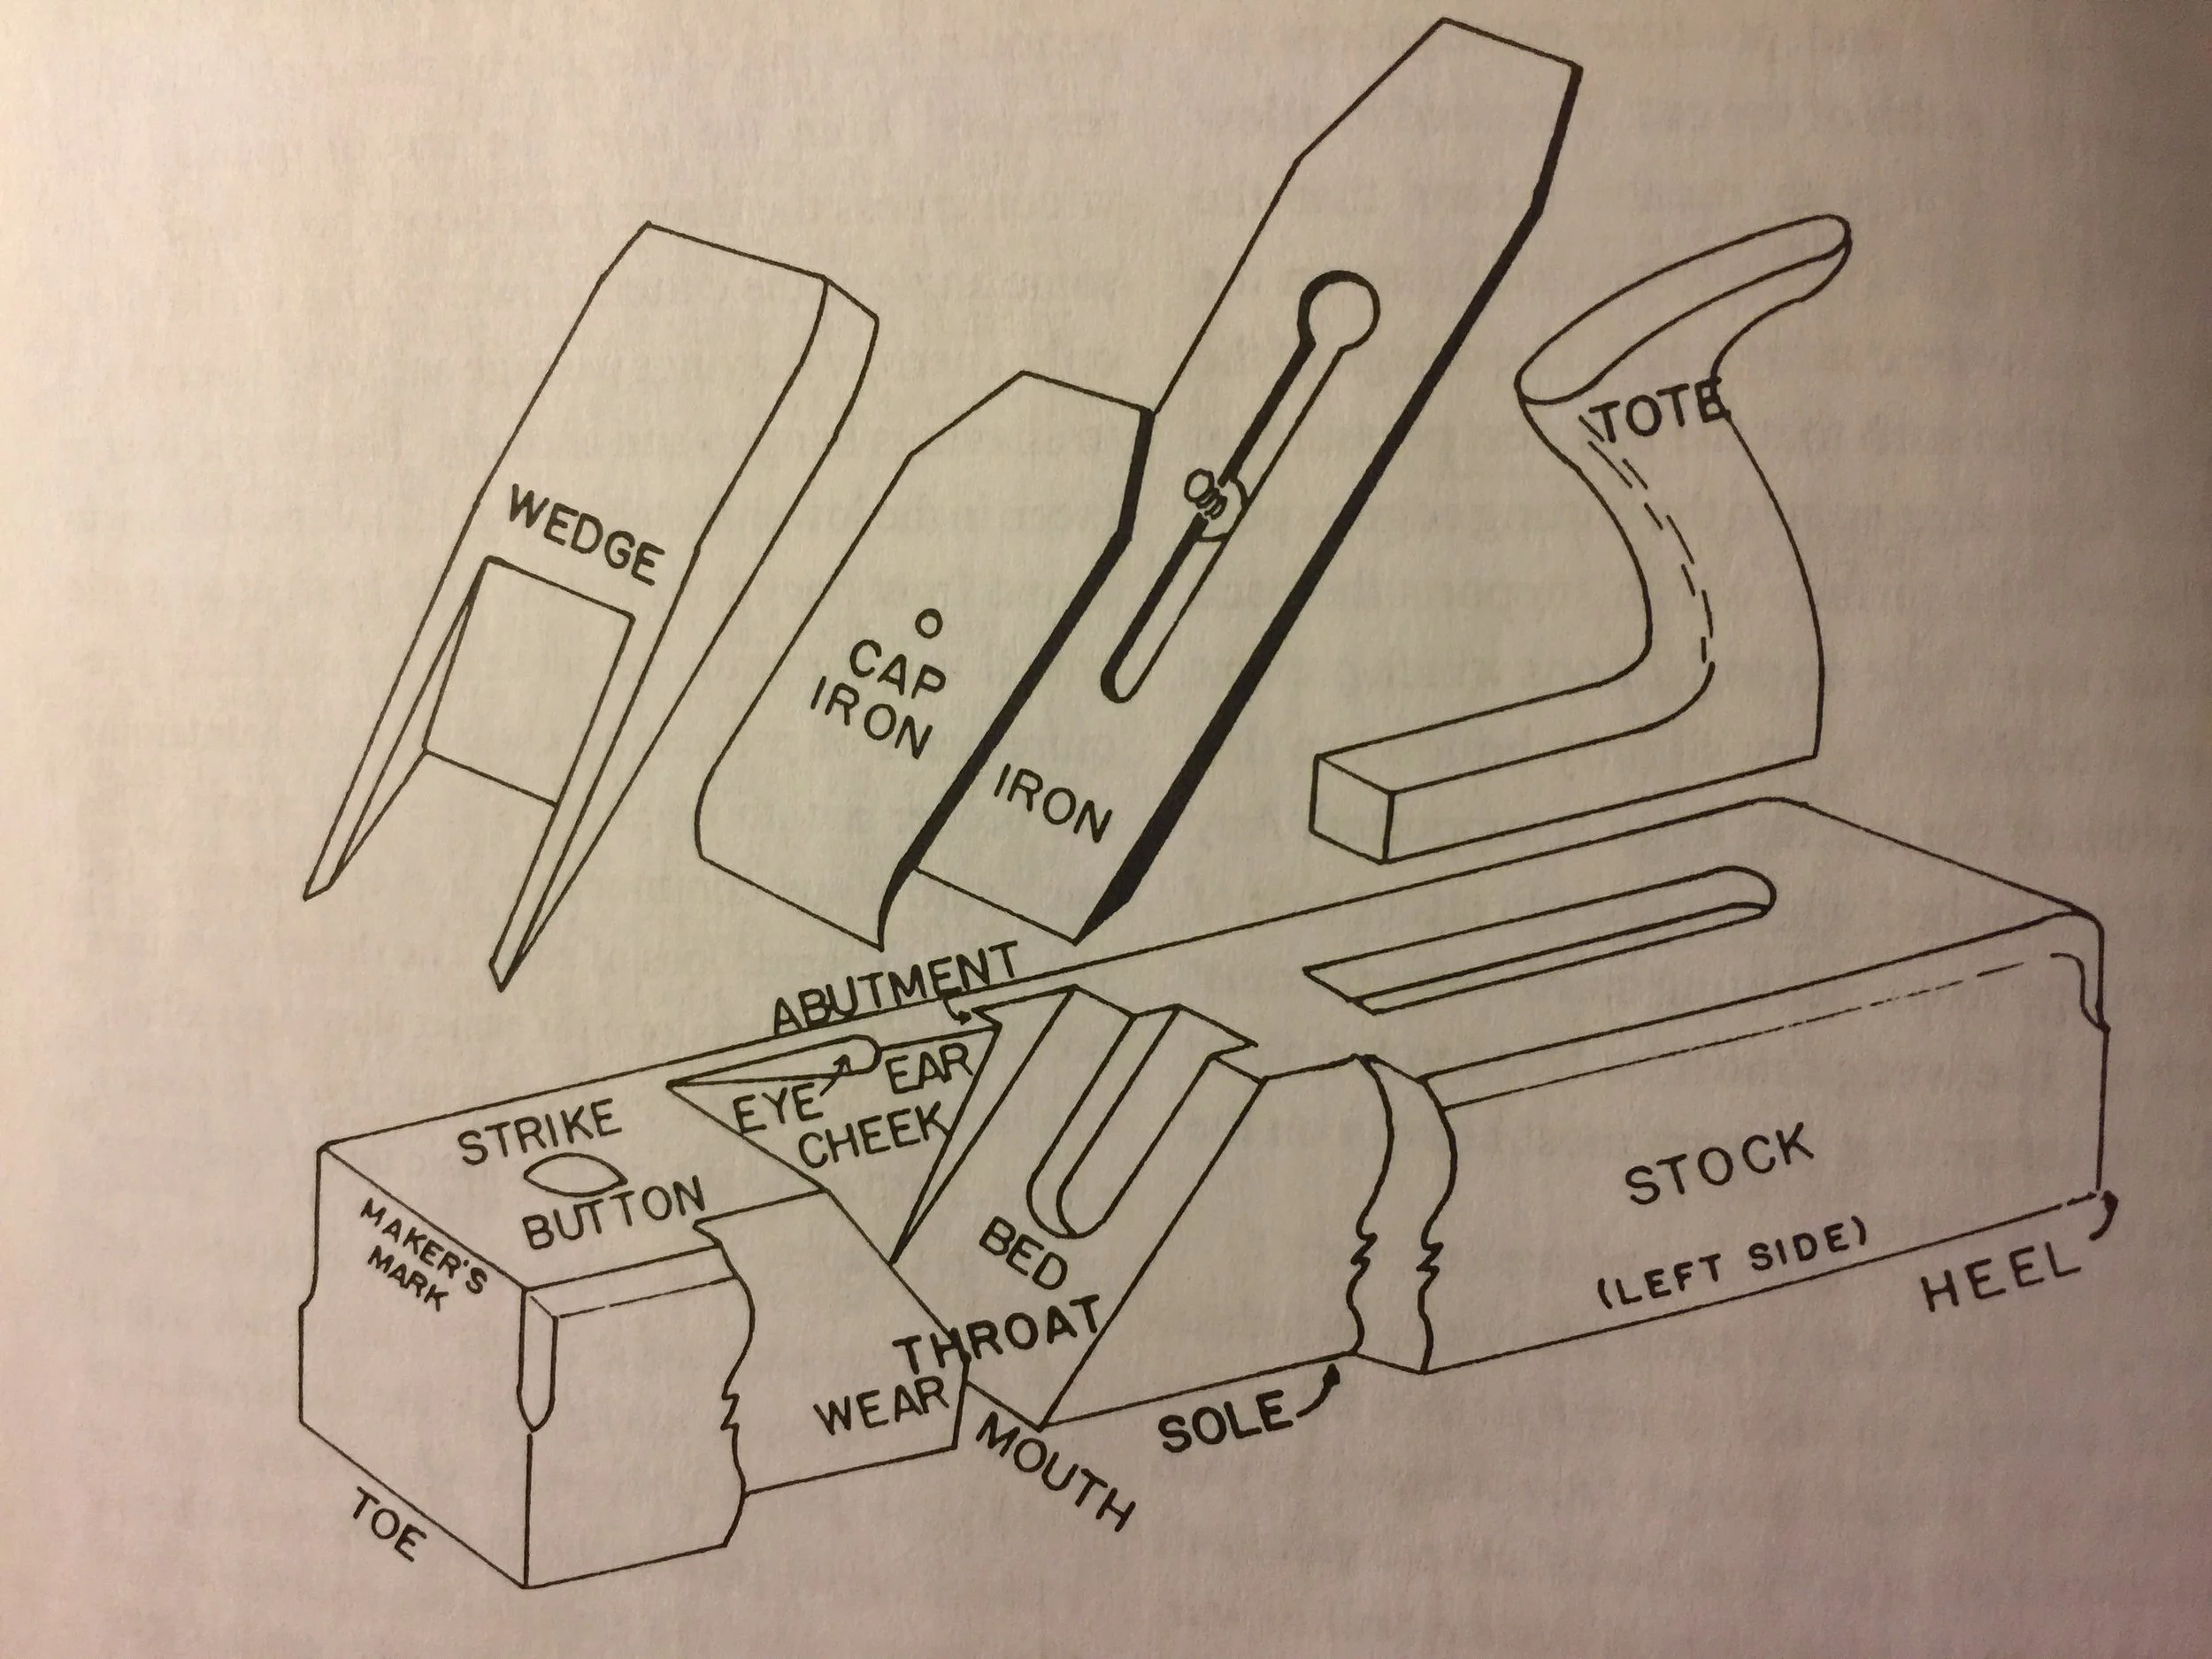
I was never too keen on the thought of chiseling out a plane bed by hand, a three piece lamination with the bed, breast and wear angles cut with an incra gauge on a table saw just seemed much more practical. Though I am judicious with my use of electrons, the remainder of the plane will be built by hand.

The abutment angle will be 10 degrees, i've made up a wedge out of mdf to use as a template.

Miller dowels will aid with alignment when cutting the abutments and laminating the plane together.
Stay Gold

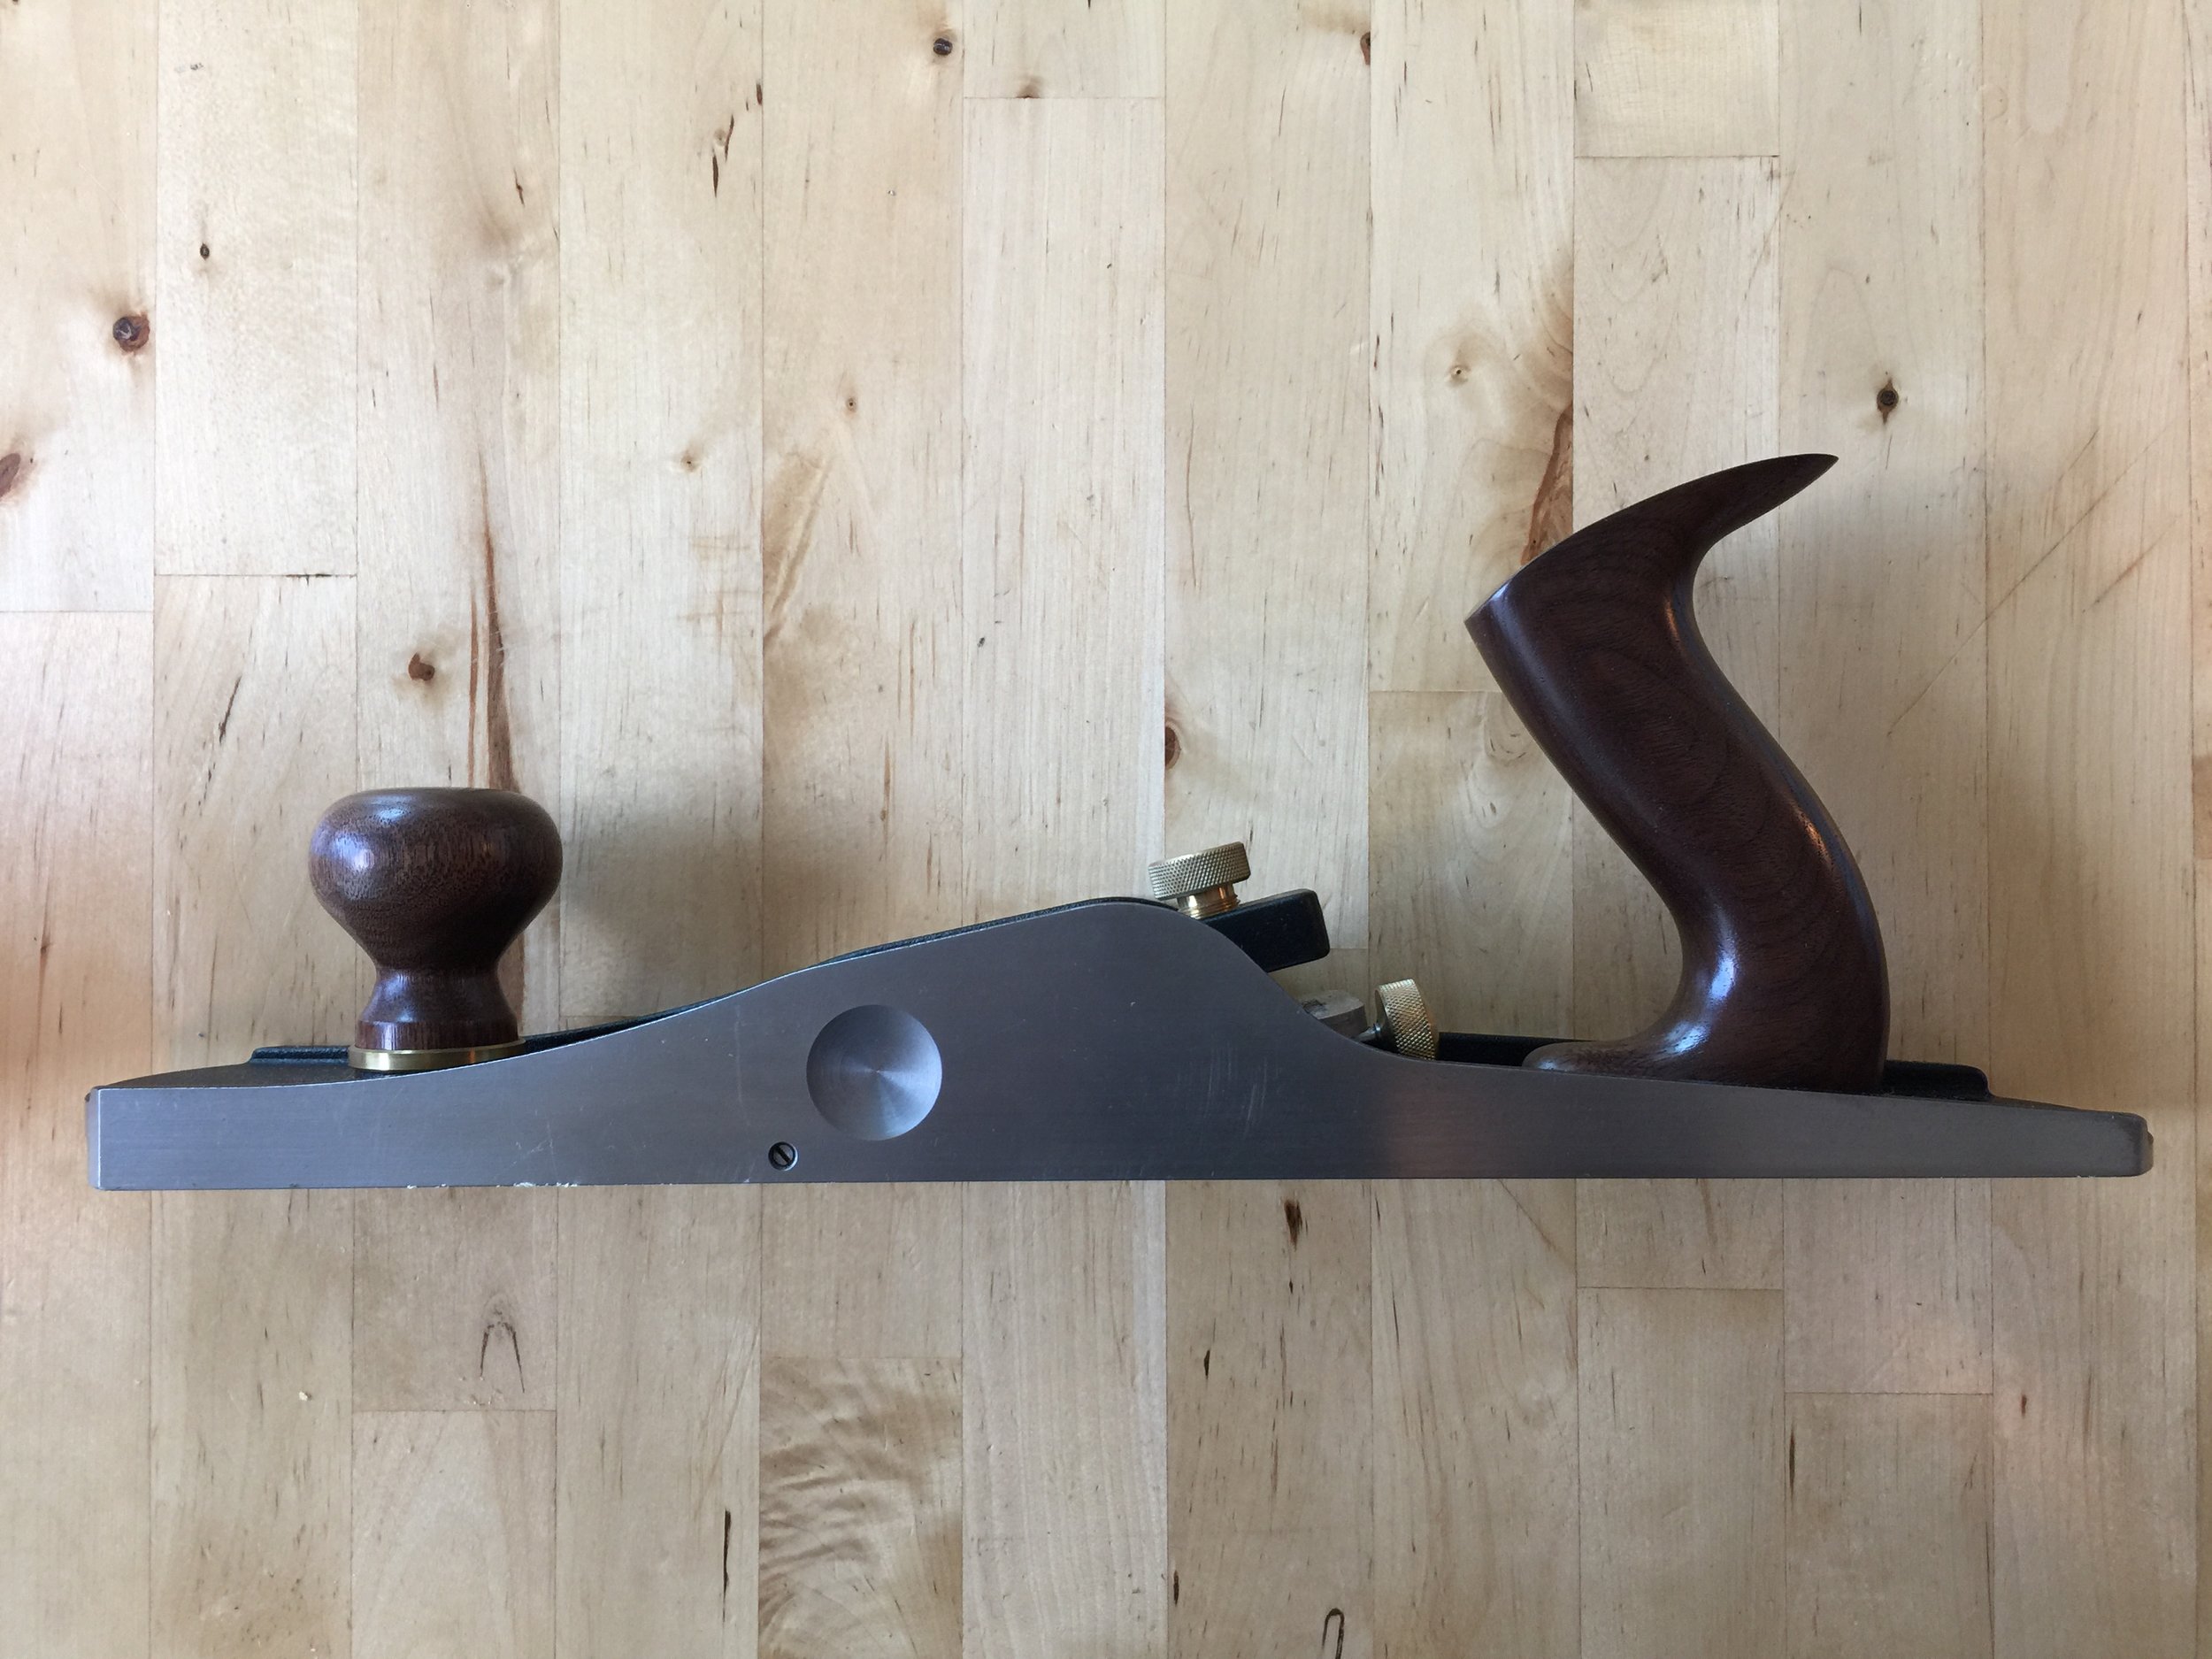
This is my Lie Nielsen No.4 smoothing plane in bronze with a few customizations. The original A2 steel has been replaced with a Tsunesaburo blade and the knob and tote have been changed from cherry to walnut. Aesthetics aside, there are a few functional improvements which can be made. A wise woodworker shared the following fettling tips with me yesterday.

The yoke engages a very sharp steel slot in the cap iron. You can see here that it's already started to score the soft bronze of the yoke. This is on a plane that has never touched wood...

If you look closely you can also see evidence of the bite on the cap iron, the sharp steel edge has deposits of bronze.

The fix is to take a diamond file and break the sharp edge, top and bottom.

A little oil on the lever cap hinge pivot goes a long way too.
Walnut + Ipe

Had a few minutes today to get started on the razee style jack plane. One of these blocks will form the body, the other will be ripped in two and used as the sides. I've given some thought to the grain orientation as one of the blocks is half sap wood and the other is darker walnut. I feel the sap wood is visually interesting, i think I'll use it for the sides.

Laminating on the ipe sole.
Hiroki Gennou

Mankind has used hammers for as long as we've had opposable thumbs. There's something primal and reassuring about the form factor. Even If I never knew nails existed, with a hammer in hand I'd feel like I'd know what to do. This block of steel and branch of tree will made into a gennou, a Japanese chisel striking hammer.

A block plane takes care of the knots.

Though a spokeshave works best on the bark.
Getting A Handle On Things

Worked a little more on the handle assembly this week, it's going to feel good to complete it and give the toolchest its form. I noticed that in Tom Fidgen's original design, the vertical handle posts were notched into the bottom runner but when he taught his class at Dictum they took the approach of bridal jointing in a bottom stretcher. I emailed Tom about this and graciously, as always, he got back to me with a detailed explanation. The original design had a weak point and had snapped where it was screwed into the bottom runner. The stretcher approach ties in the entire handle assembly into one piece, thus balancing any forces and load exerted.

I wasn't happy with the flatness of the stopped dado area, I had attempted to level it using an iwasaki file but the surface was still much too uneven. When I held it against the toolchest I could see a lot of light, perhaps more than glue could overcome. I decided to lap it against some 220 sand paper which did the trick nicely. No more fiddling, aside from the handle and bridal mortises, the vertical handle posts are pretty much complete.

Notching the upper handle runners.

Slowly but surely progress is being made.
Jack In A Box
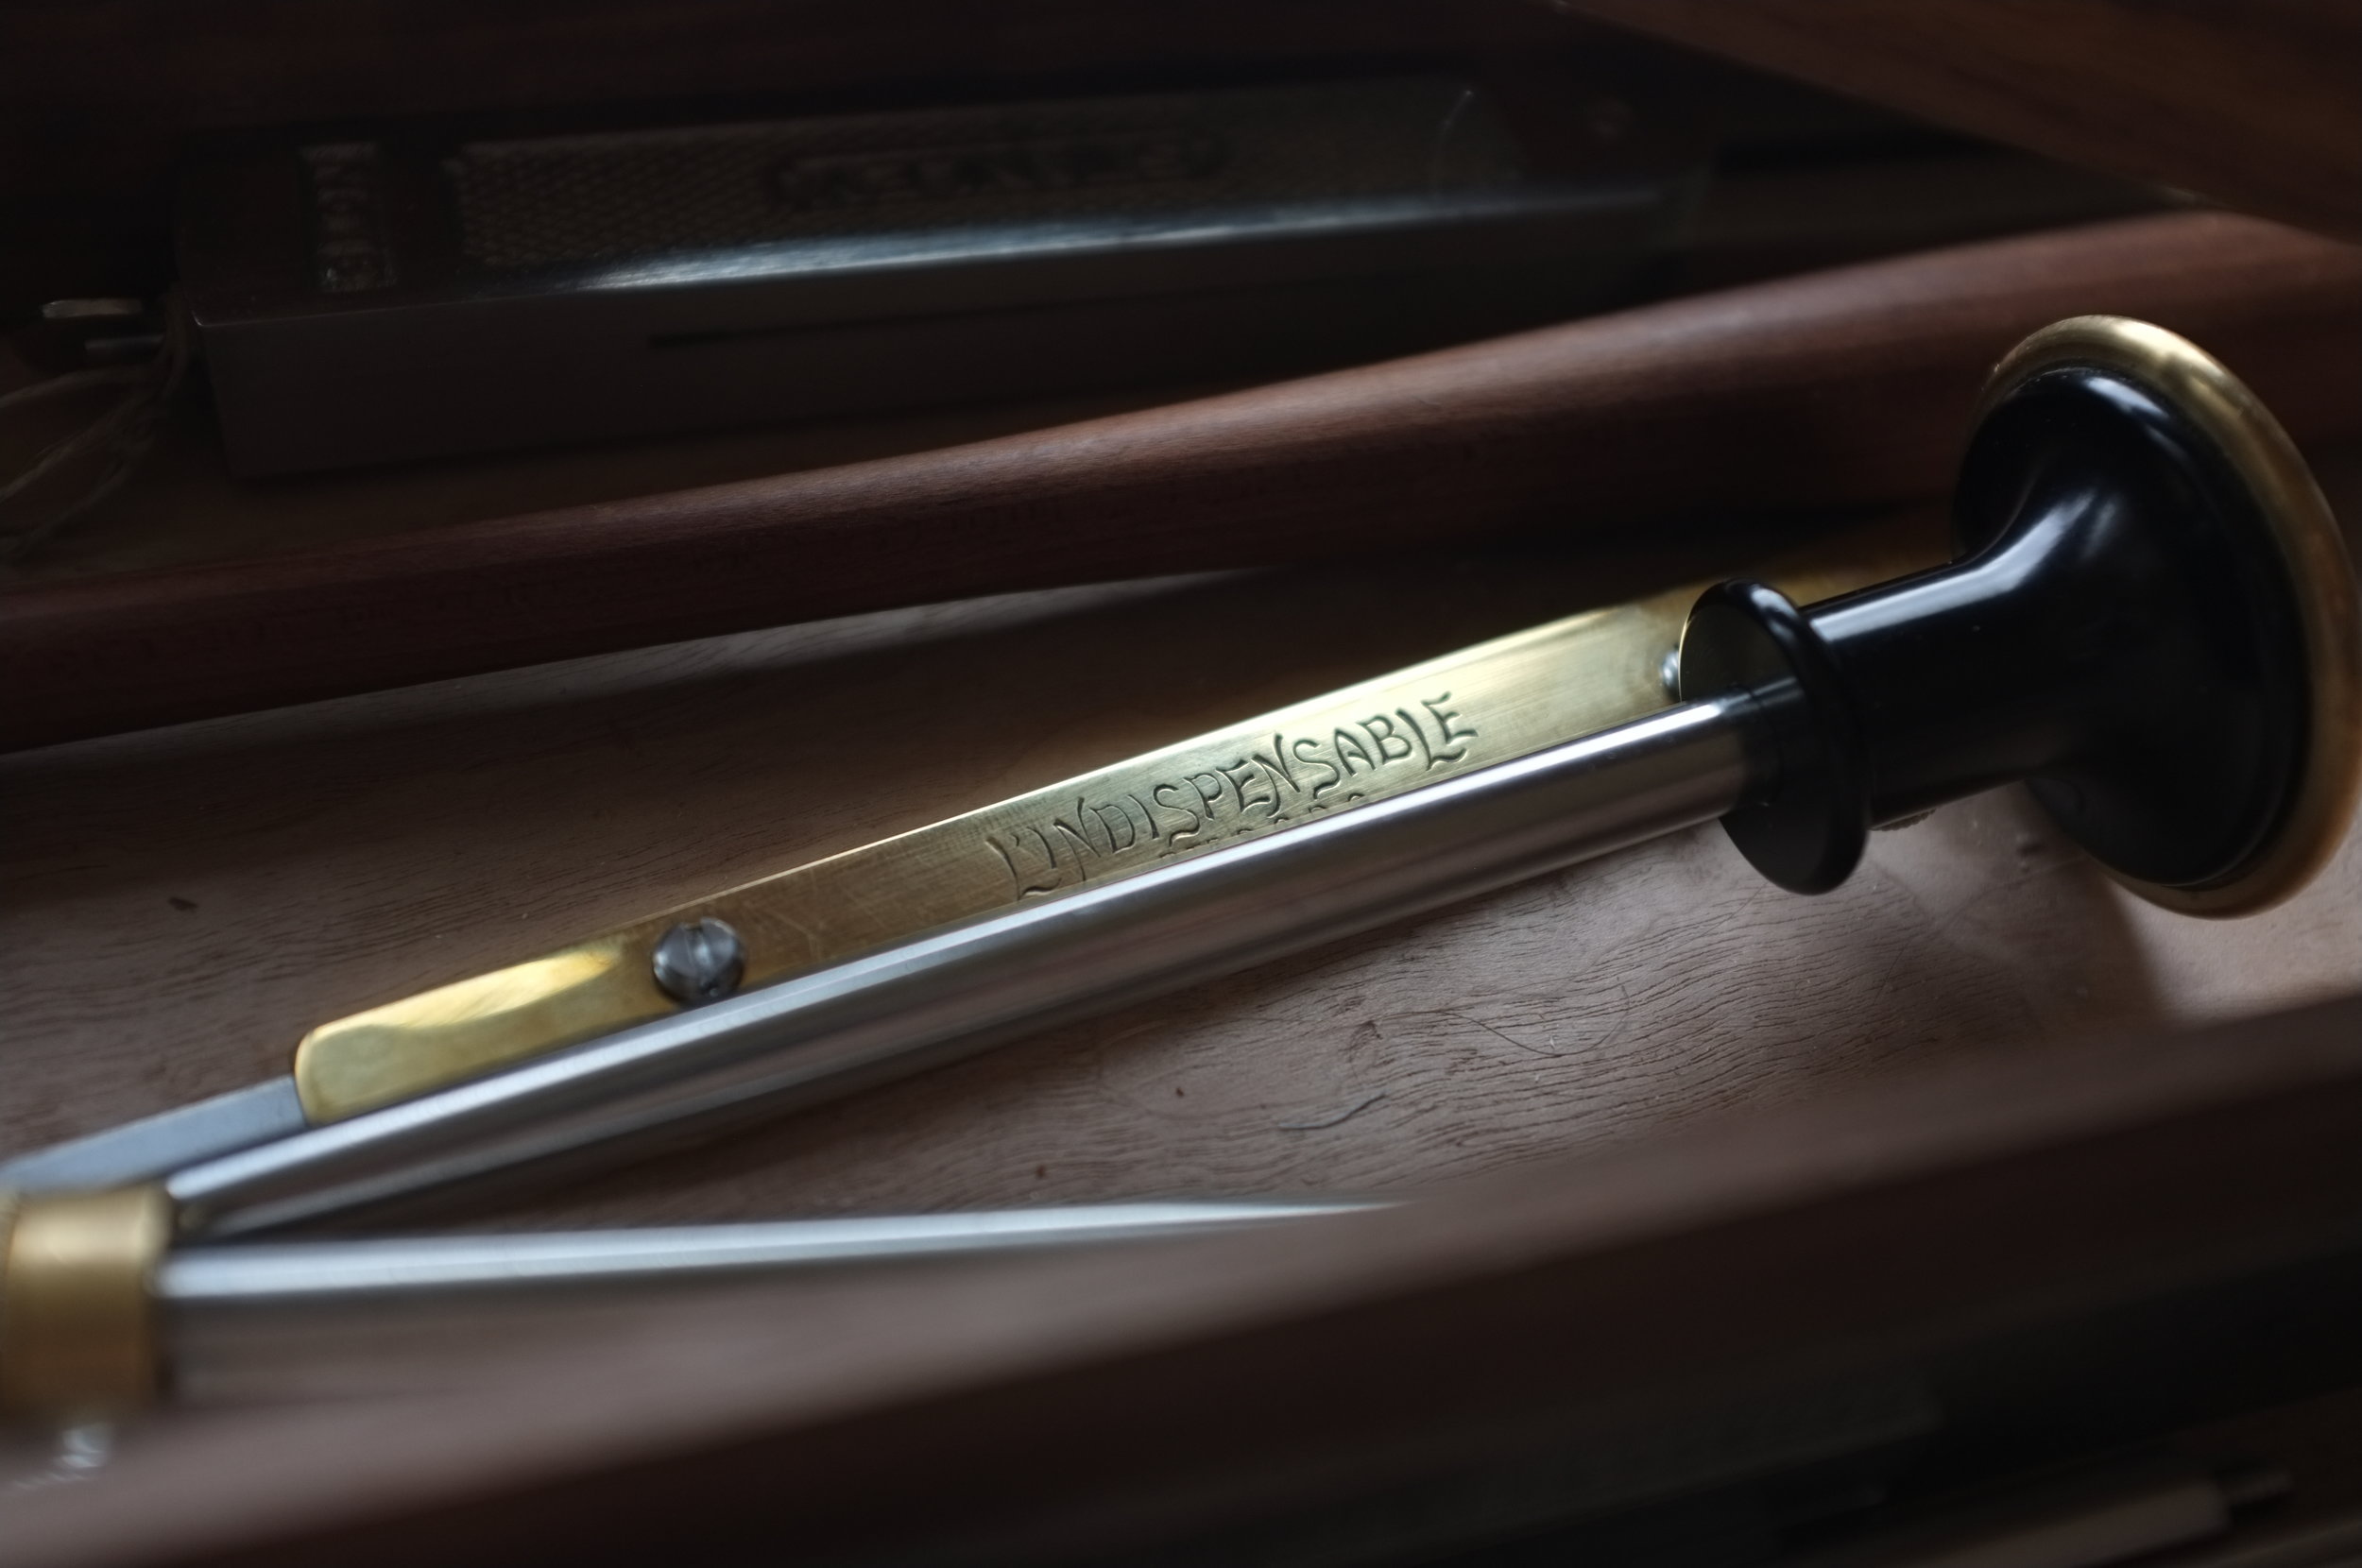
I've given a lot of thought to which bench planes I'd want to stock in this toolchest. My krenov smoother is an easy choice, as there's no greater satisfaction than using a tool made with your own hands. Wooden planes have a different nature than their steel cousins, they're inherently musical in nature. A few taps here and a few raps there and they'll sing for you like no other. That's not to say metal planes are deficient in any way. A bronze Lie Nielsen no.4 has it's own particular charms. The manganese bronze will react to the particular body chemistry unique to its owner and over time a tarnished patina will form. Painted on by each touch, deepening in character with each shaving. The krenov and the no.4 are more than enough for general smoothing and final finishes, the difficult question is what to do about a jack? A Lee Valley bevel up jack is widely regarded for its versatility, but I find norris adjusters to be a little finicky and the lack of ability to adjust depth on the fly sometimes interrupts the zen-flow that comes with planing boards. My preference is for bevel down planes, though a no.5 or no.6, whether a vintage stanley or a plane by LN or LV would add a considerable amount of weight to the toolchest. The answer is now clear, i should build a wooden jack plane.
By Hand and Time

And onto the the handle assembly. I tried to cheat a little and use a table saw to cut the stopped dados, though the galoot gods must have been watching disapprovingly as they cursed my attempt. Lesson learned, i'm anti-electron from here on in. homestretch marathon, the closer I come to completion the longer everything seems to take.
Two Rice Cakes and a Tangerine

From Toshio Odate's book: Japanese Woodworking Tools: Their Tradition, Spirit and Use.
Eastern Function | Western Form

A Tsunesaburo plane blade arrived today from Stuart Tierney @ www.toolsfromjapan.com. I've wanted to experiment with a laminated eastern style blade on a western plane for some time now. I'll post results once I've had a chance to flatten the back, sharpen and put the iron to use.

Japanese packaging is always meticulous, it's something i appreciate.


The cutting edge steel is called hagane and it is forged to a softer piece of steel called the jigane.
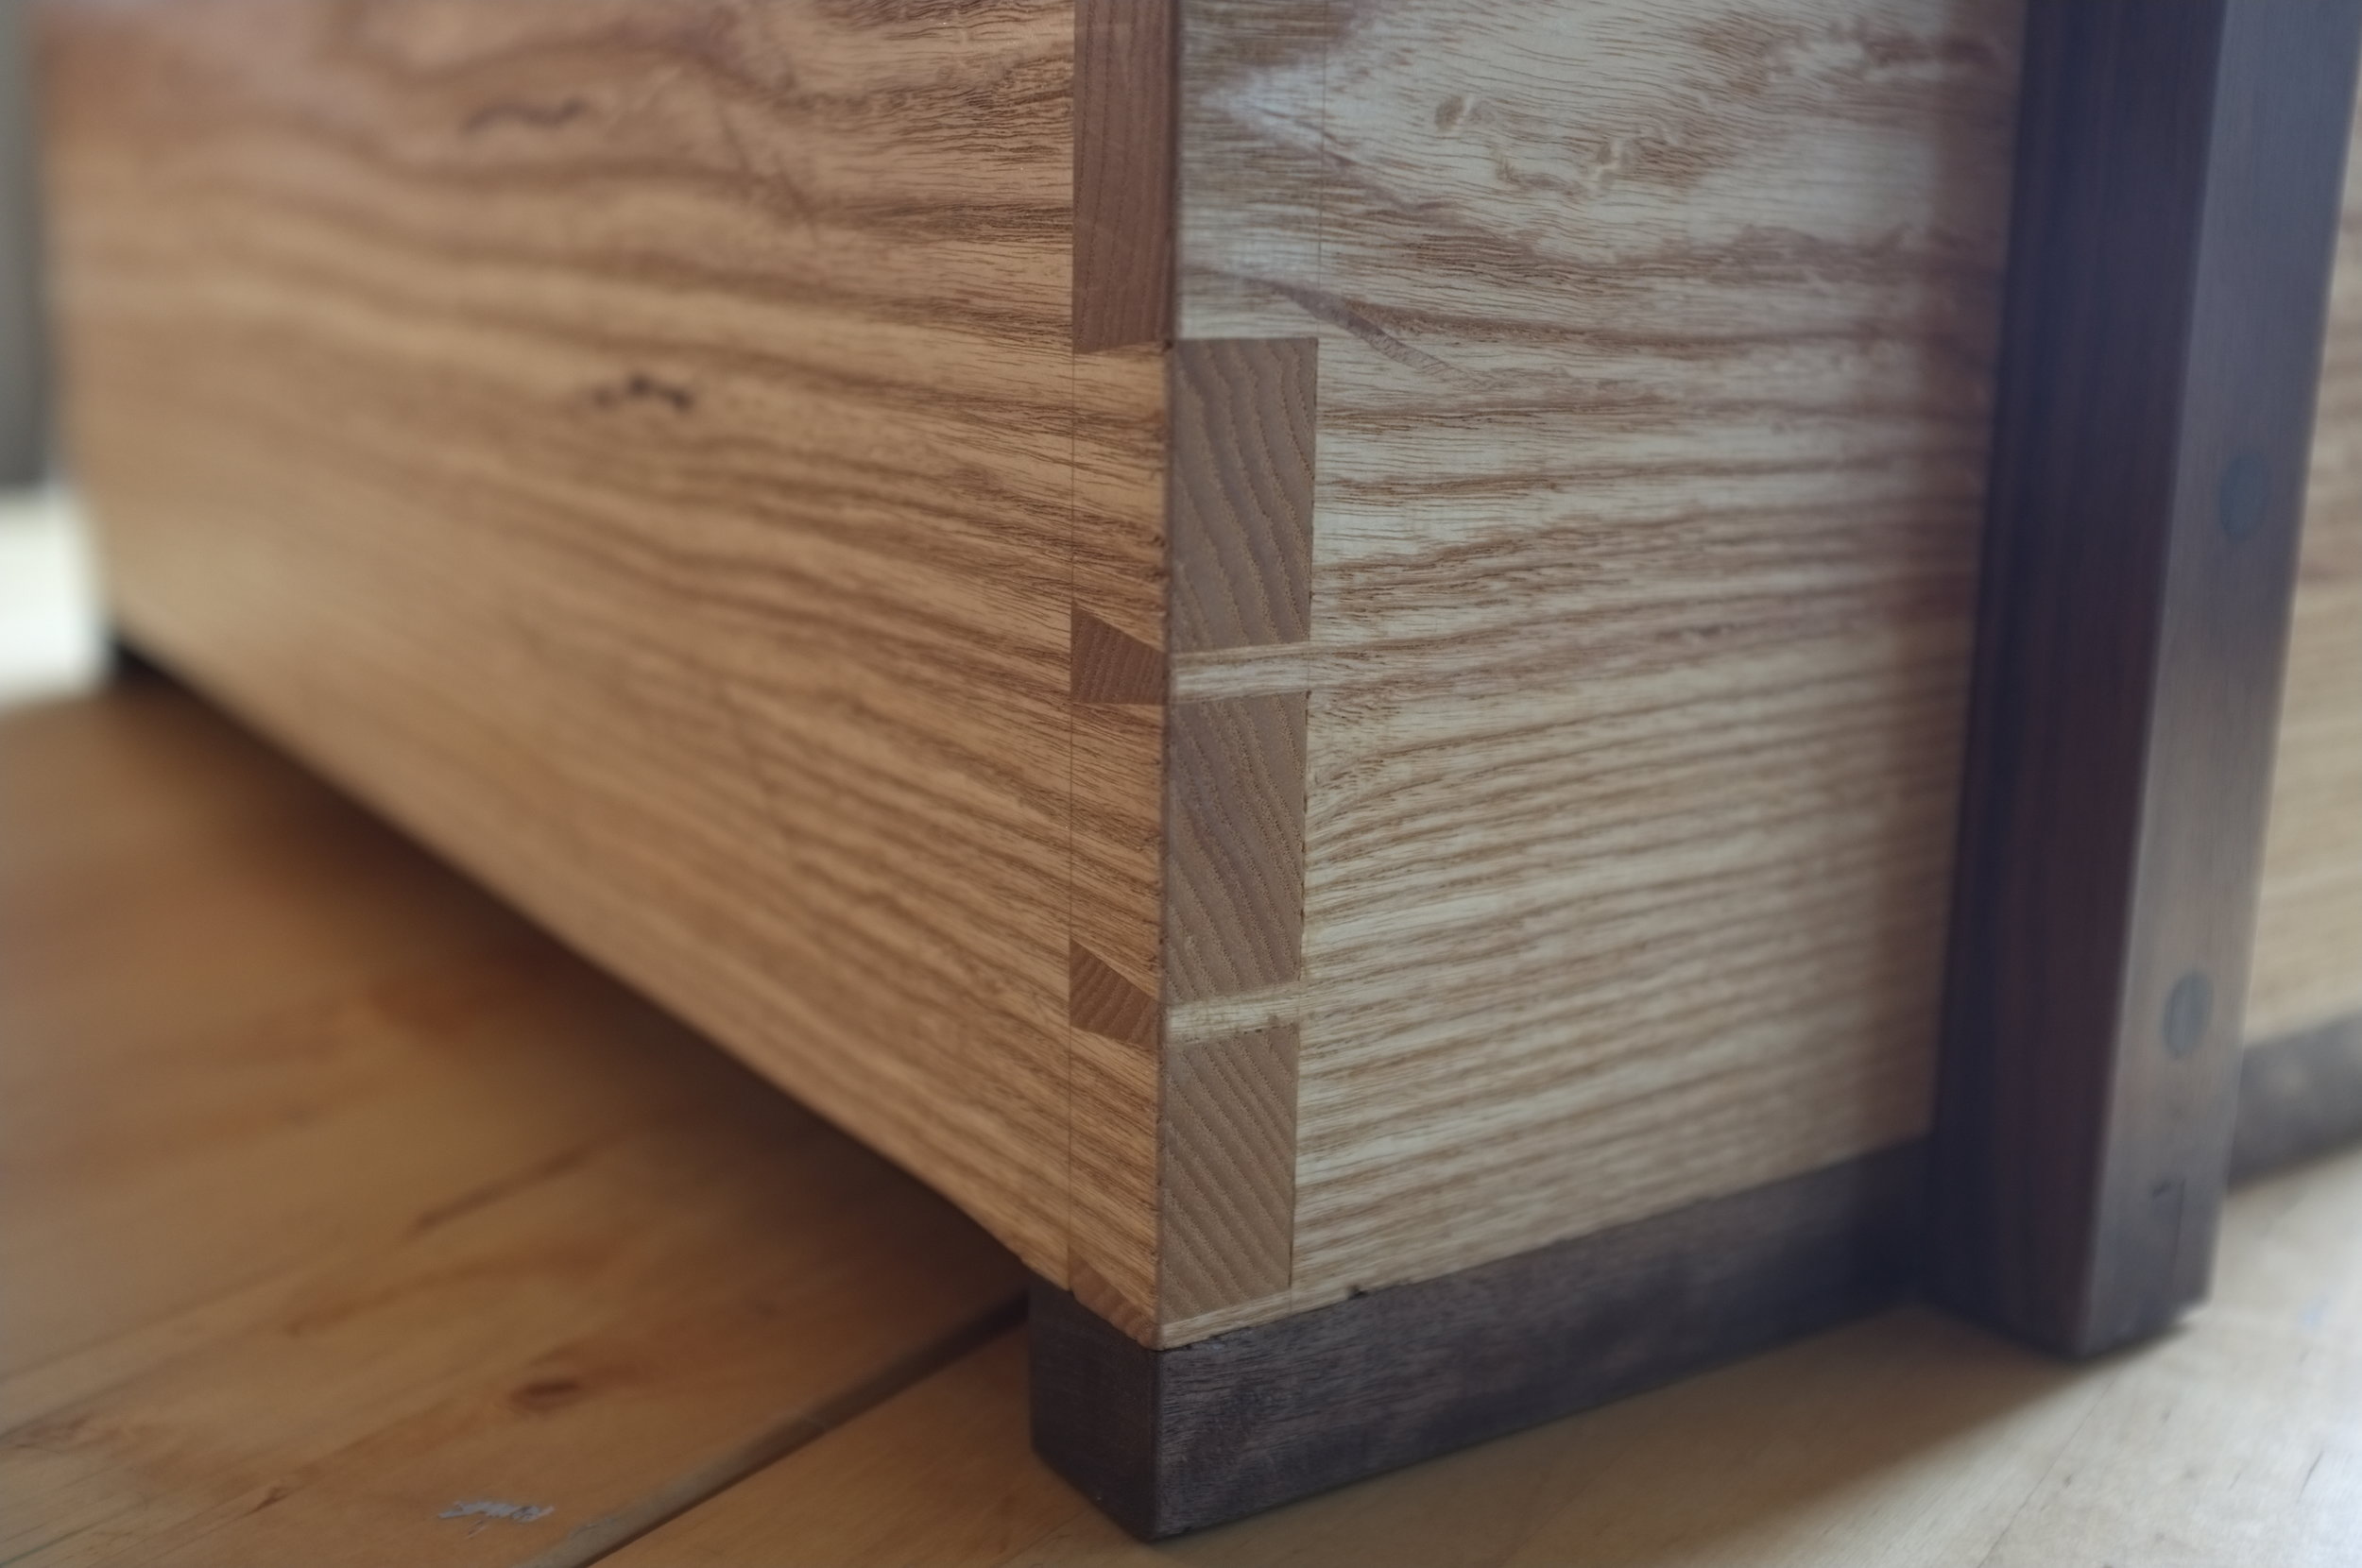
Joinery

Problems are for solving. Careful divider spacing will lay waste to this knot.

I prefer a 240mm dozuki for dovetails.

Slowly now, it all comes together.

Tight like tigers.

Selection

In hard places; now is the time to be sensitive. Knots aren't always defects, sometimes straight grain is dishonest, figure lies beneath the surface.

Flat packed for a small car.
Beginnings
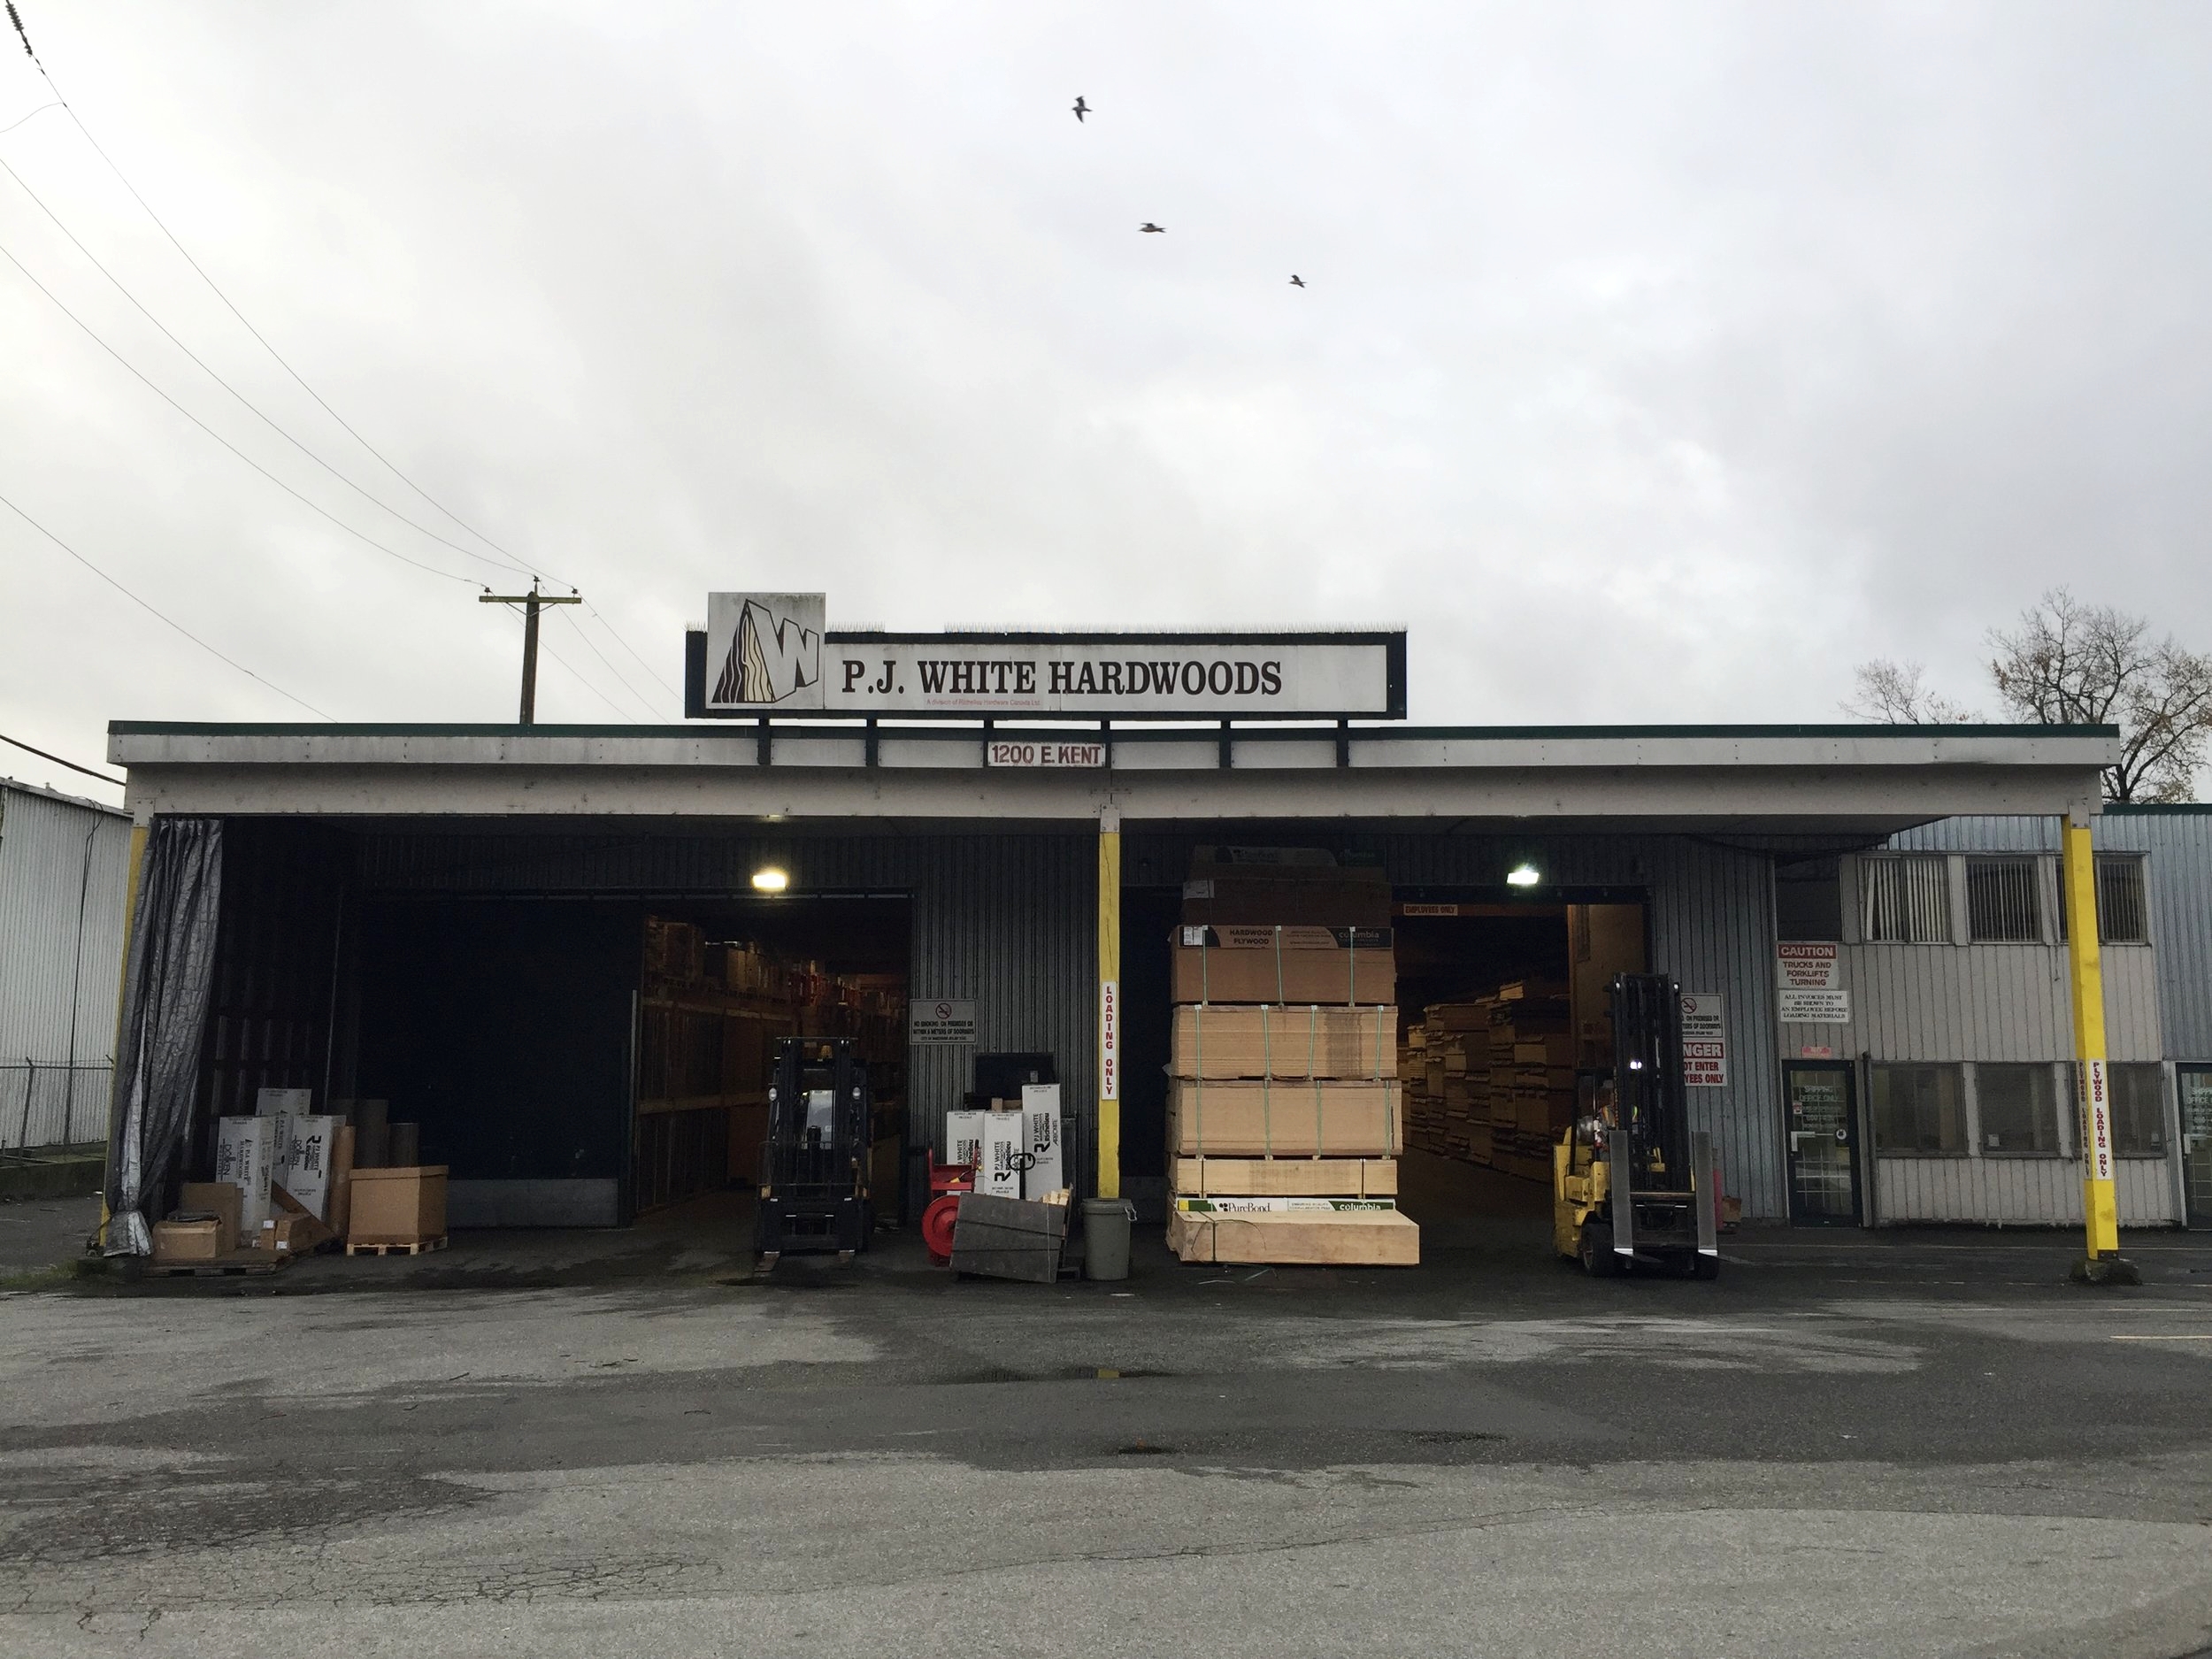
1200 E Kent.